External Restoration
Blindbox restoration
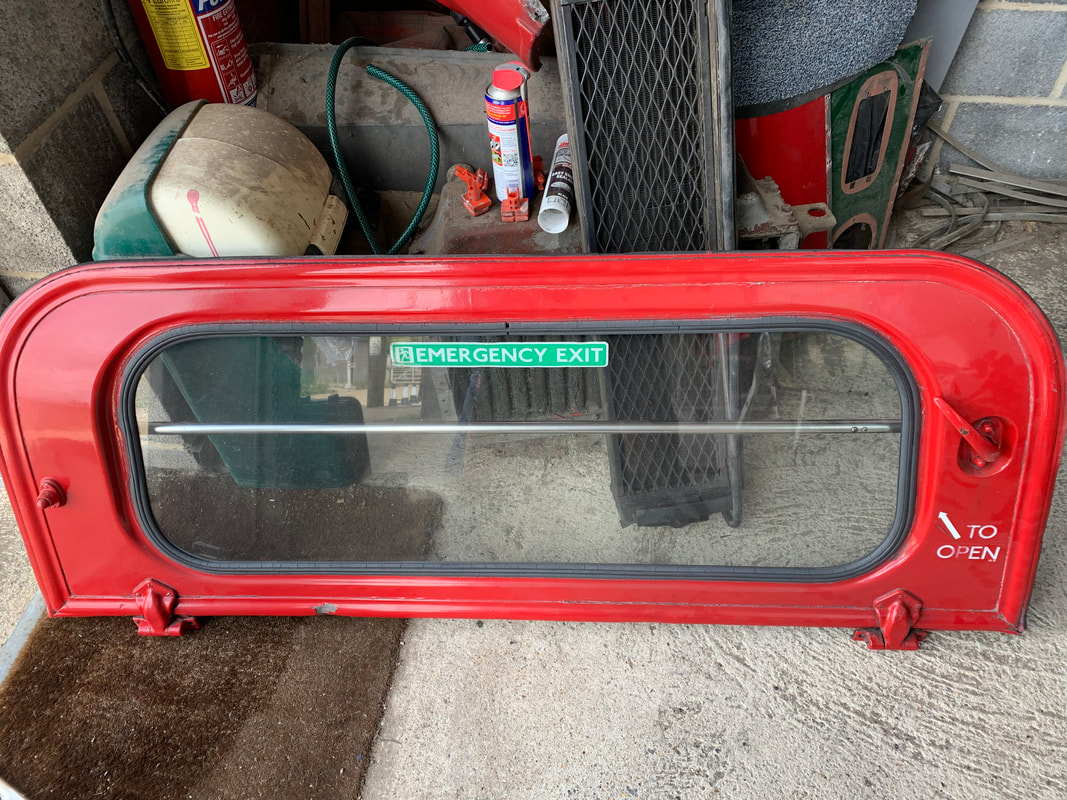
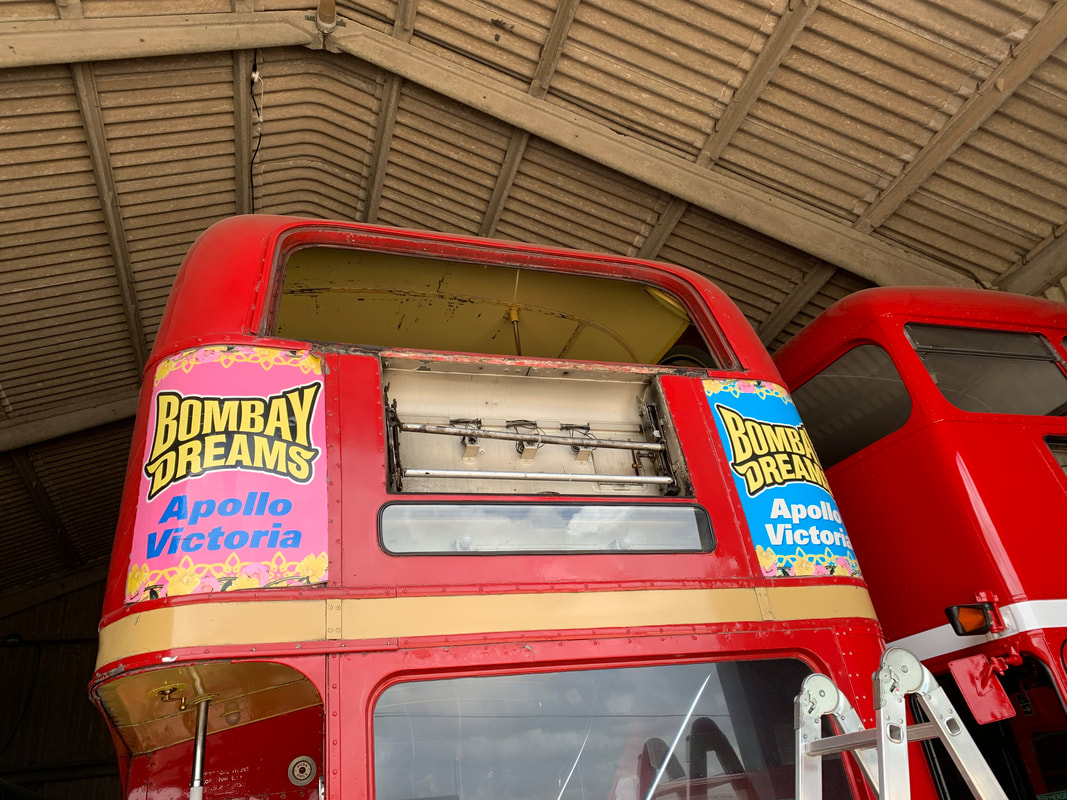
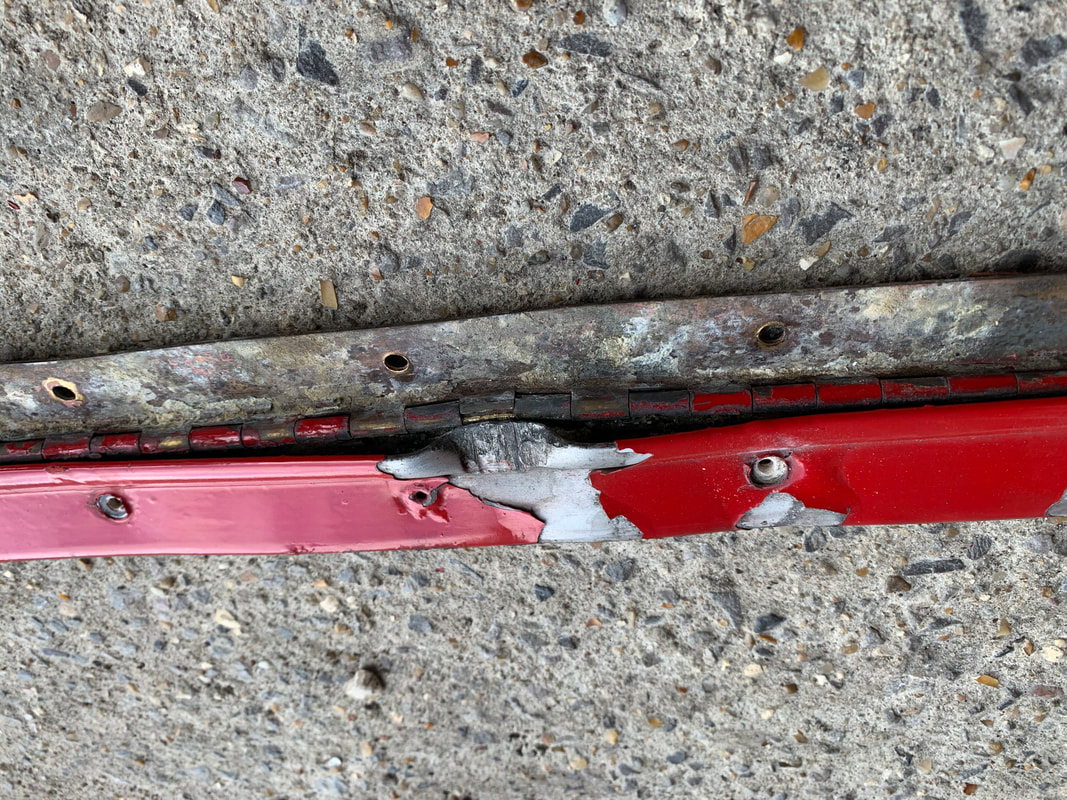
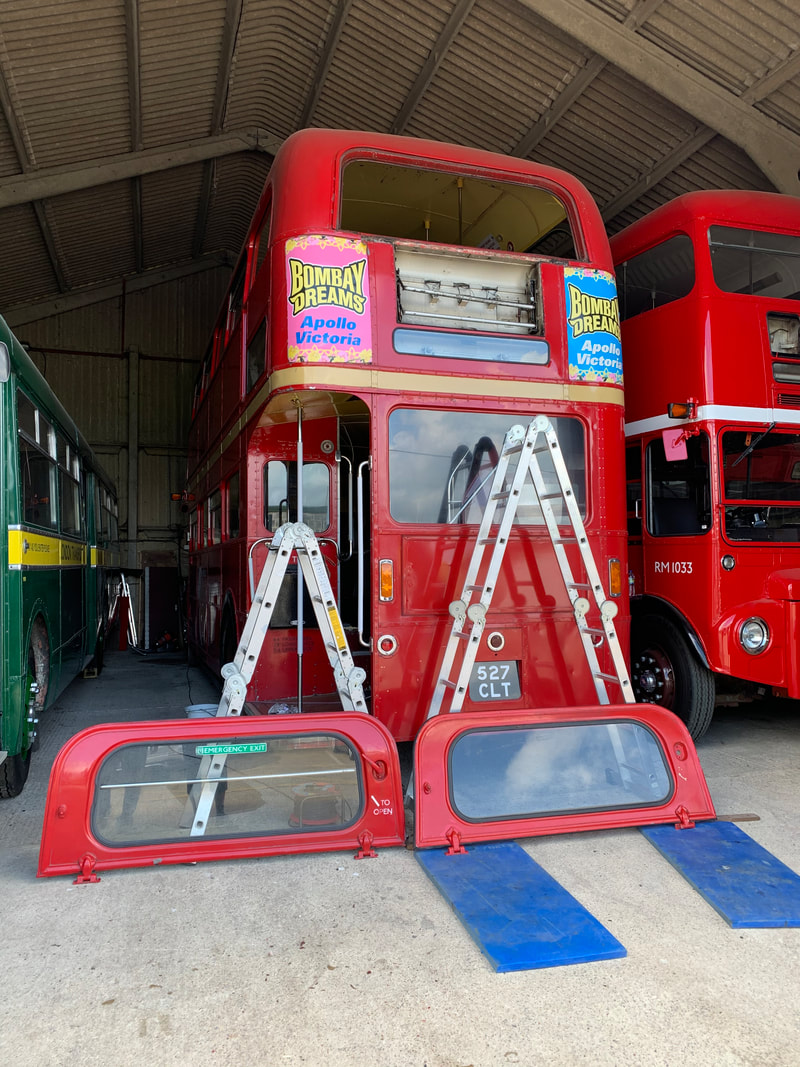
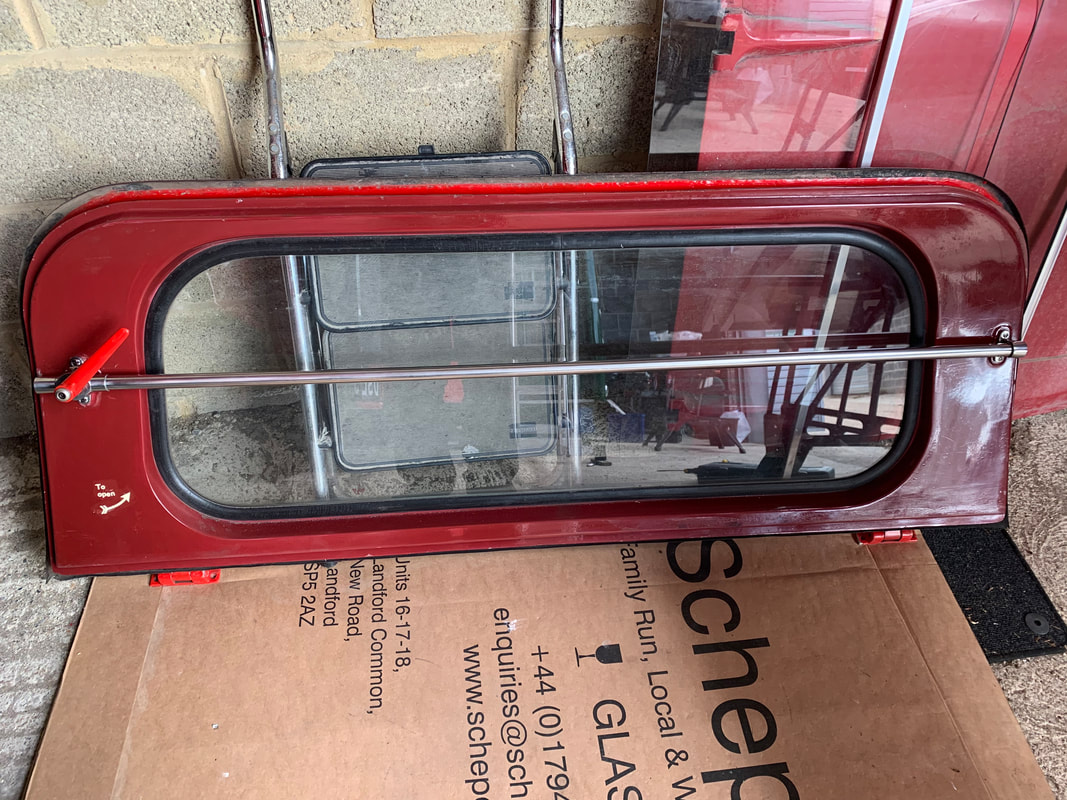
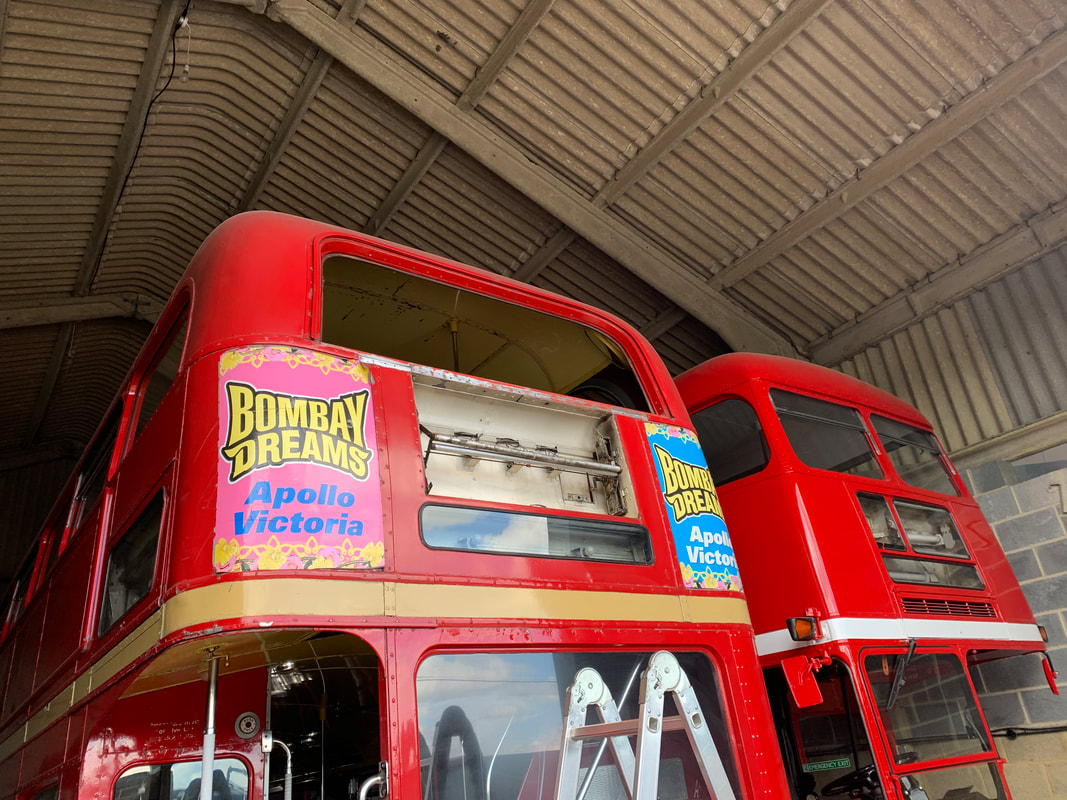
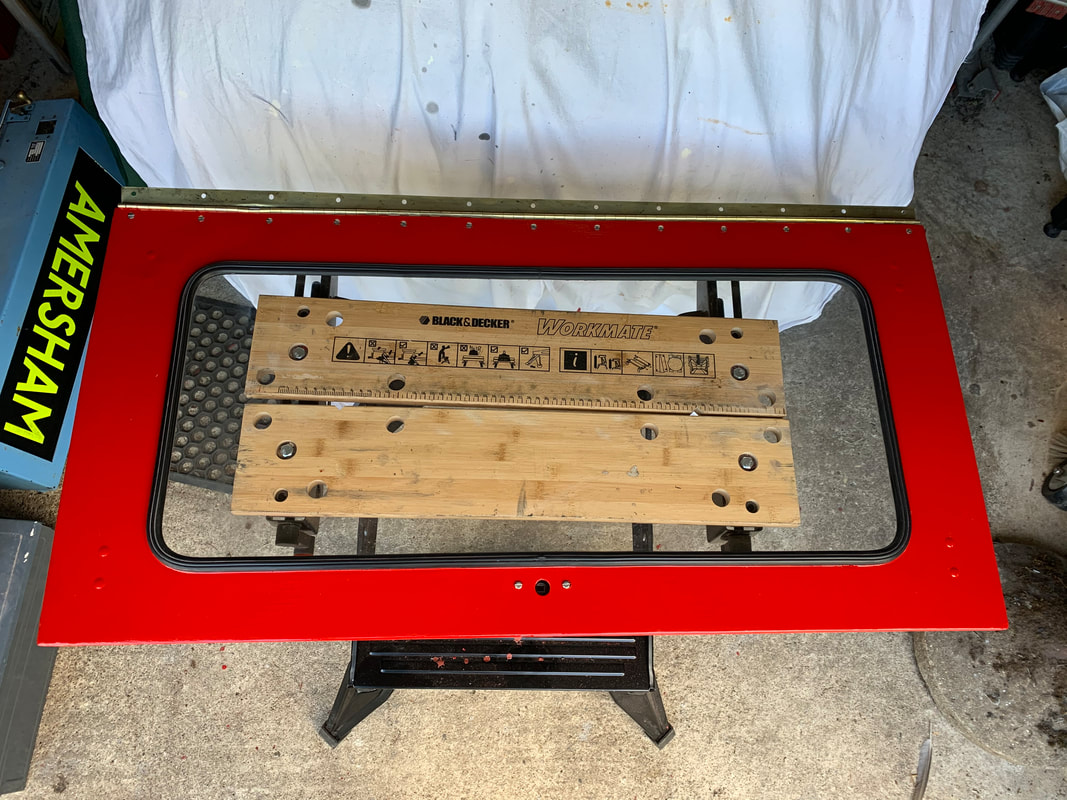
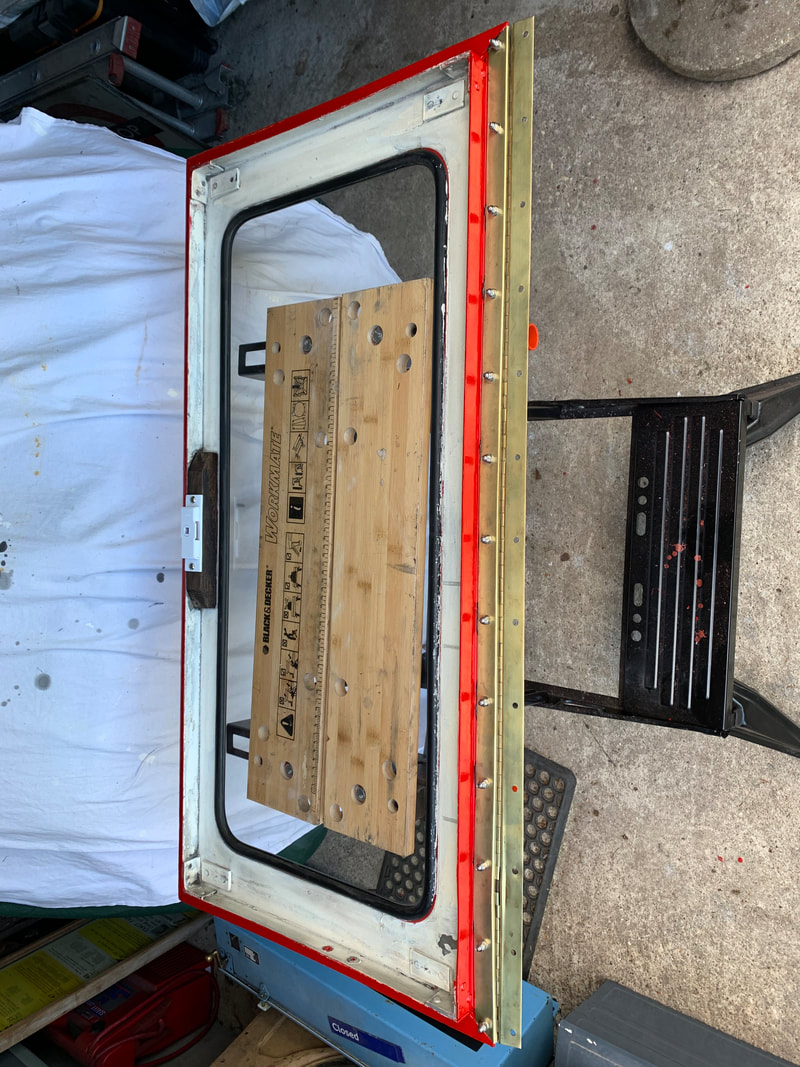
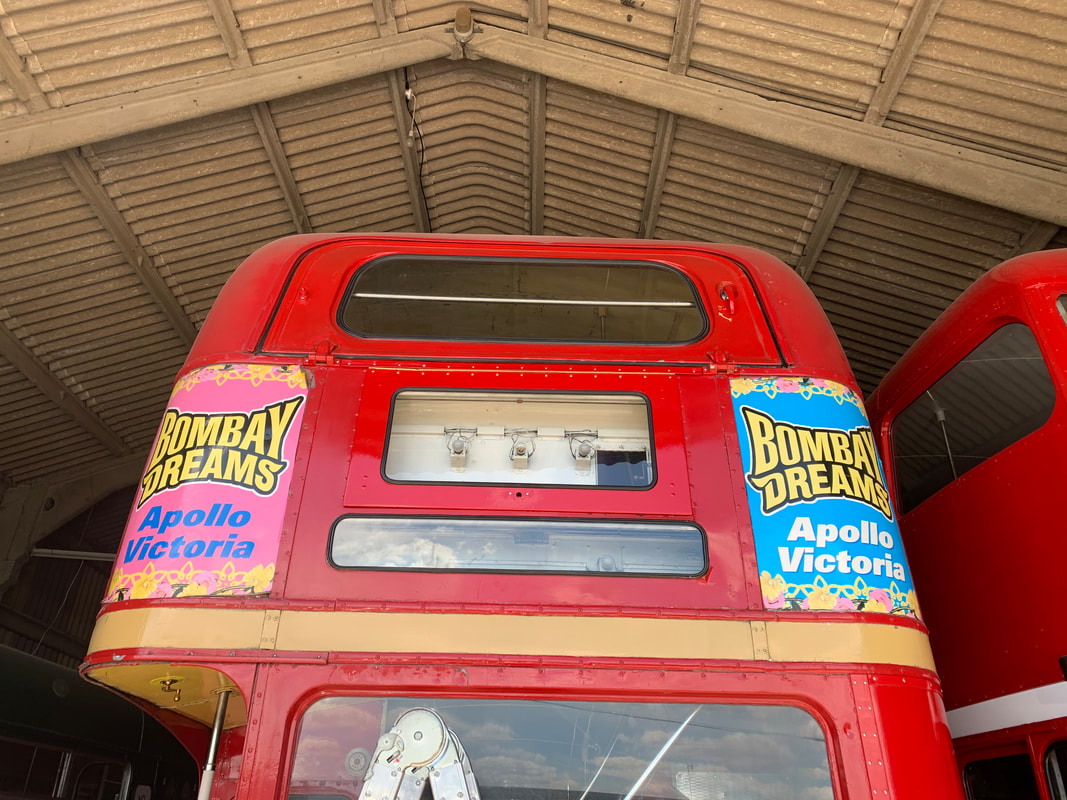
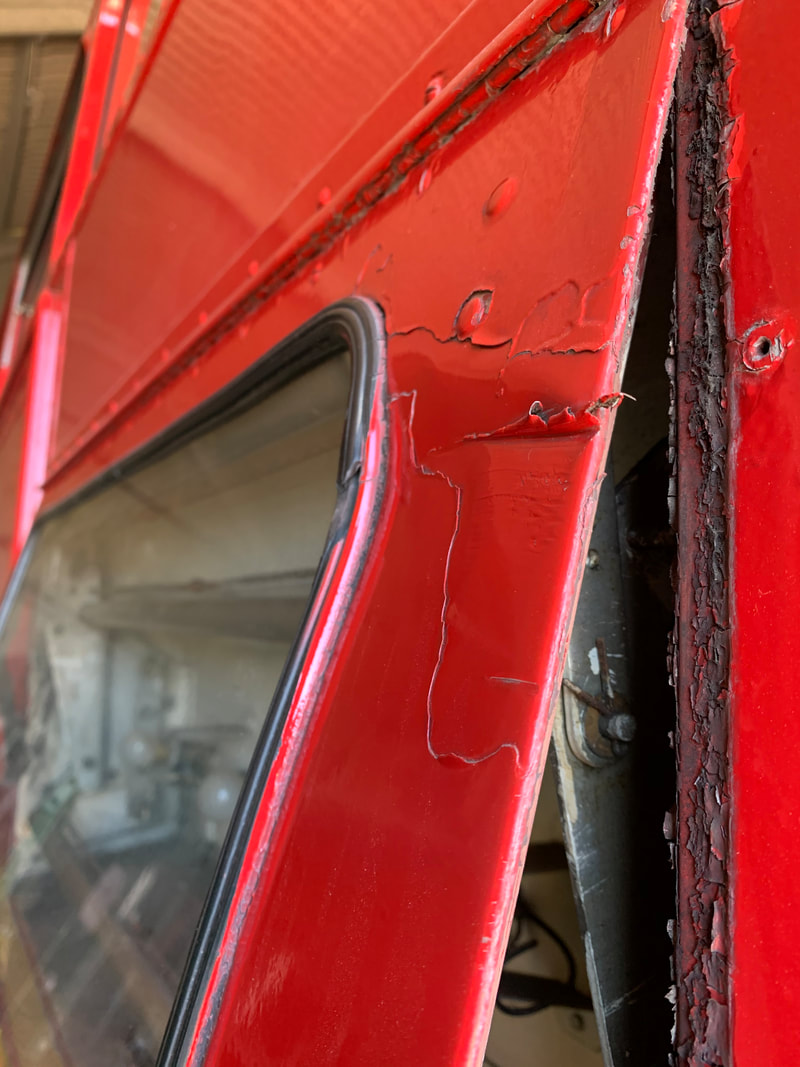
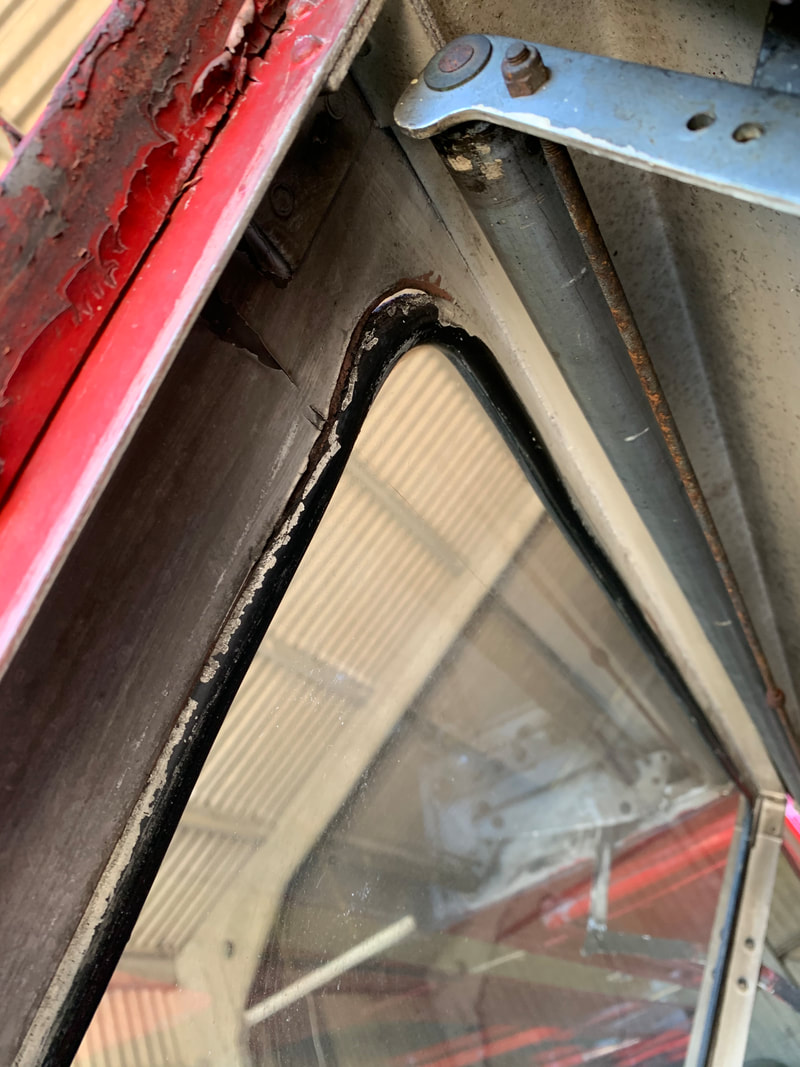
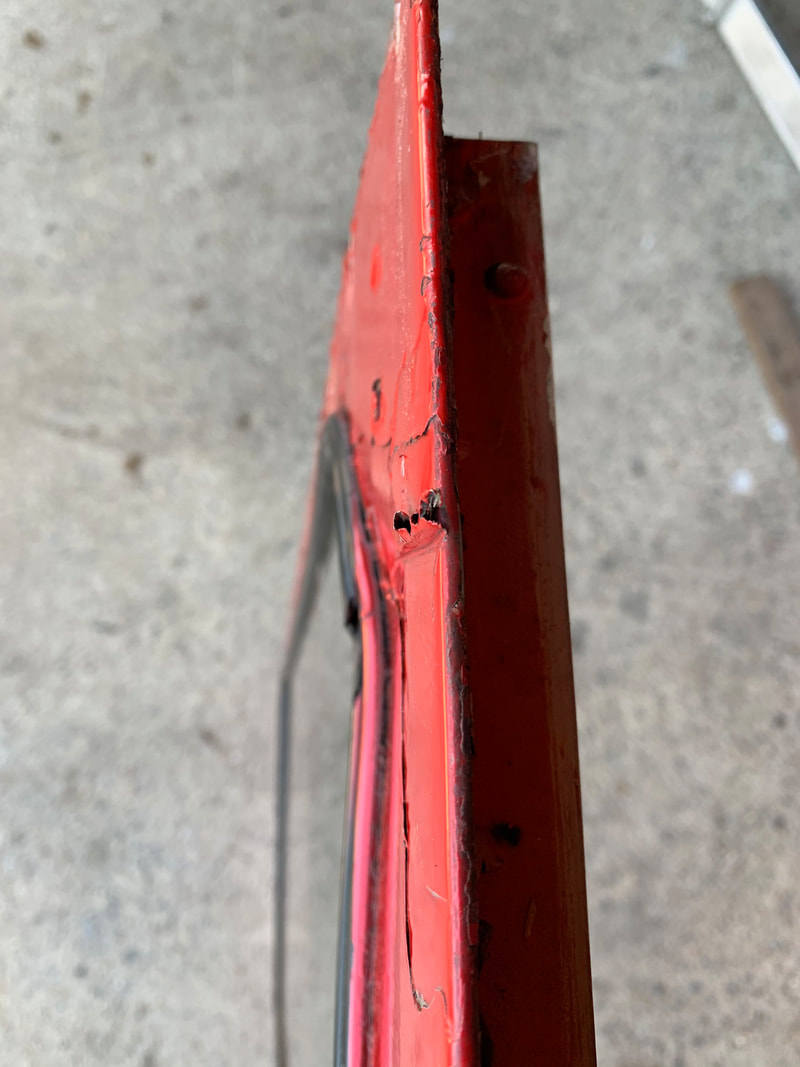
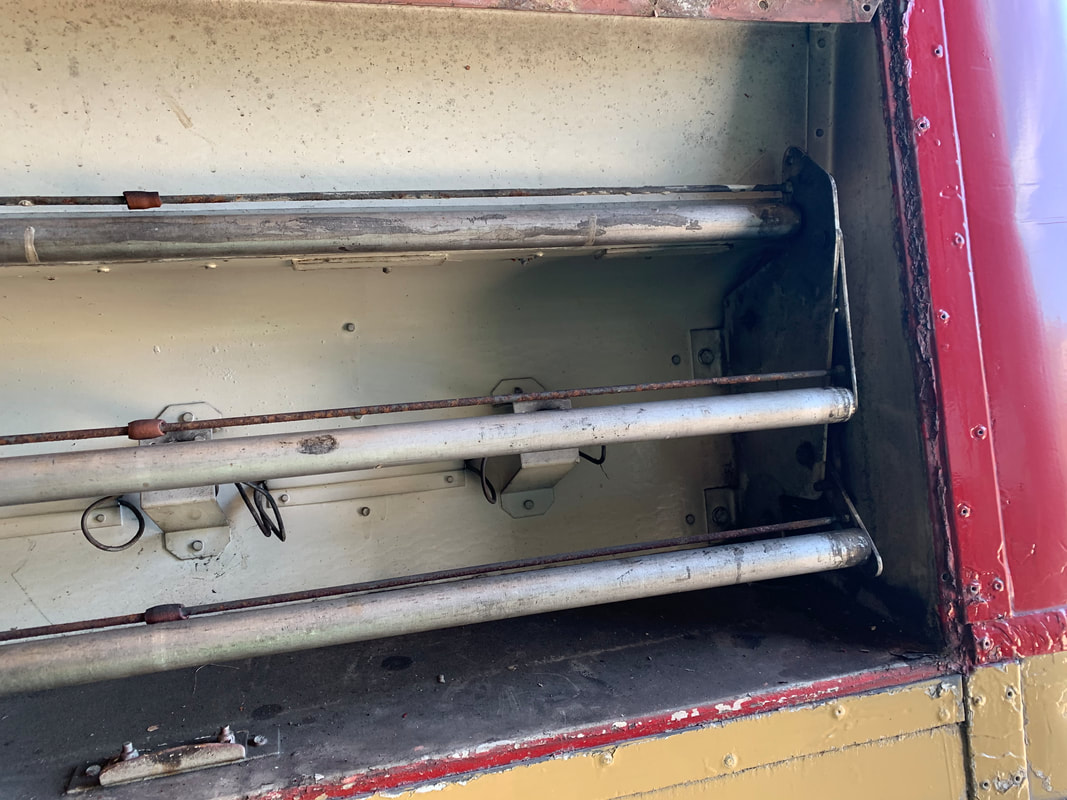
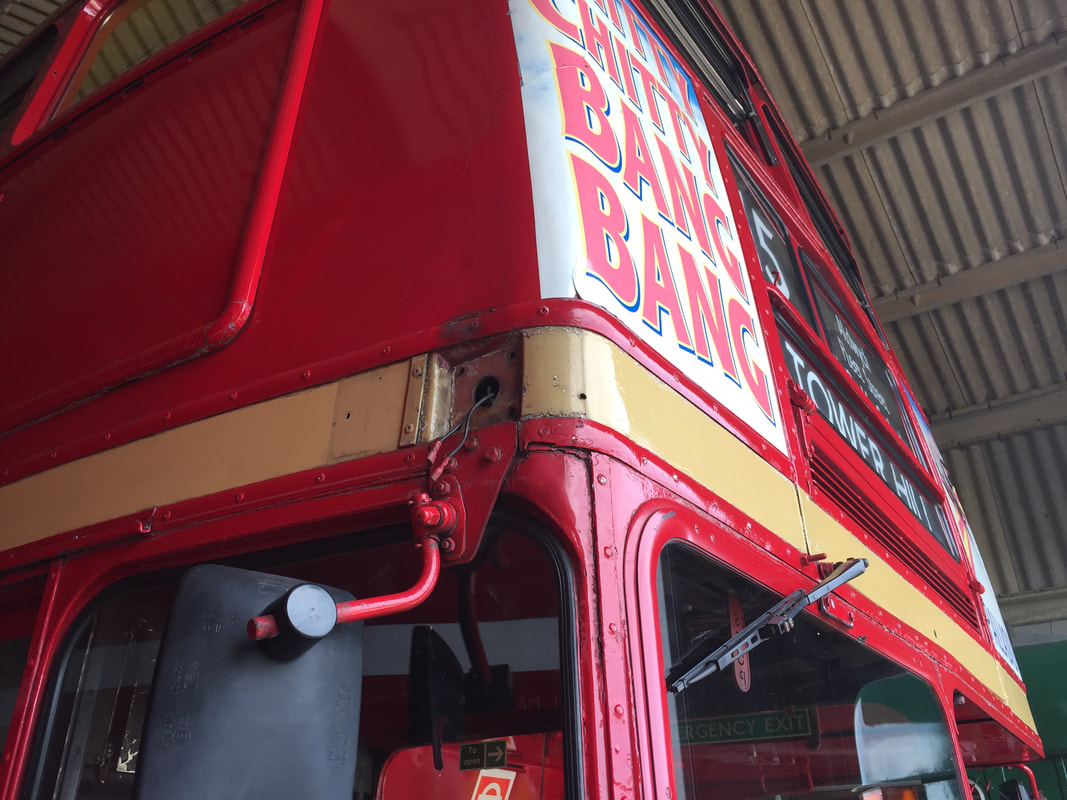
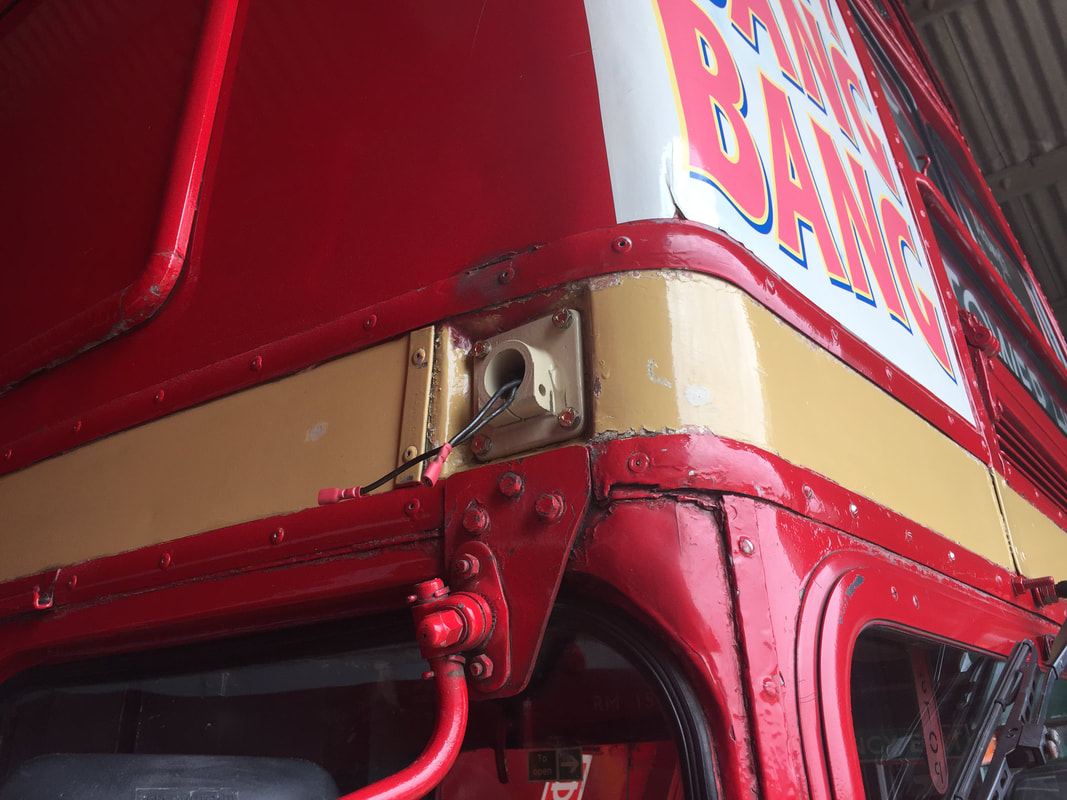
At some point either in service or in storage, RM1527 had suffered a couple of bad hits to the rear and side blindboxes.
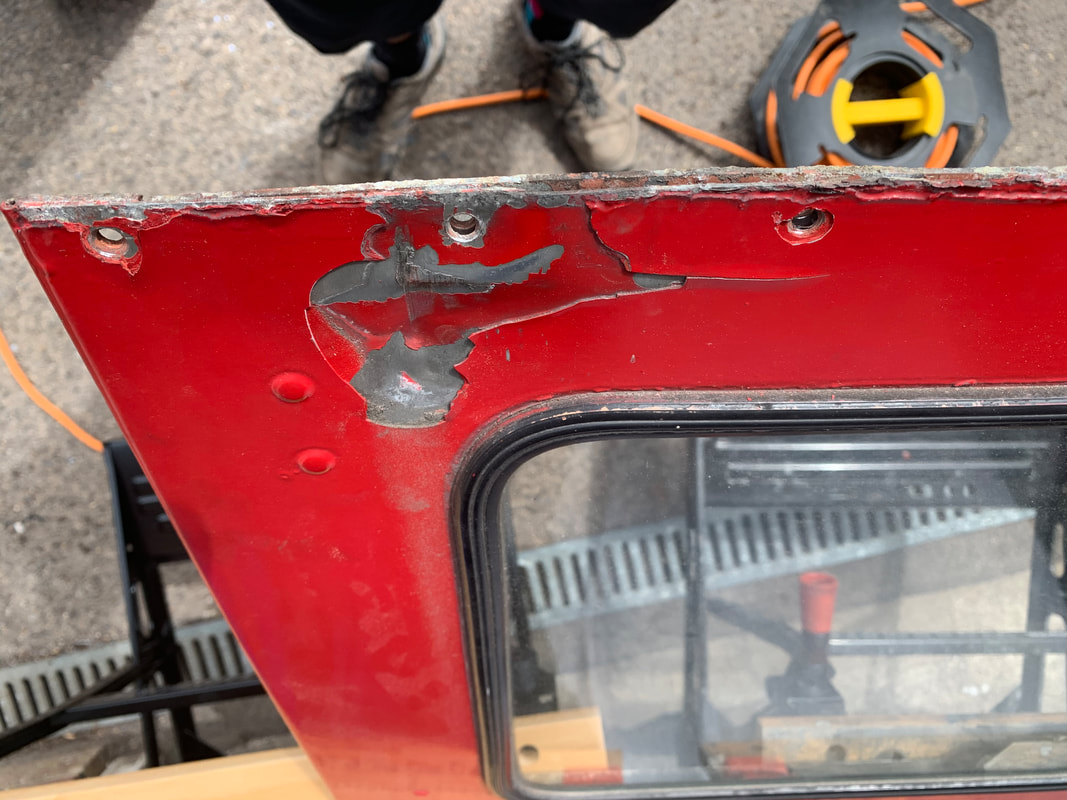
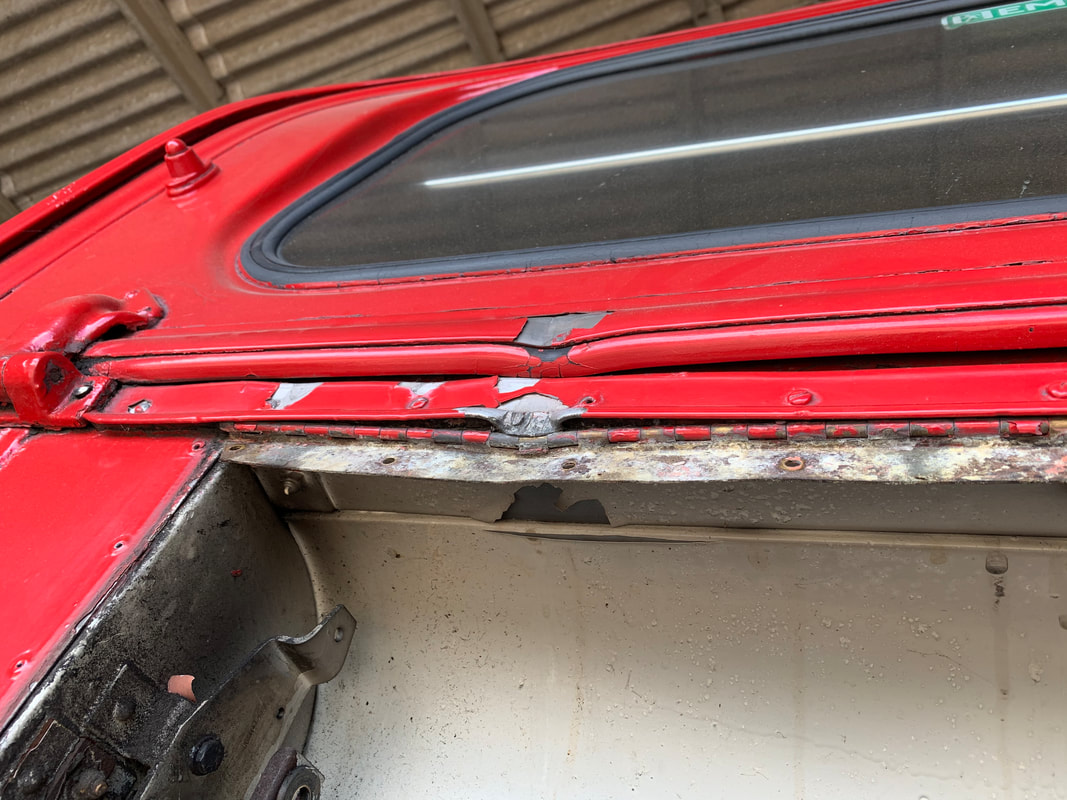
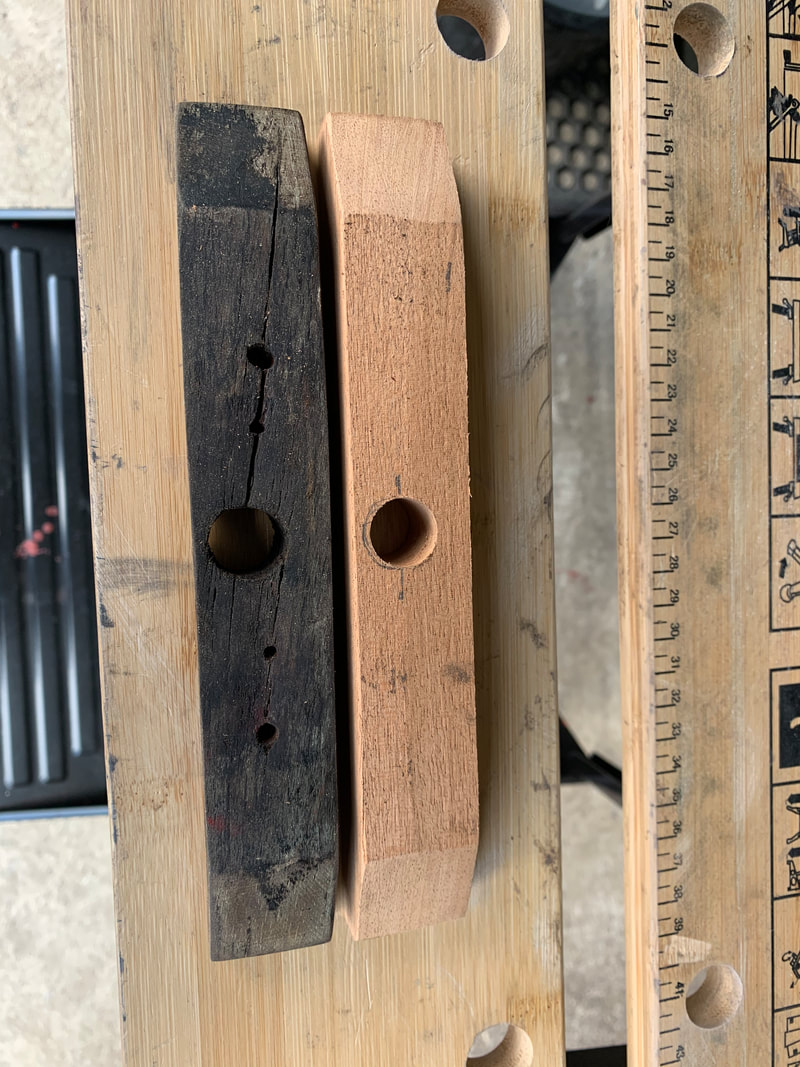
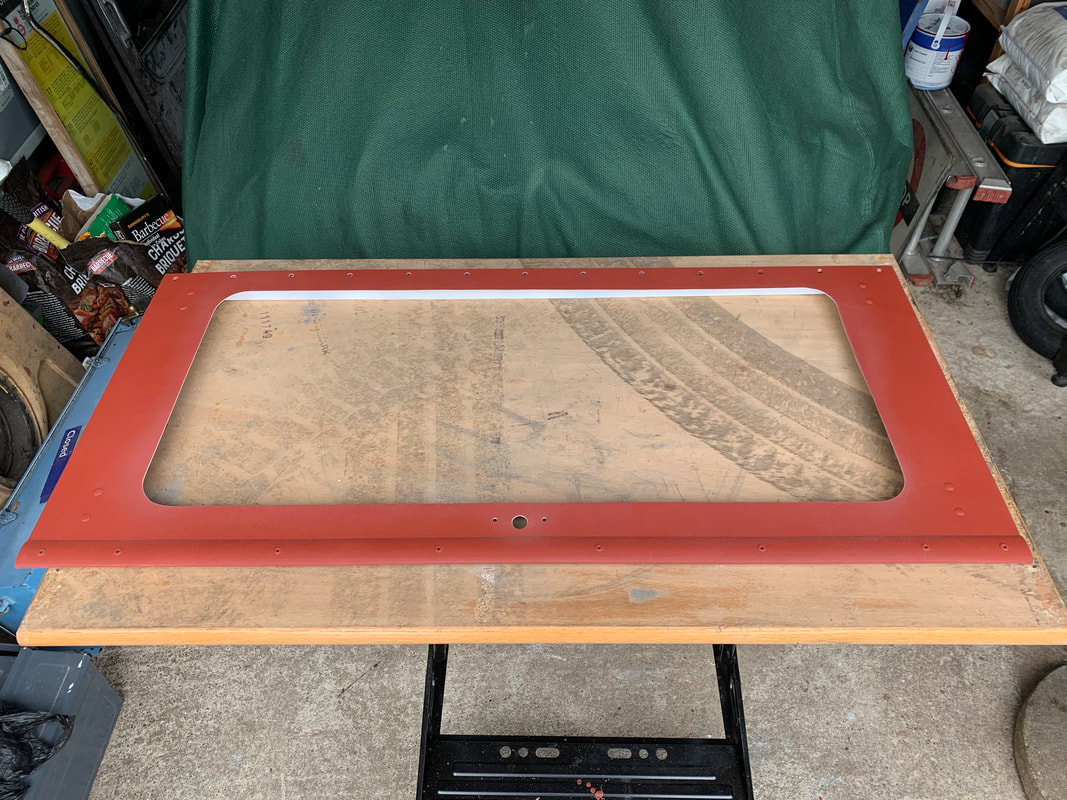
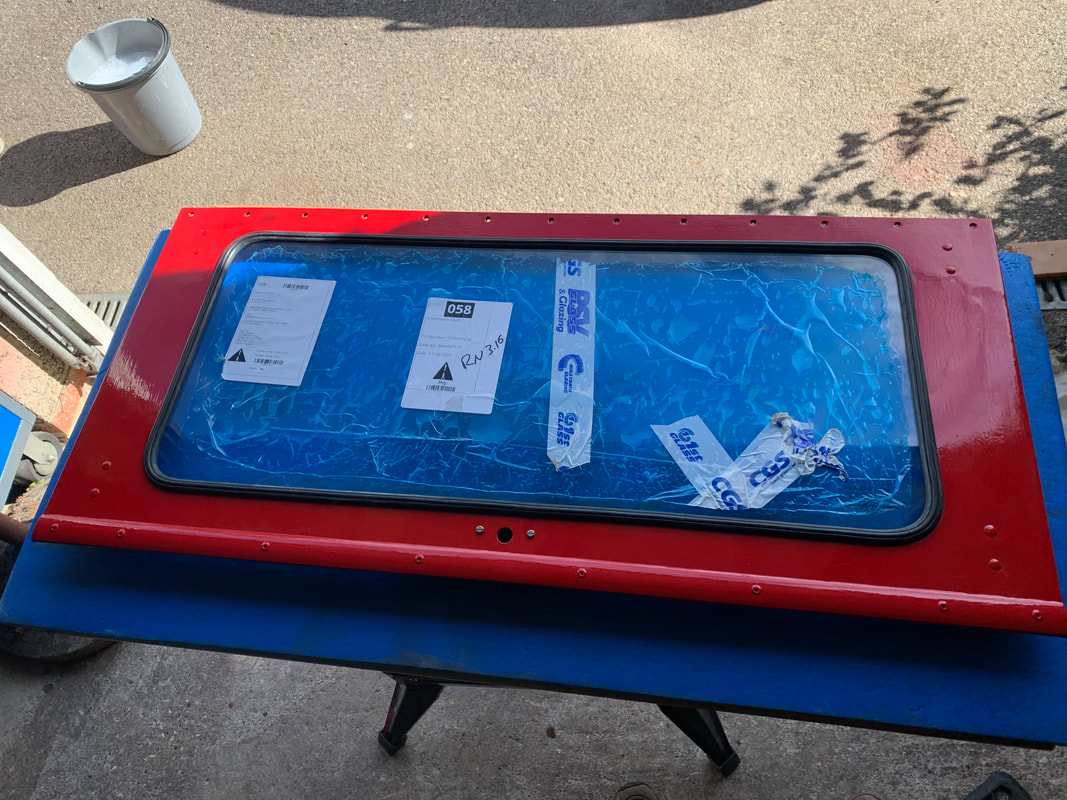
In the case of the rear box, this had bent the hinge meaning it didn't fully open. The fibreglass of the emergency exit window had also been cracked from the impact, and the rear framework also bent. We stripped this down to straighten it as much as possible and then re-assembled with a spare emergency exit window we had.
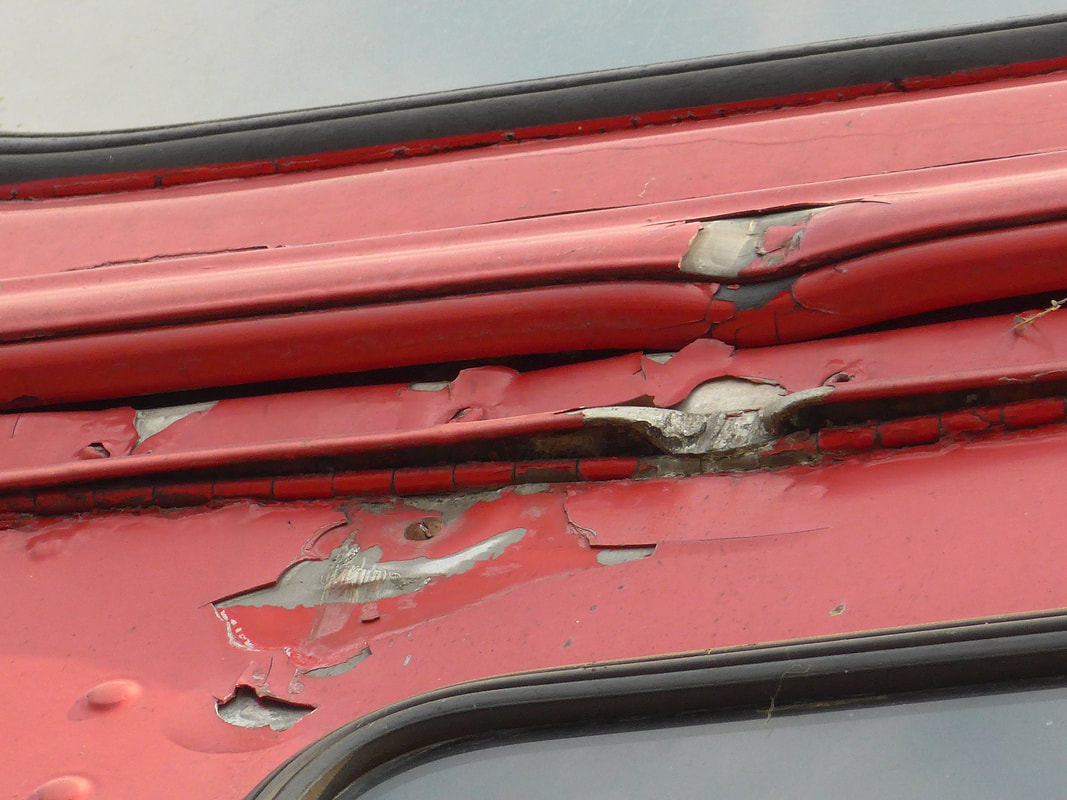
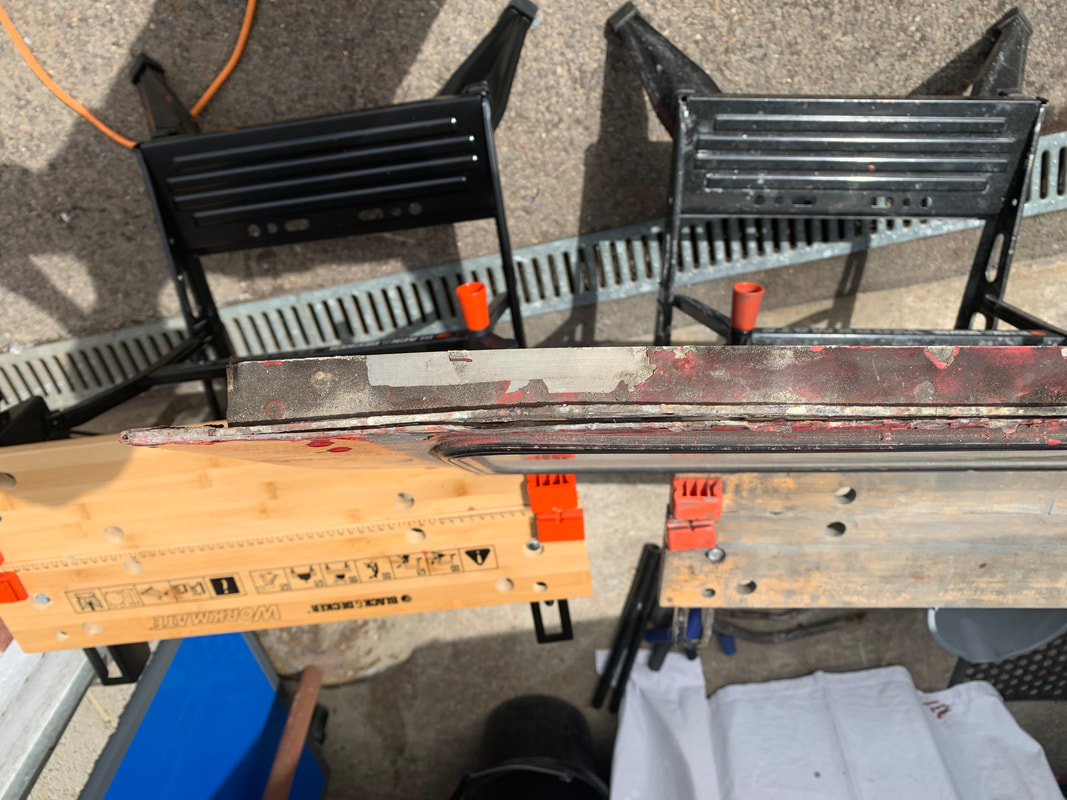
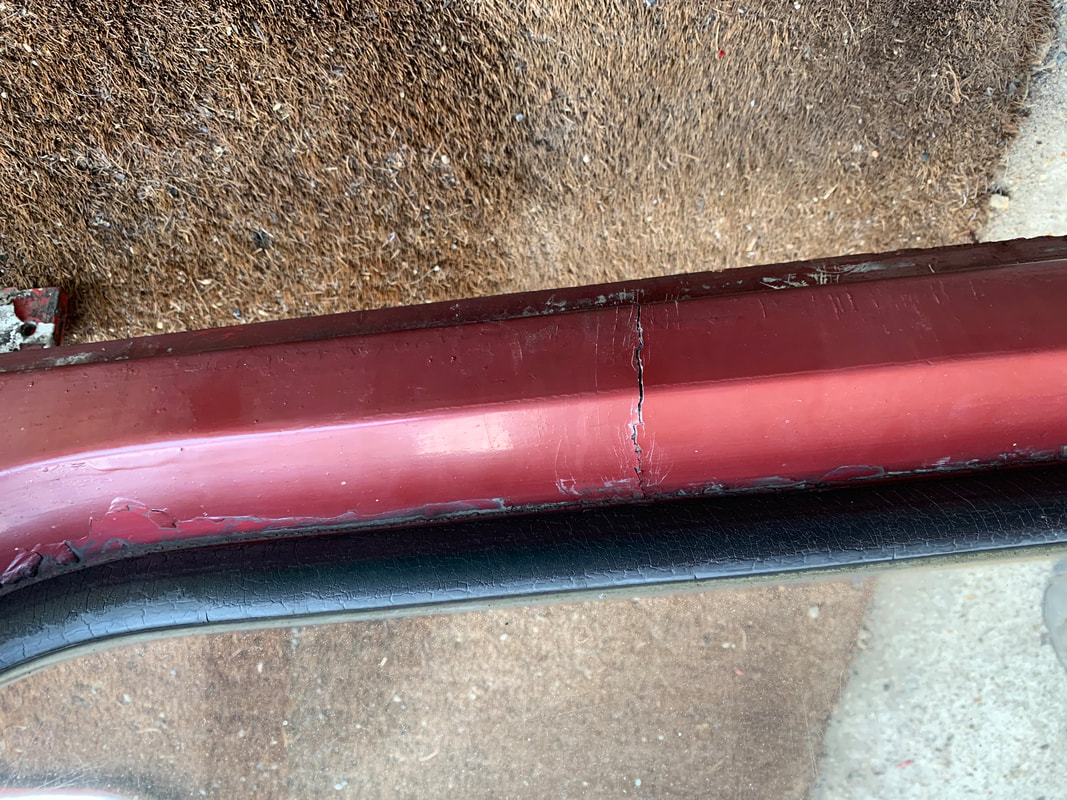
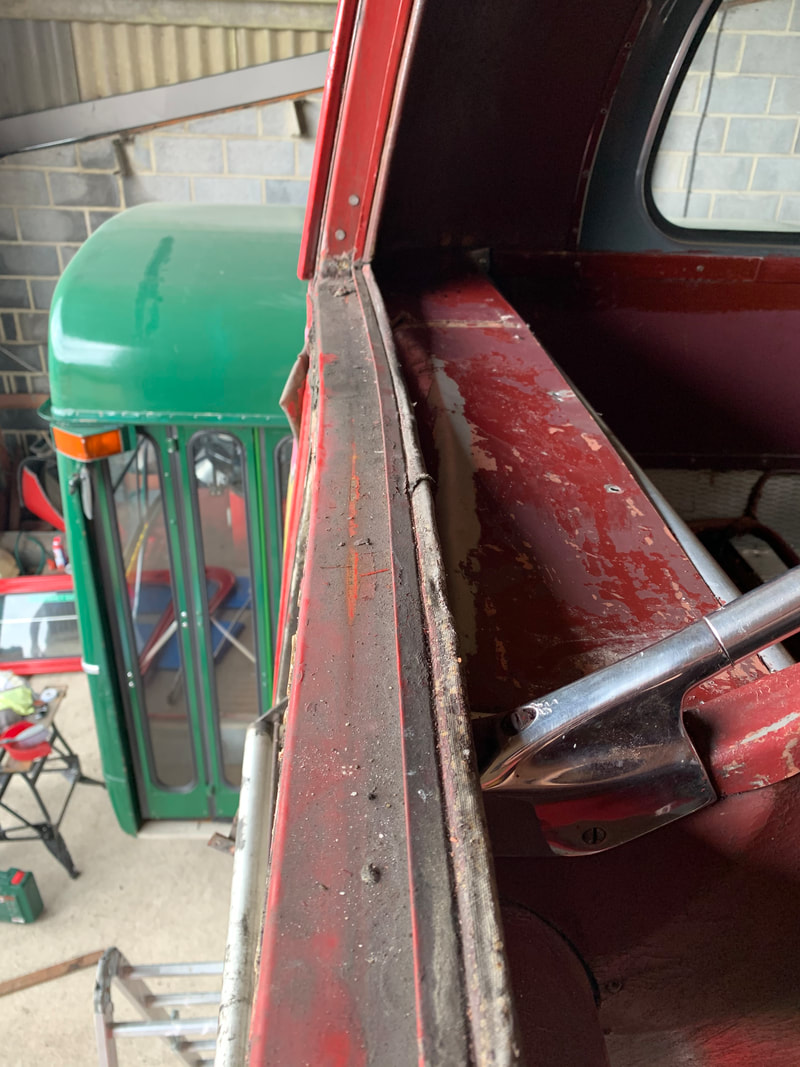
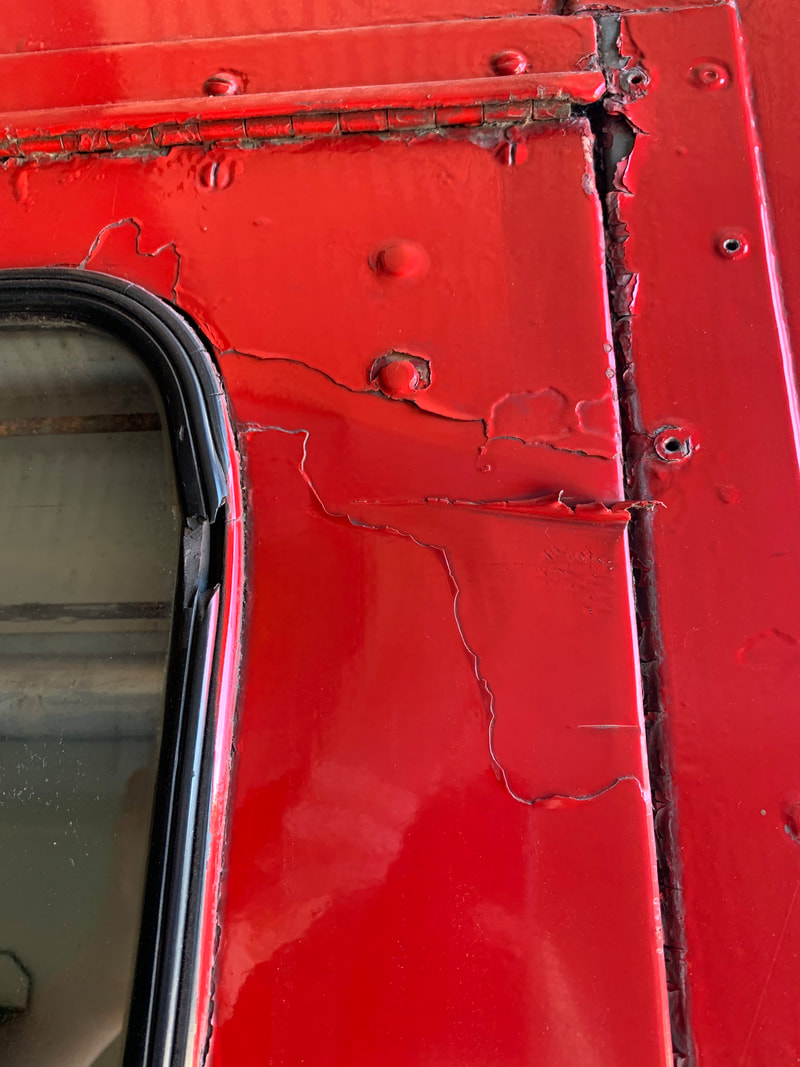
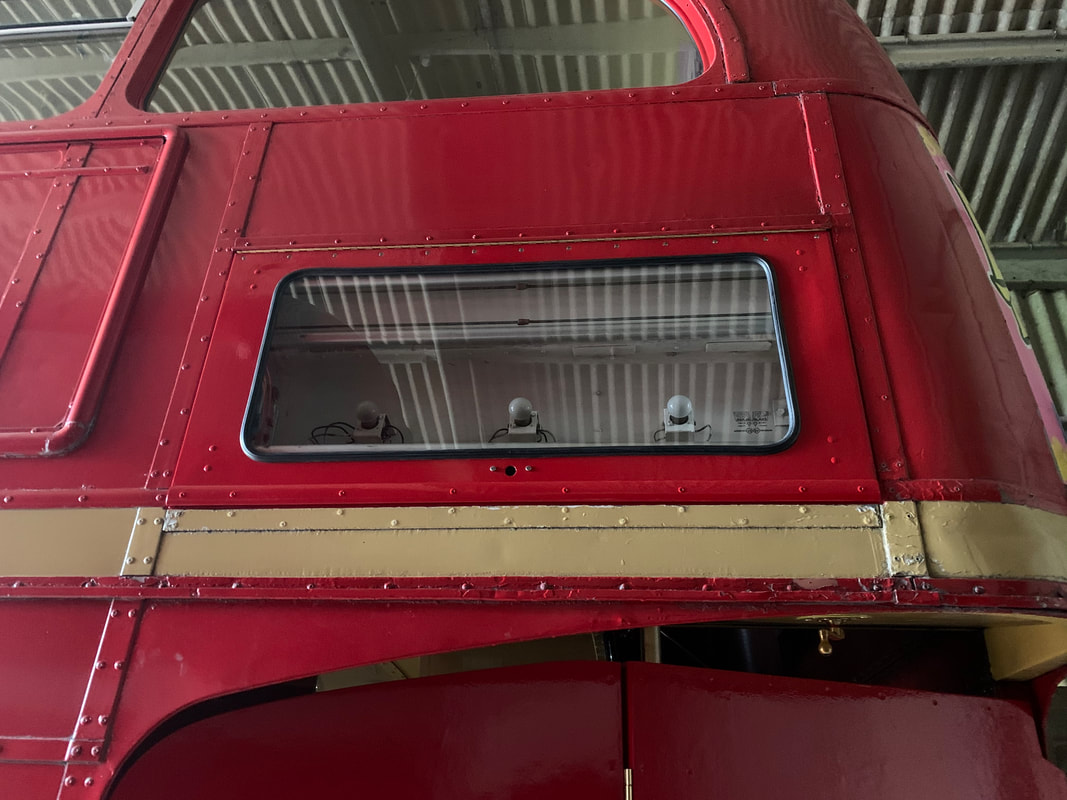
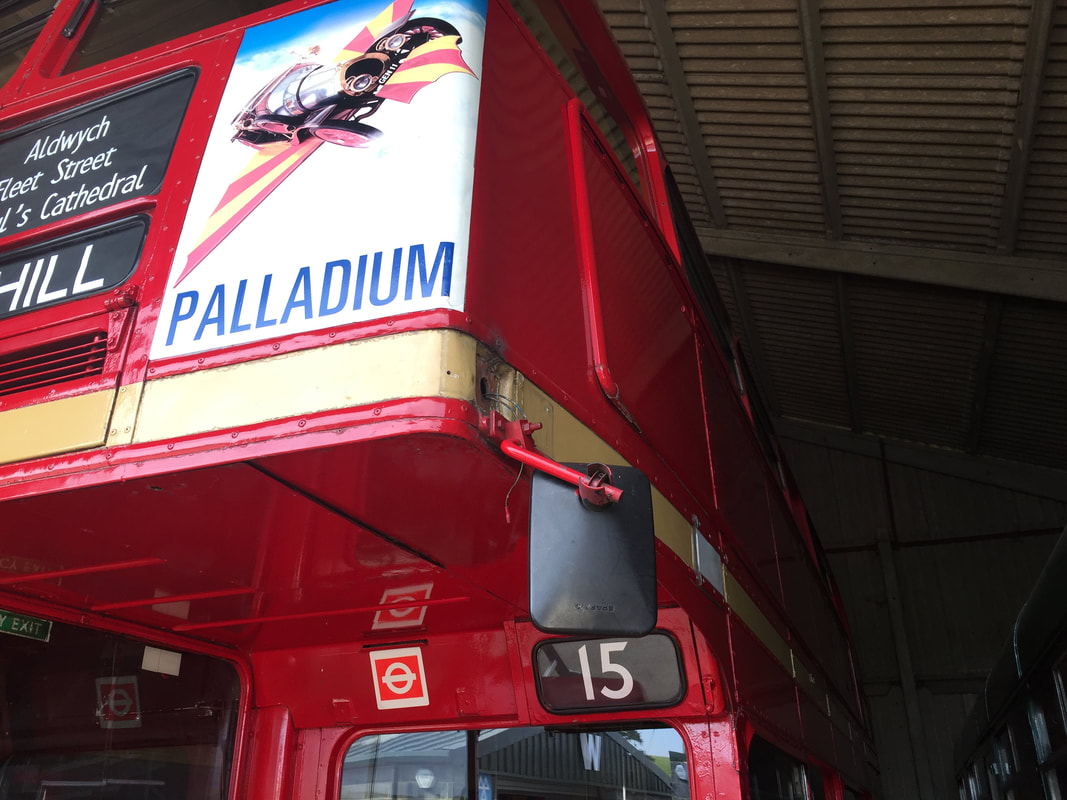
The dent in the side blindbox was less severe, but had torn the rubber and also left a sharp tear in the metal (which looked like flaking paint, but wasn't). Again the flap was removed, this time the glass taken out, metal straightened as much as possible,and repainted.
In the case of the rear box, this had bent the hinge meaning it didn't fully open. The fibreglass of the emergency exit window had also been cracked from the impact, and the rear framework also bent. We stripped this down to straighten it as much as possible and then re-assembled with a spare emergency exit window we had.
The dent in the side blindbox was less severe, but had torn the rubber and also left a sharp tear in the metal (which looked like flaking paint, but wasn't). Again the flap was removed, this time the glass taken out, metal straightened as much as possible,and repainted.
Window restoration
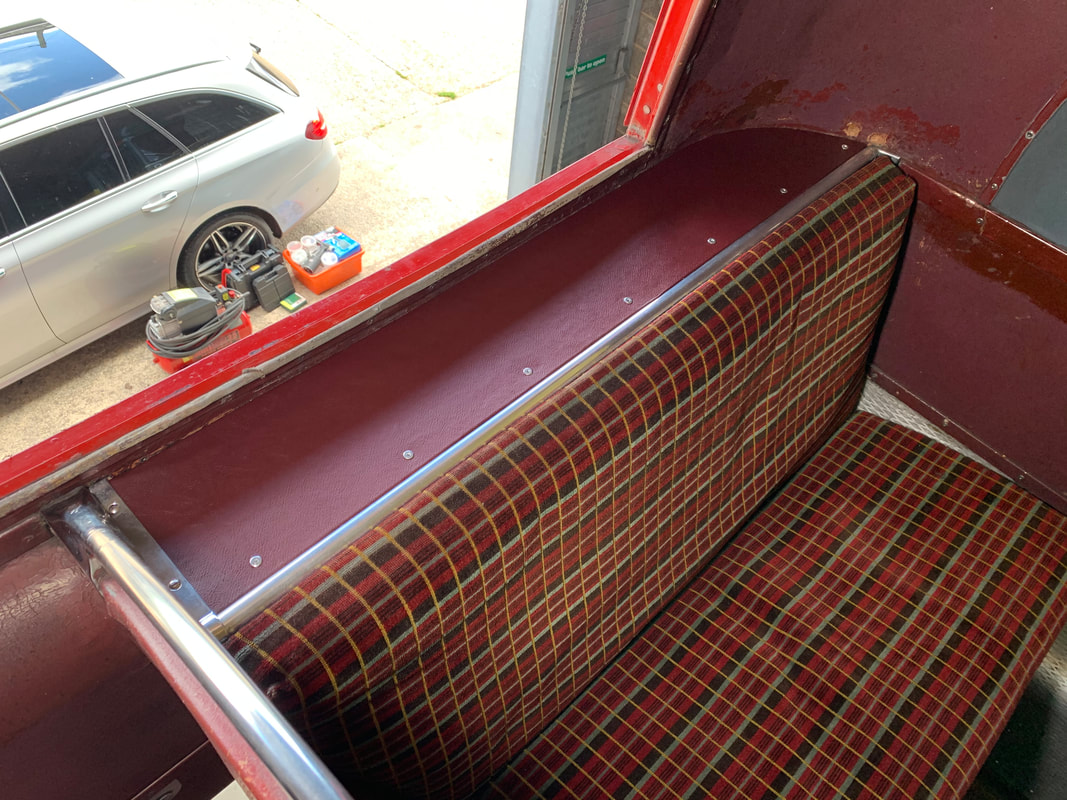
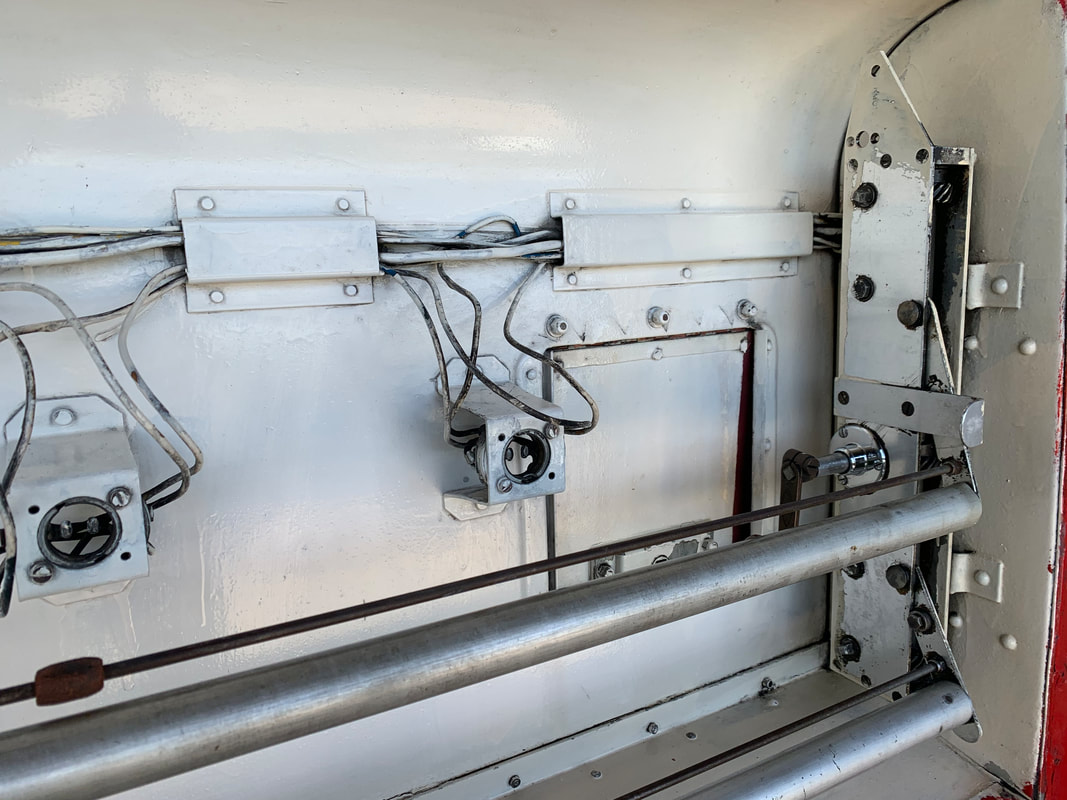
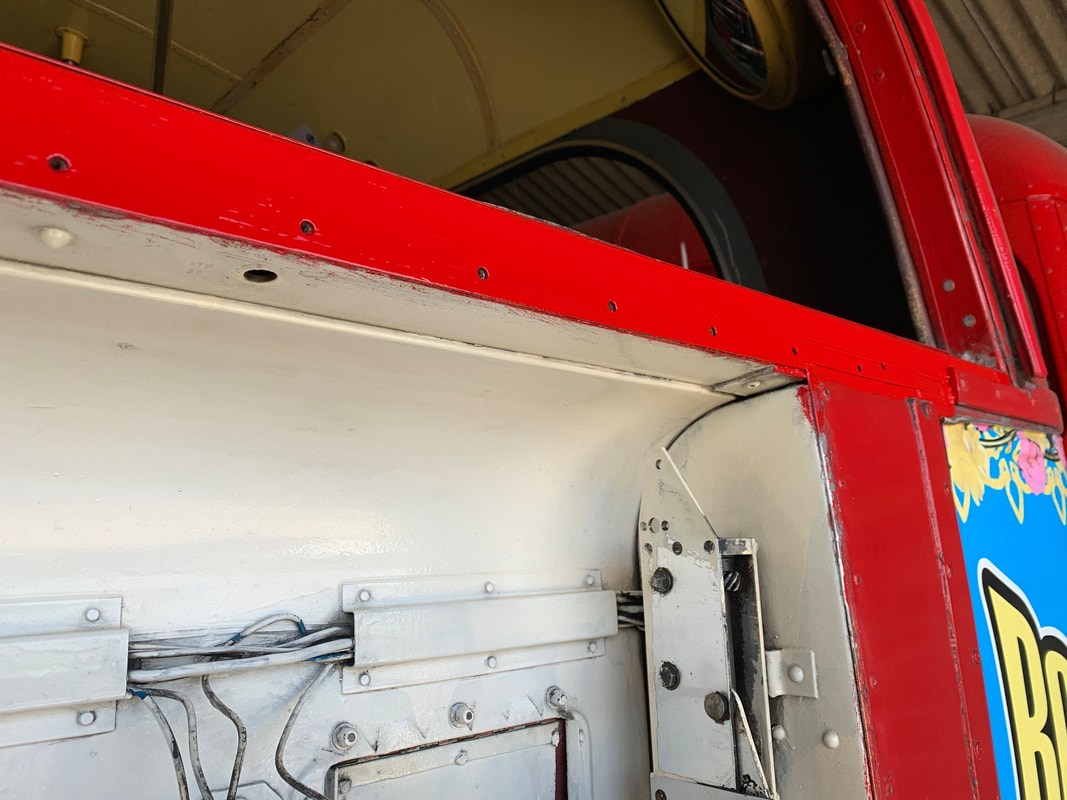
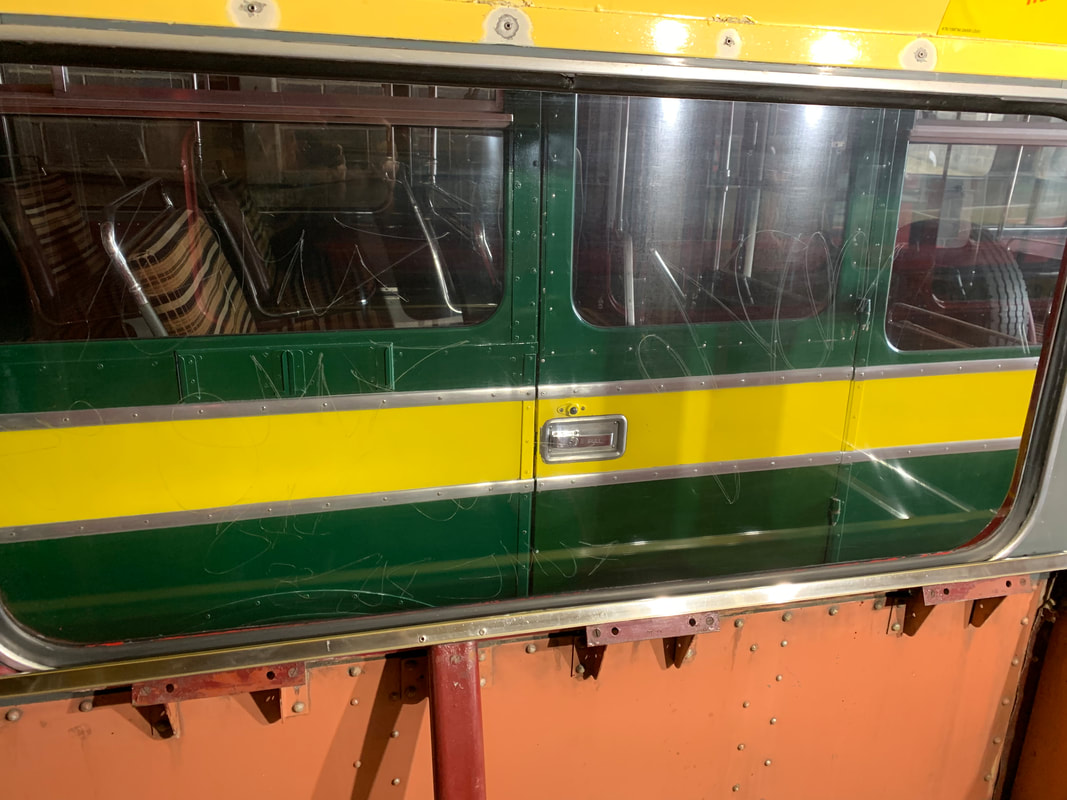
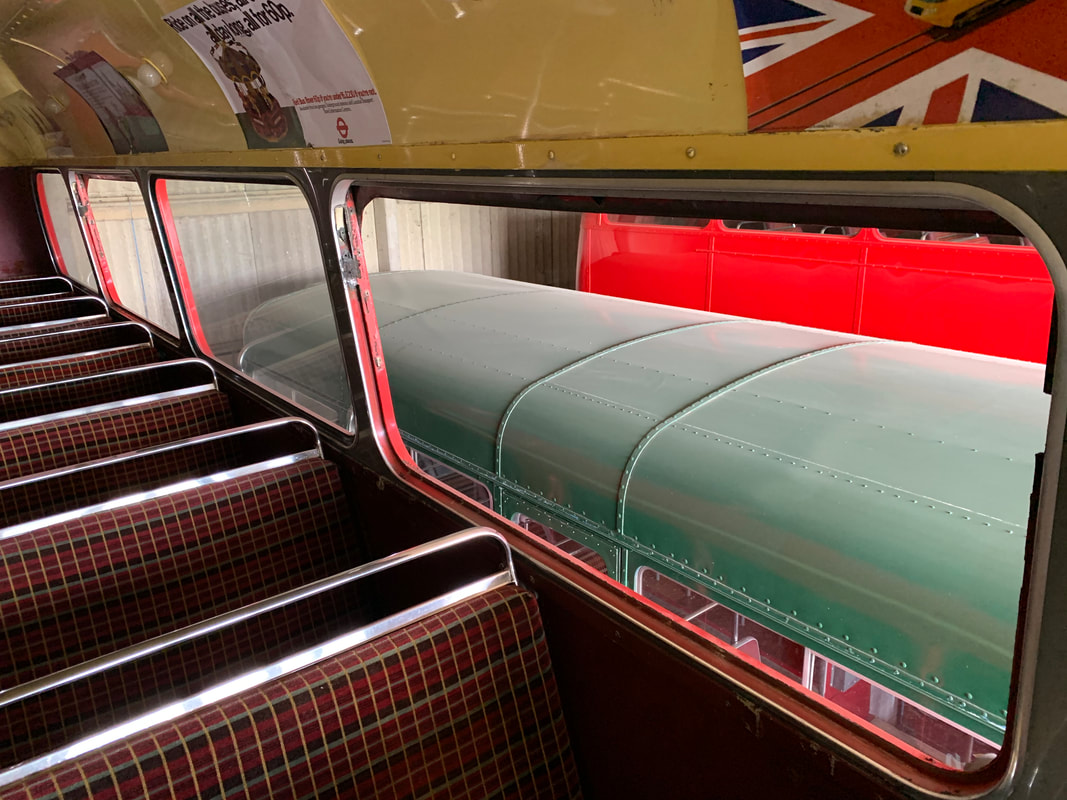
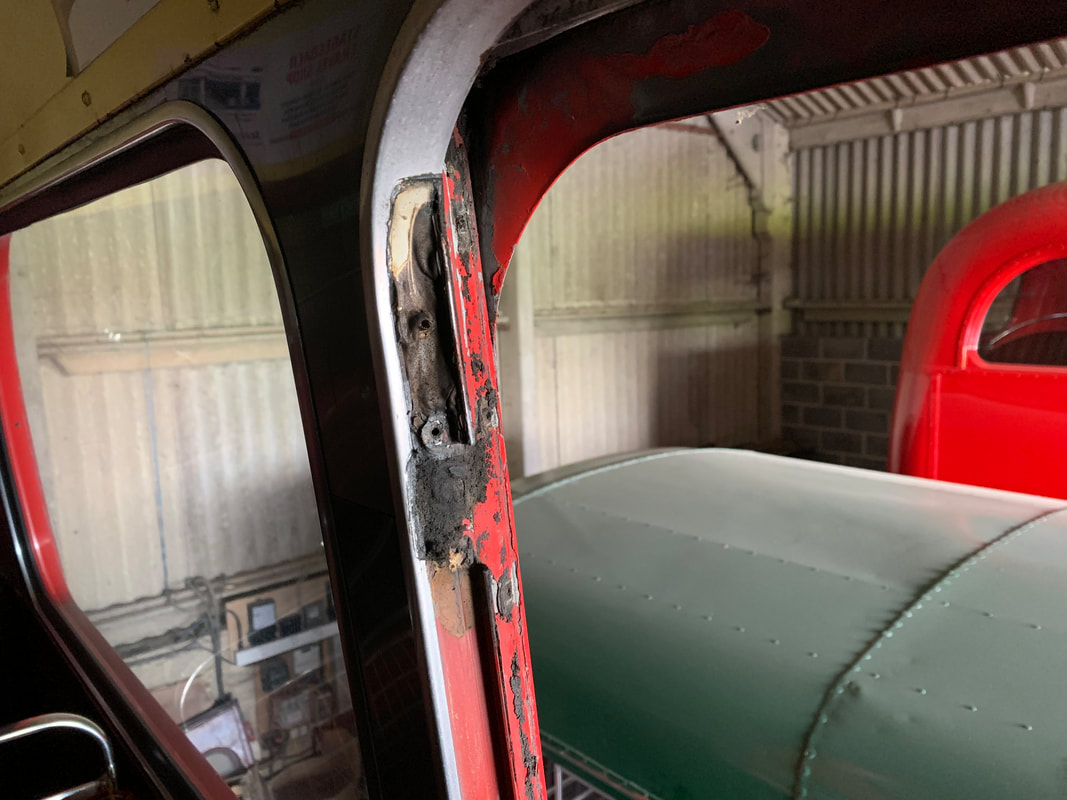
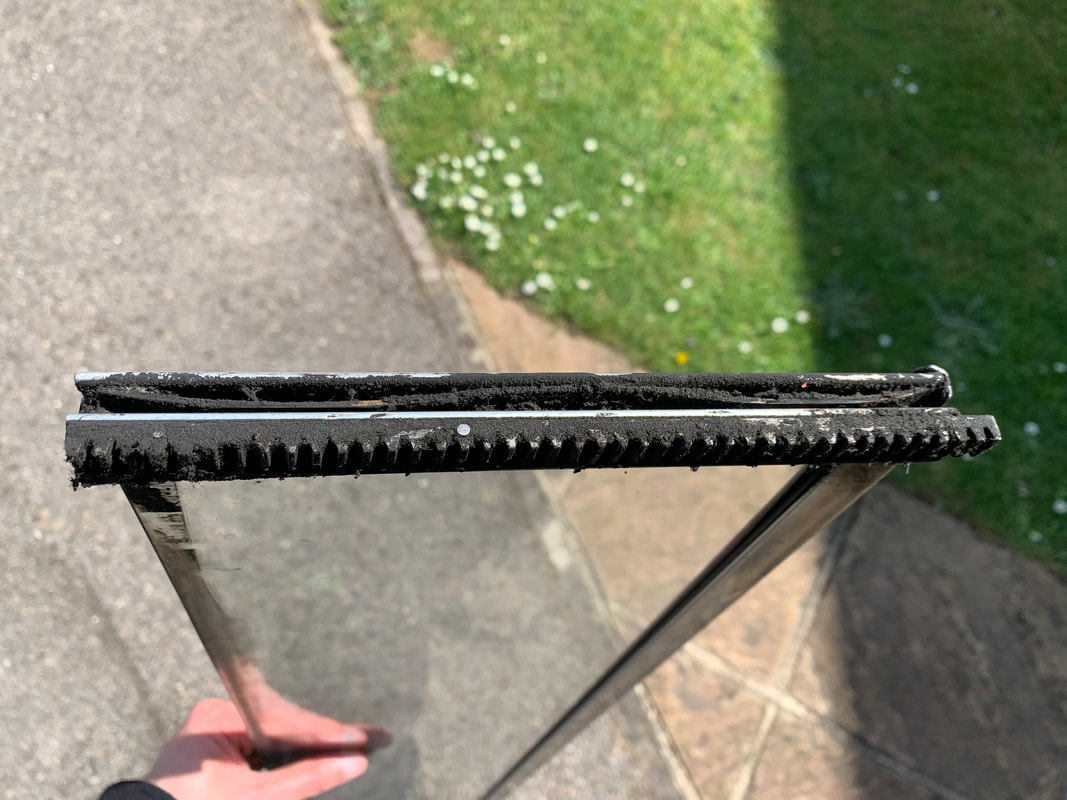
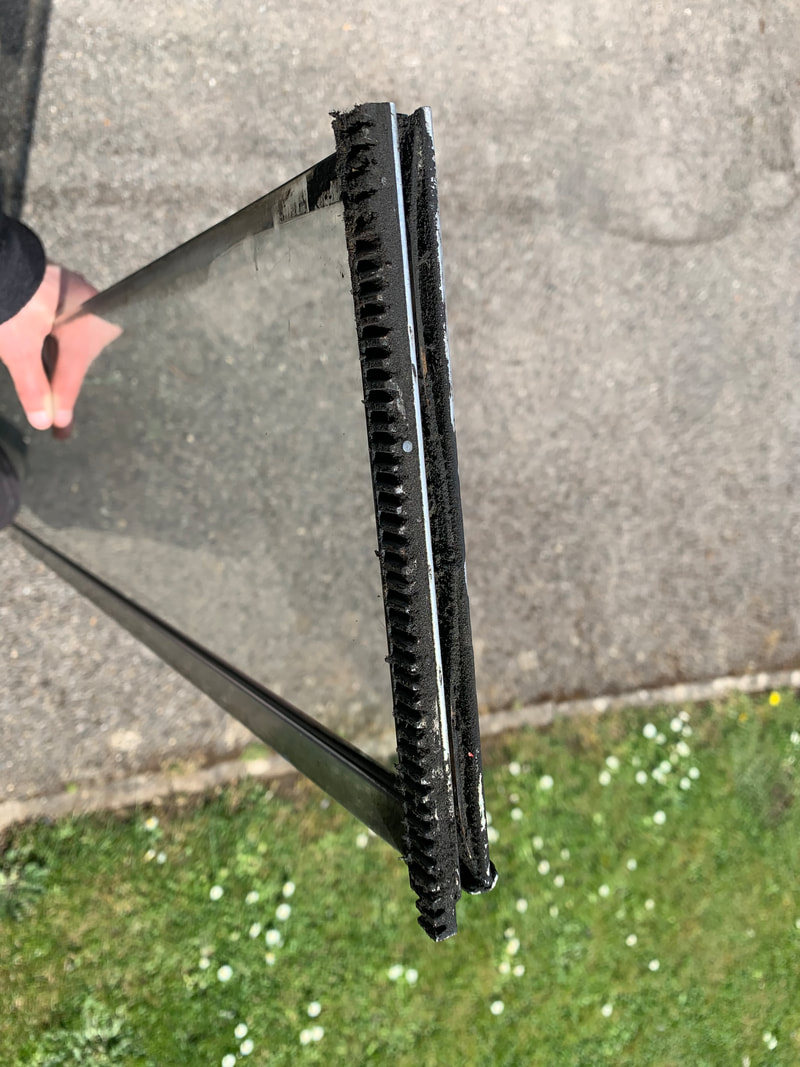
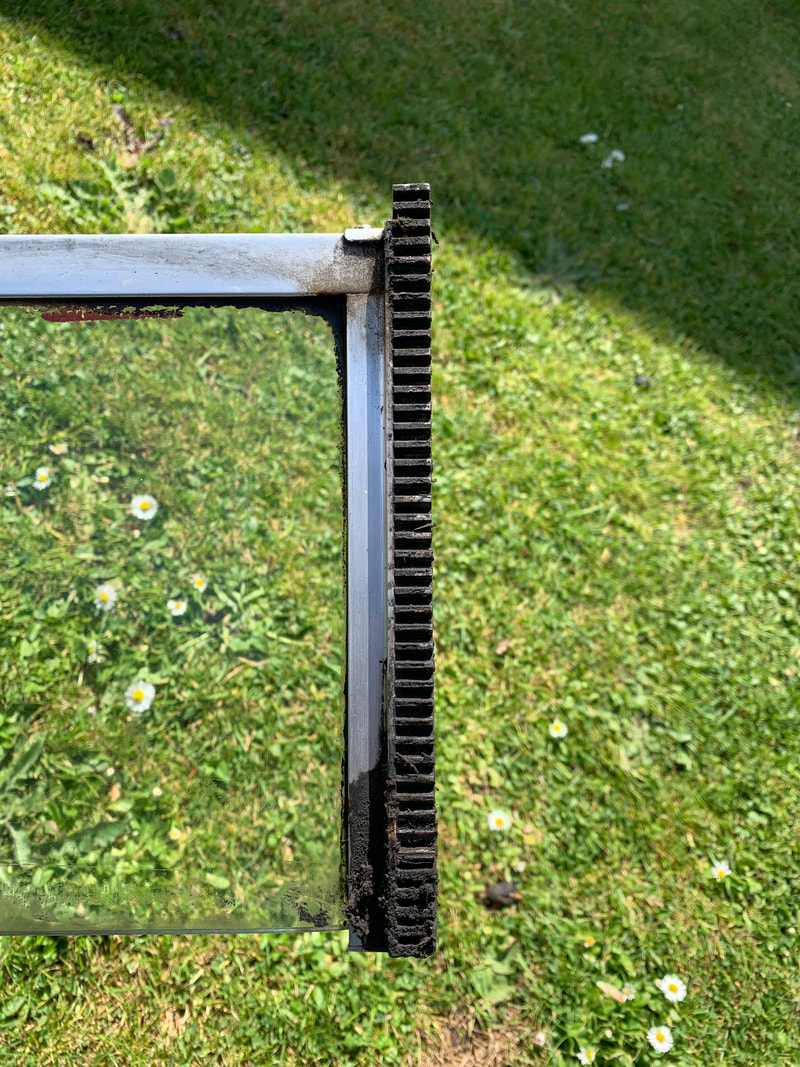
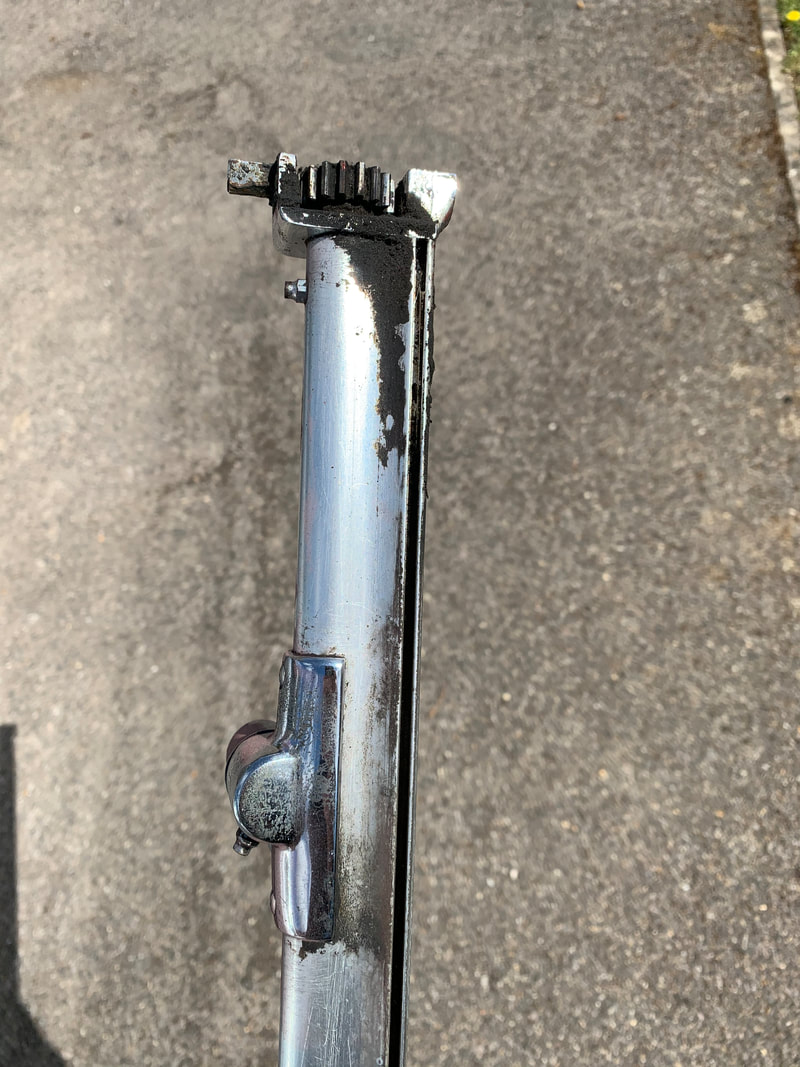
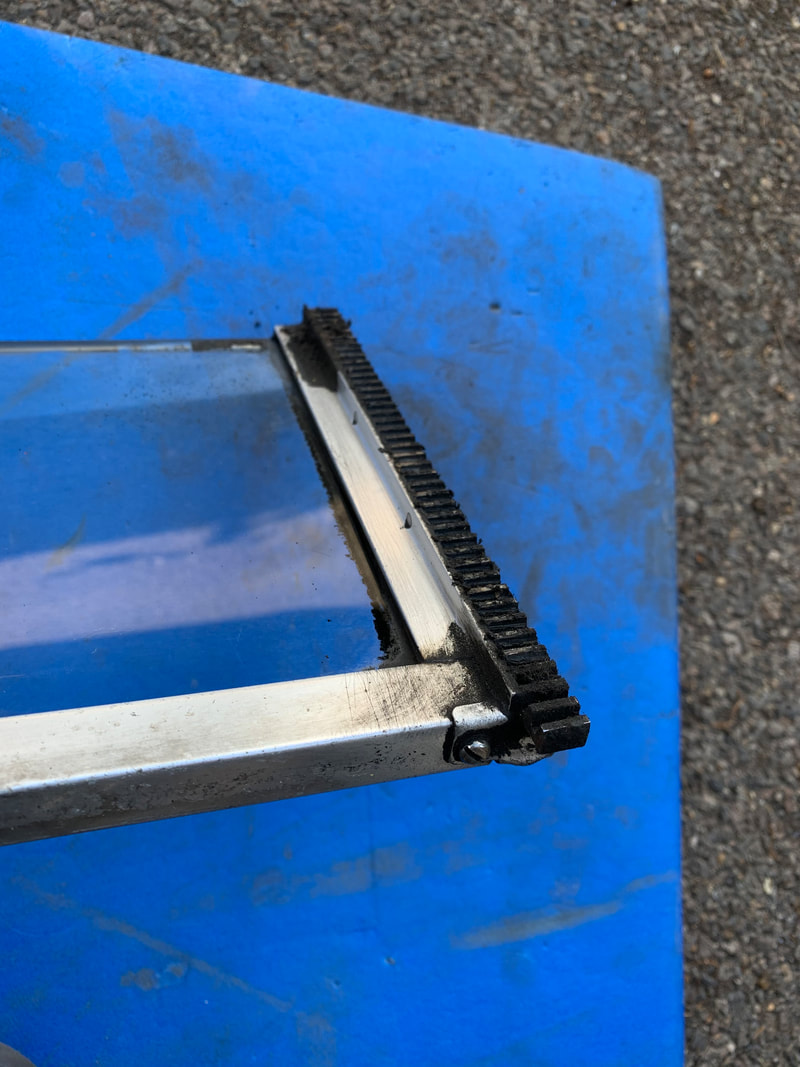
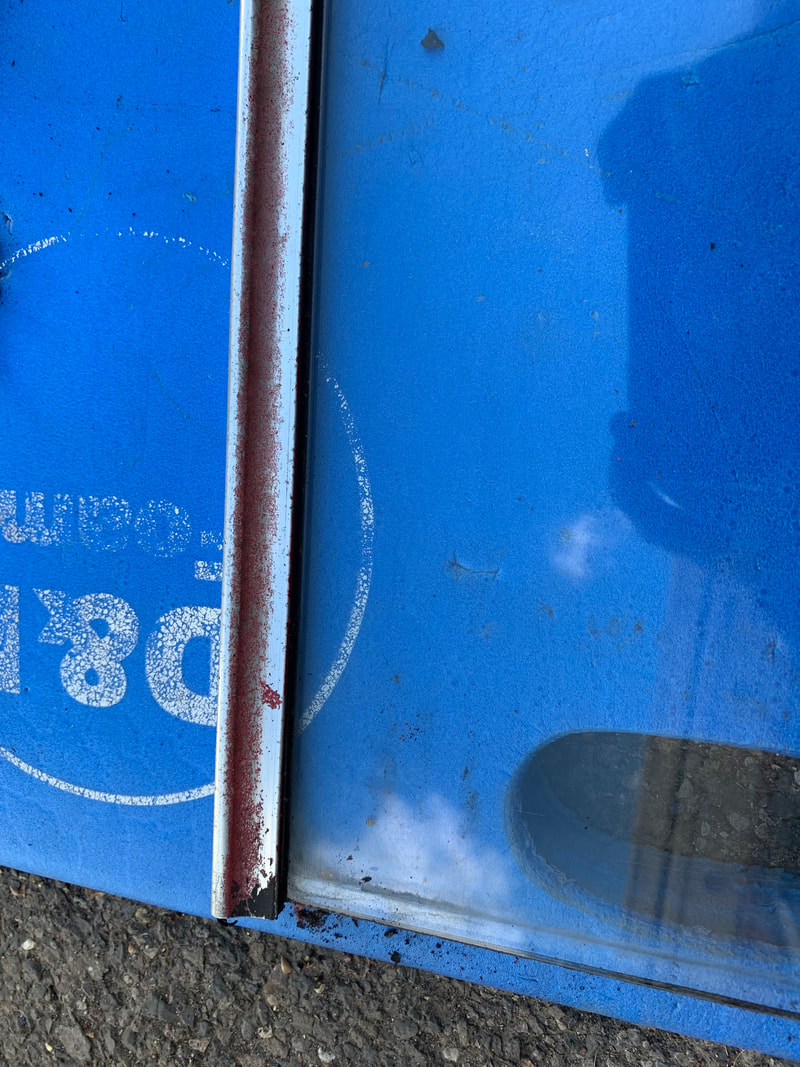
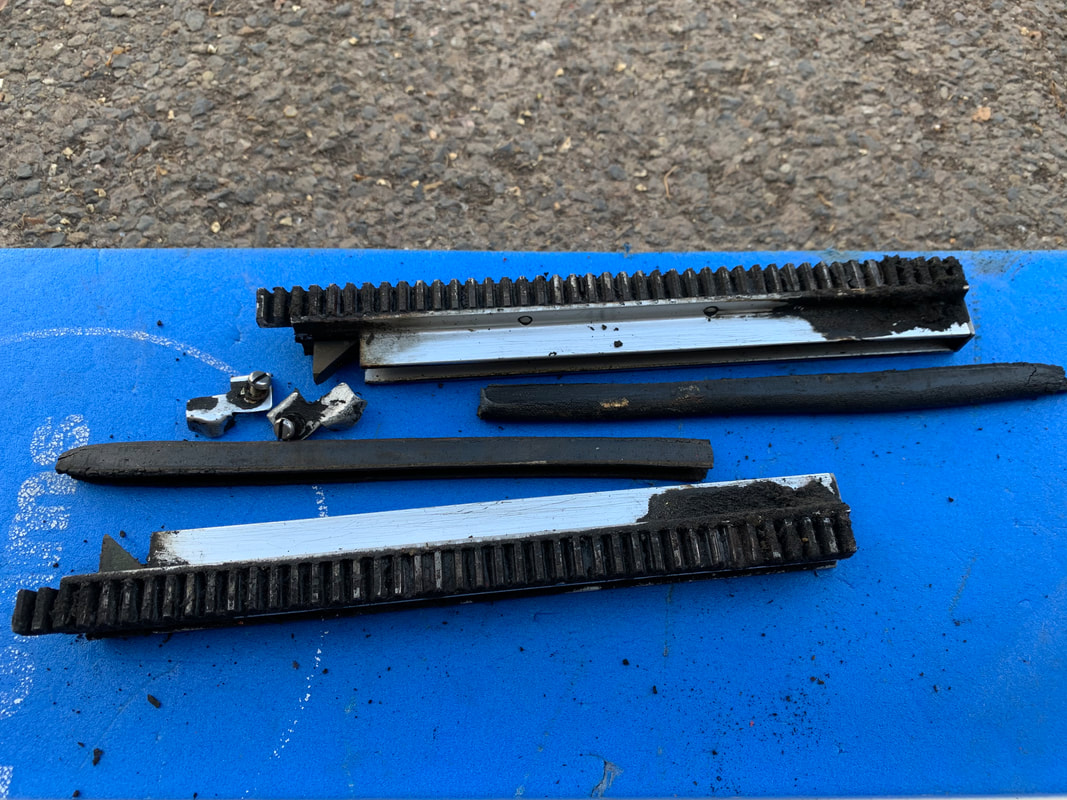
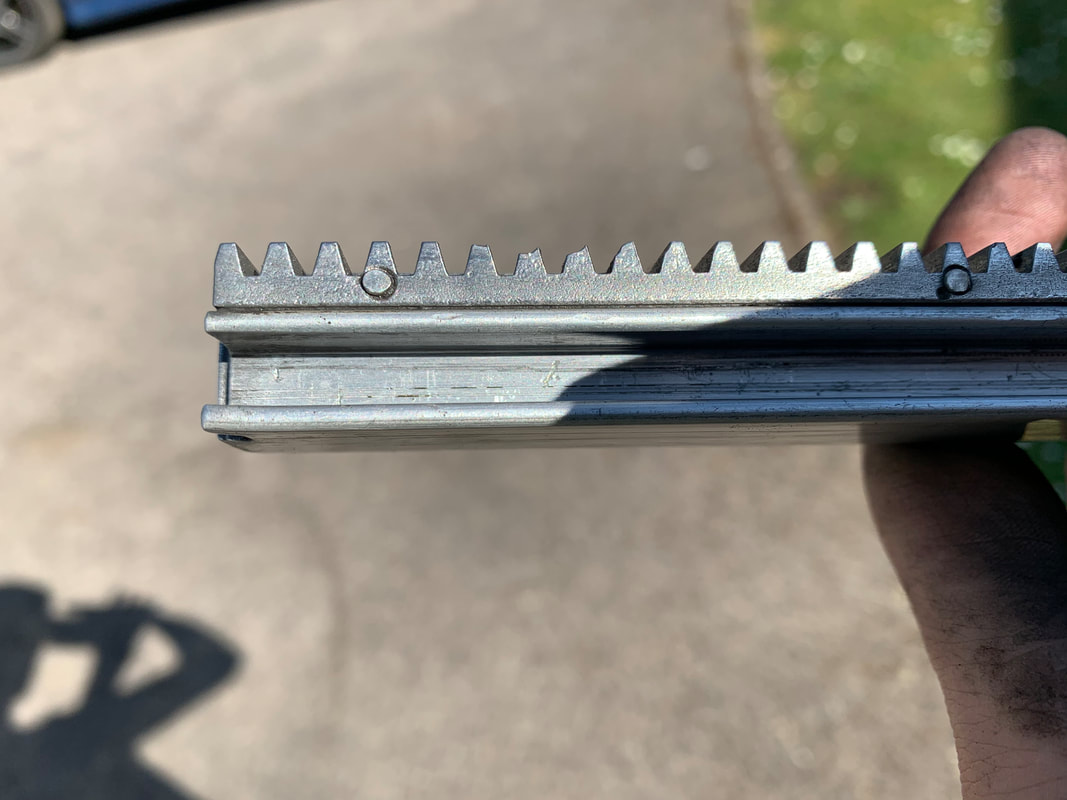
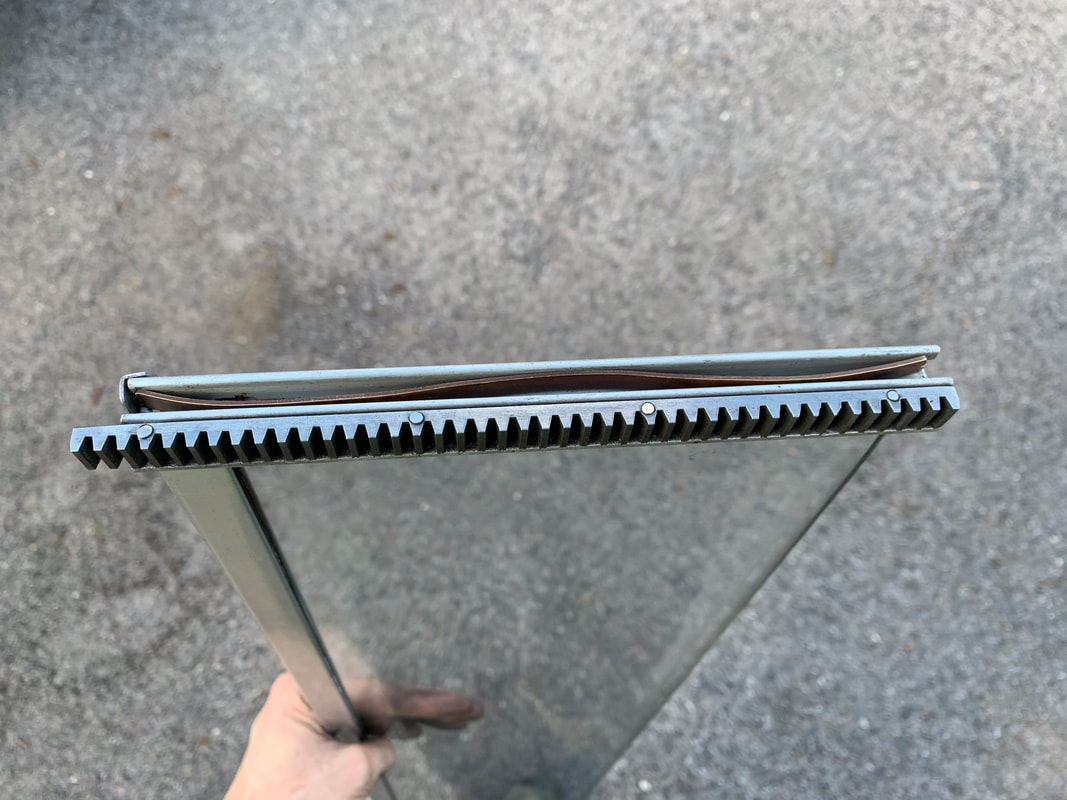
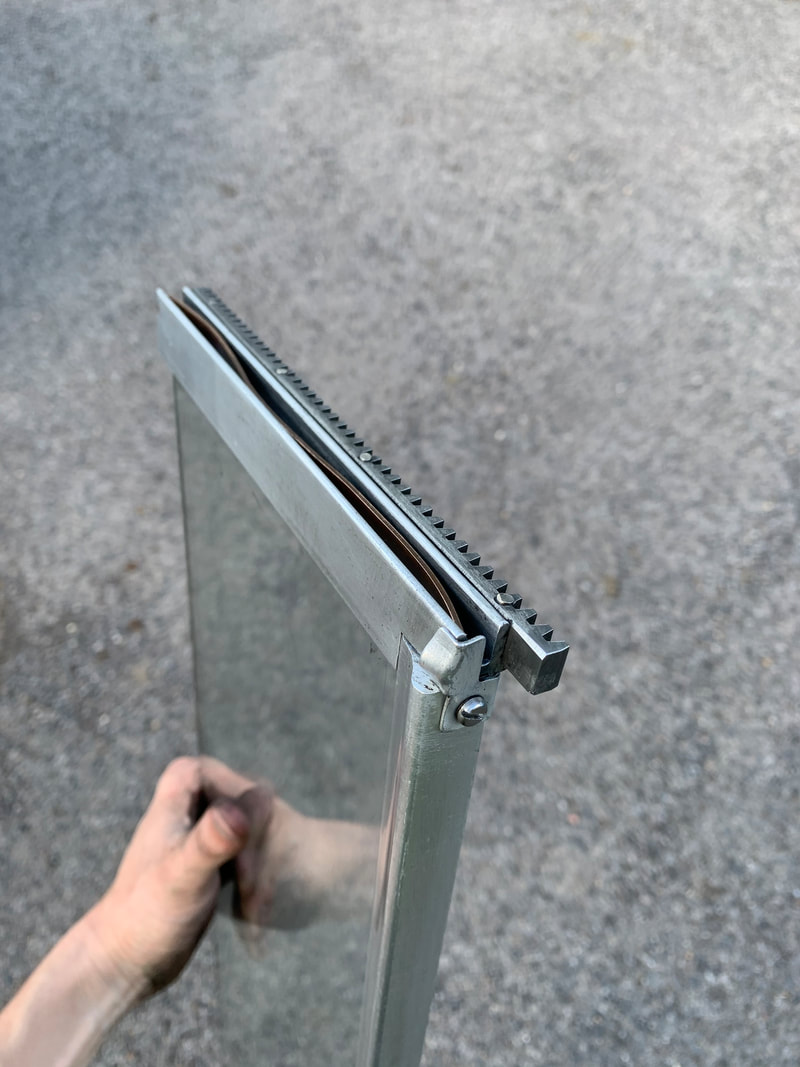
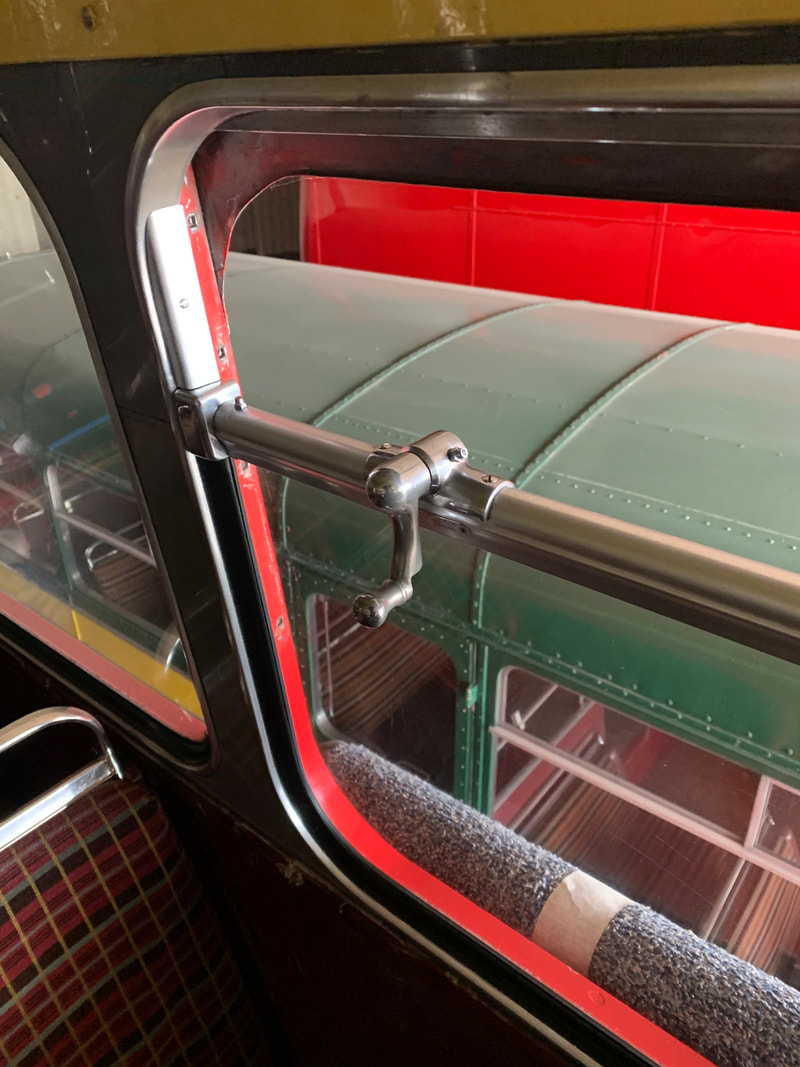
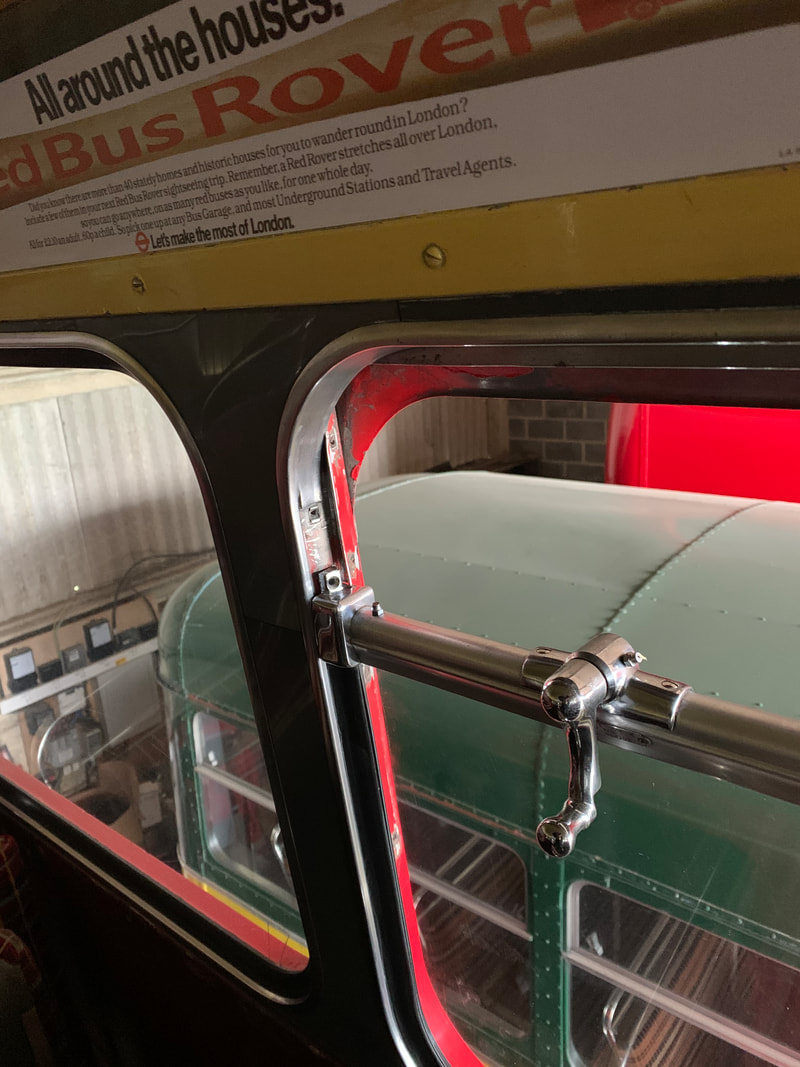
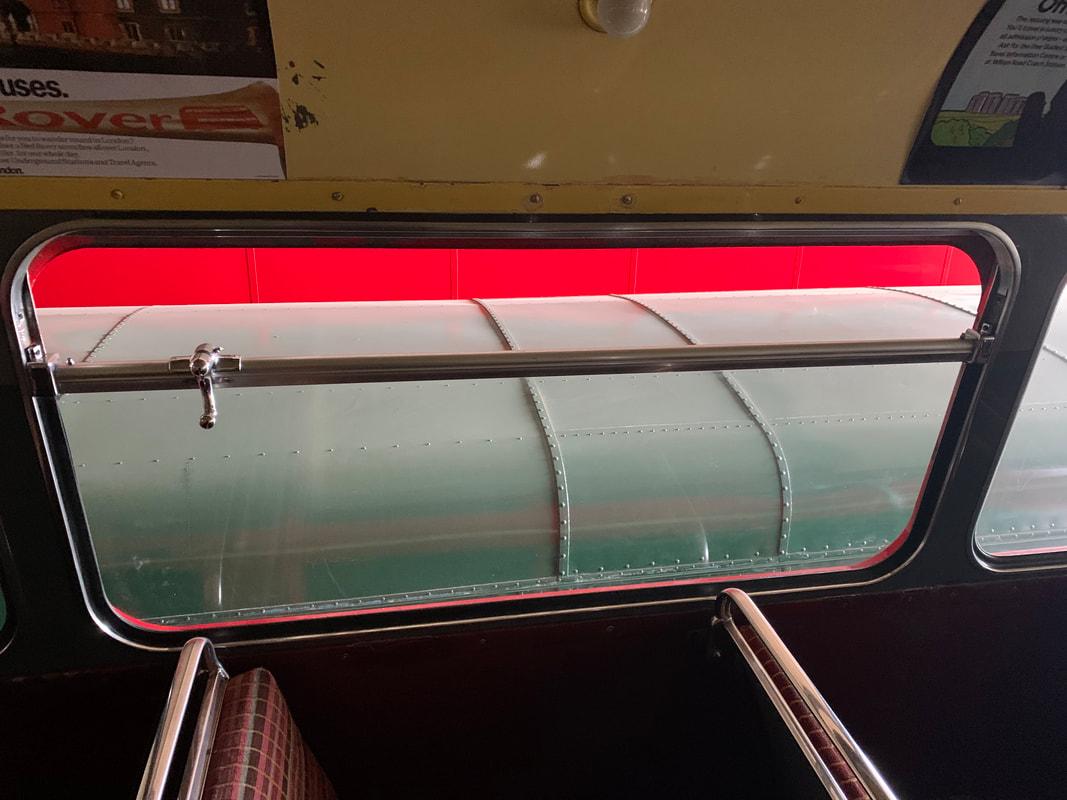
The windows on RM1527 hadn't been touched for many years, with some glass etched, rubber that was past its best and wind-down mechanisms that were either worn out, or full of dirt.
We've slowly been working our way around initially replacing the etched glass, then working on refurbishing the wind-down mechanisms replacing any worn parts to stop them slipping. Some photos of the work are below.
We've slowly been working our way around initially replacing the etched glass, then working on refurbishing the wind-down mechanisms replacing any worn parts to stop them slipping. Some photos of the work are below.

Re-registration back to 527CLT
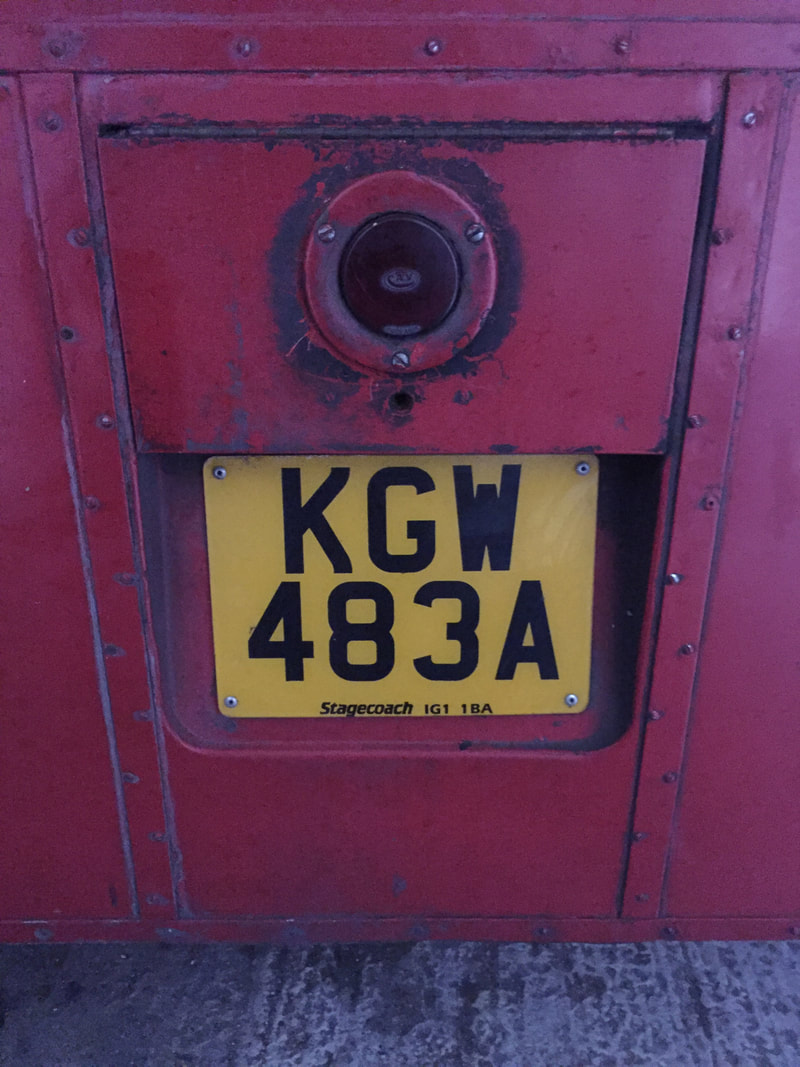
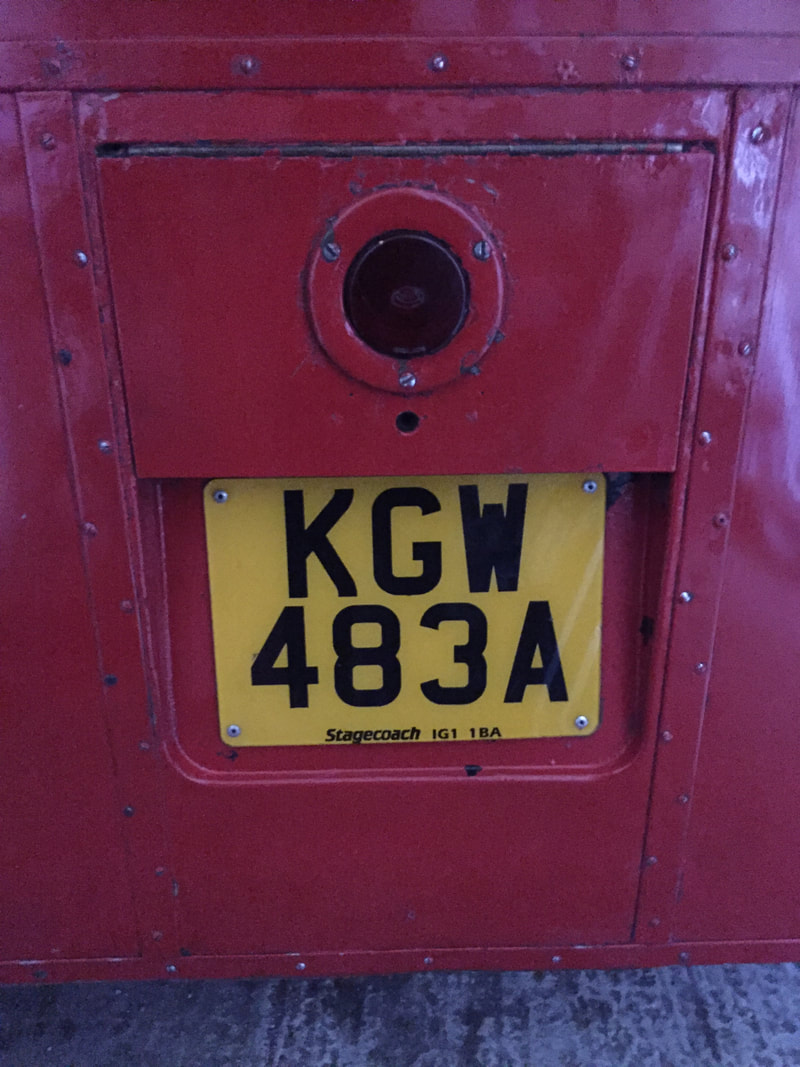
Towards the end of her service career in 2003, RM1527 was re-registered to KGW483A, and the original cherished registration 527CLT was retained by Stagecoach. Over the years since 2003, 527CLT had been on Stagecoach fleetnumbers 17879, 15100 and more latterly 12417. With agreement from Stagecoach, following RM1527 entering preservation the original 527CLT registration was reunited with the bus in exchange for WLT307, which has been put onto 12307. The official handover ceremony of the registration took place during the Barking Garage open day and RT celebrations on 30th March 2019. Our huge thanks go to Steve Newman at Ensign, and Ben Franklin, Dave Jones and Gary Nicholass at Stagecoach for their help in making this happen.
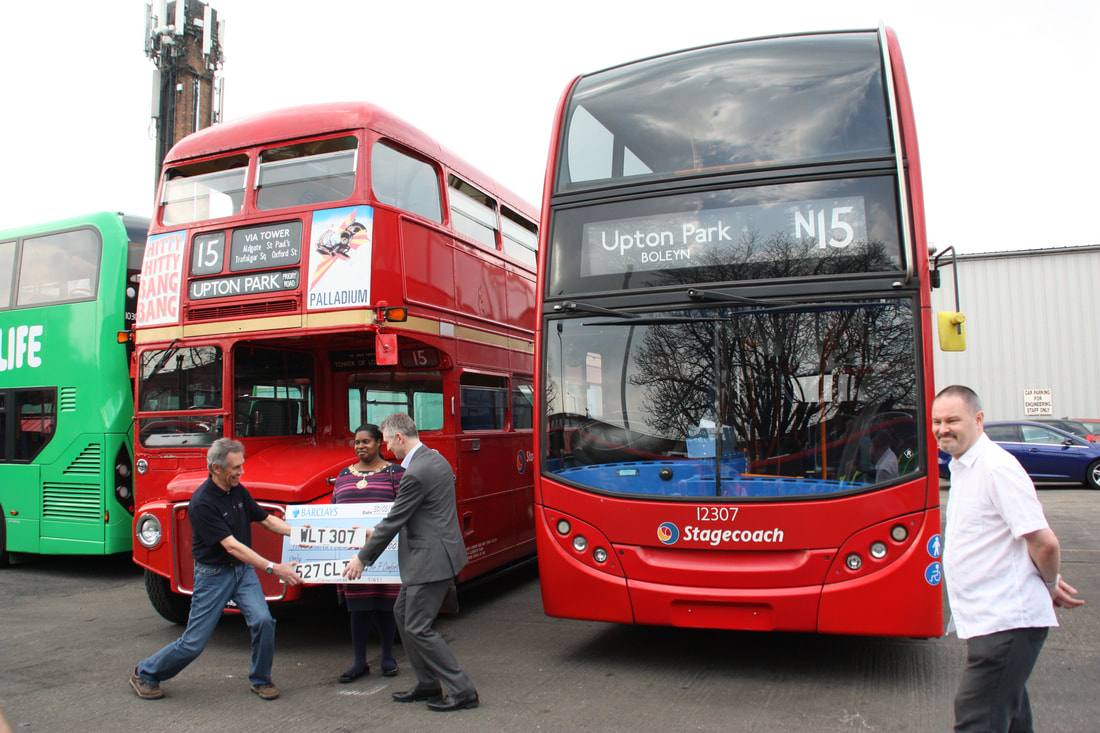
The 527CLT and WLT307 plates are exchanged with Stagecoach London MD Paul Lynch and the Mayor of Barking.
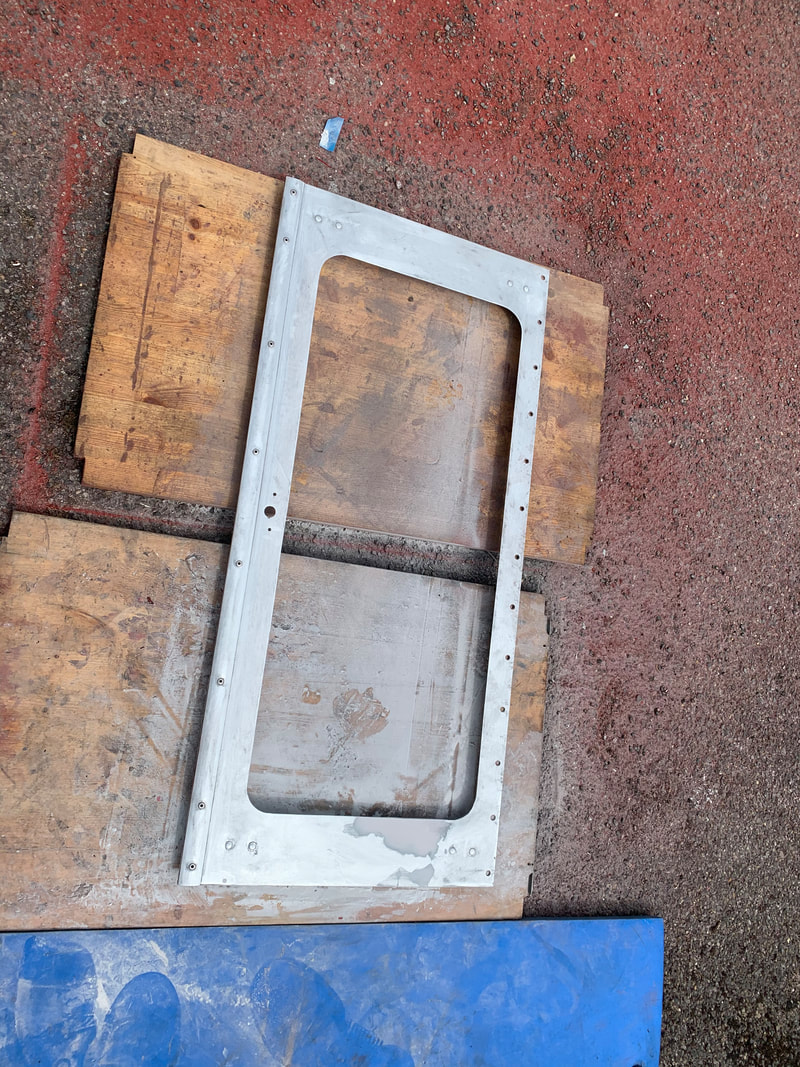
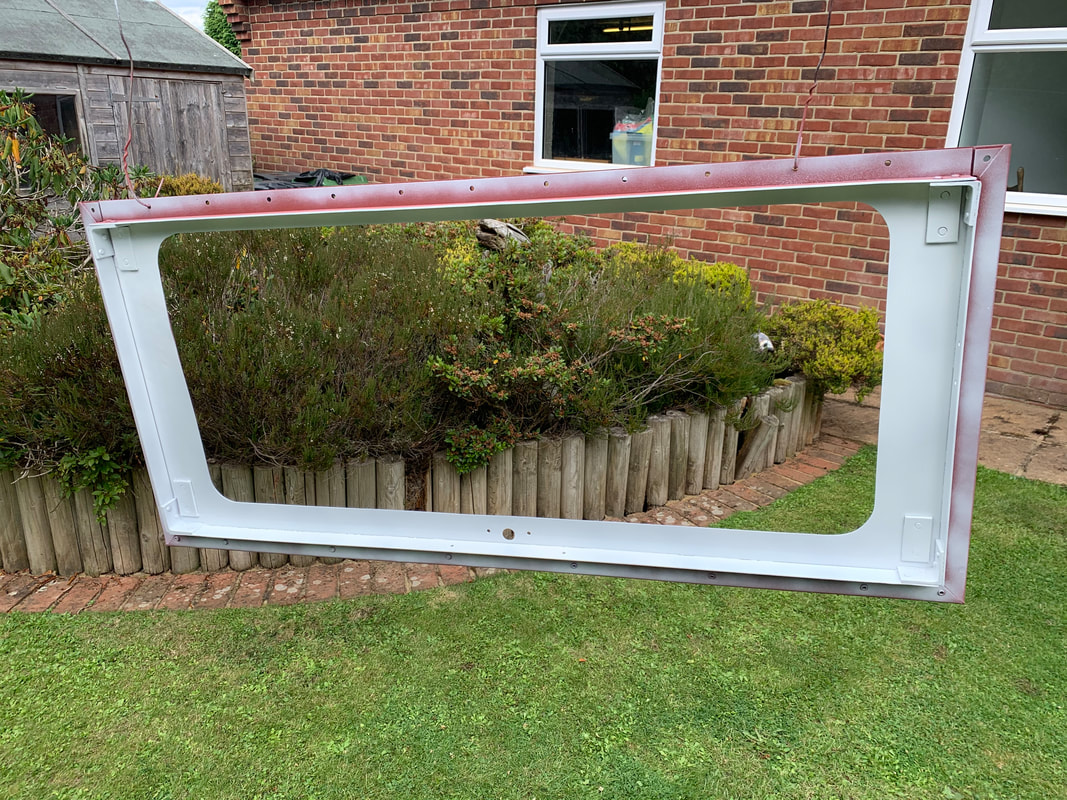
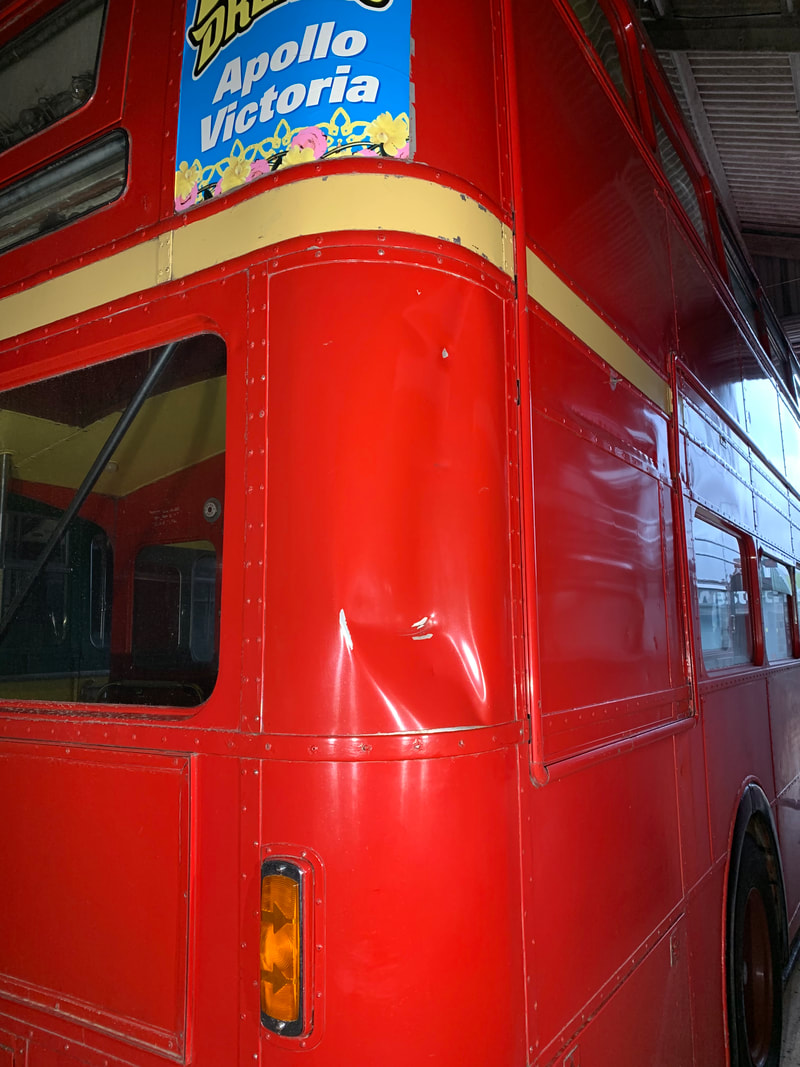
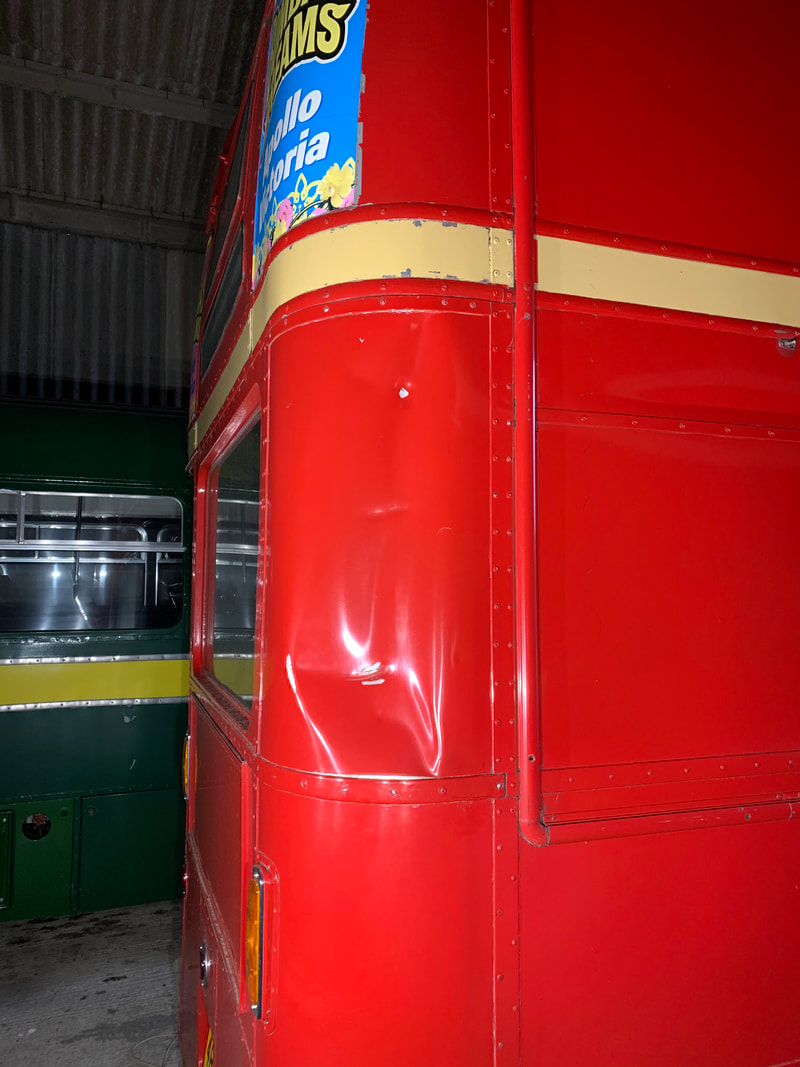
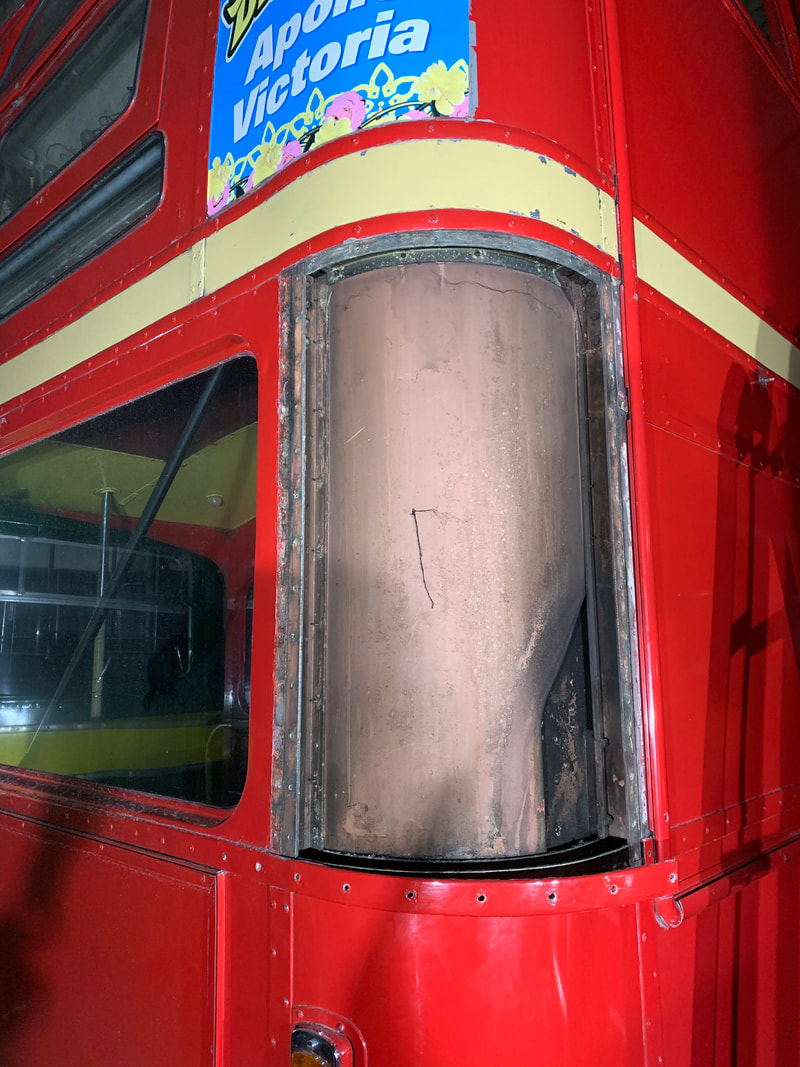
Panel replacement
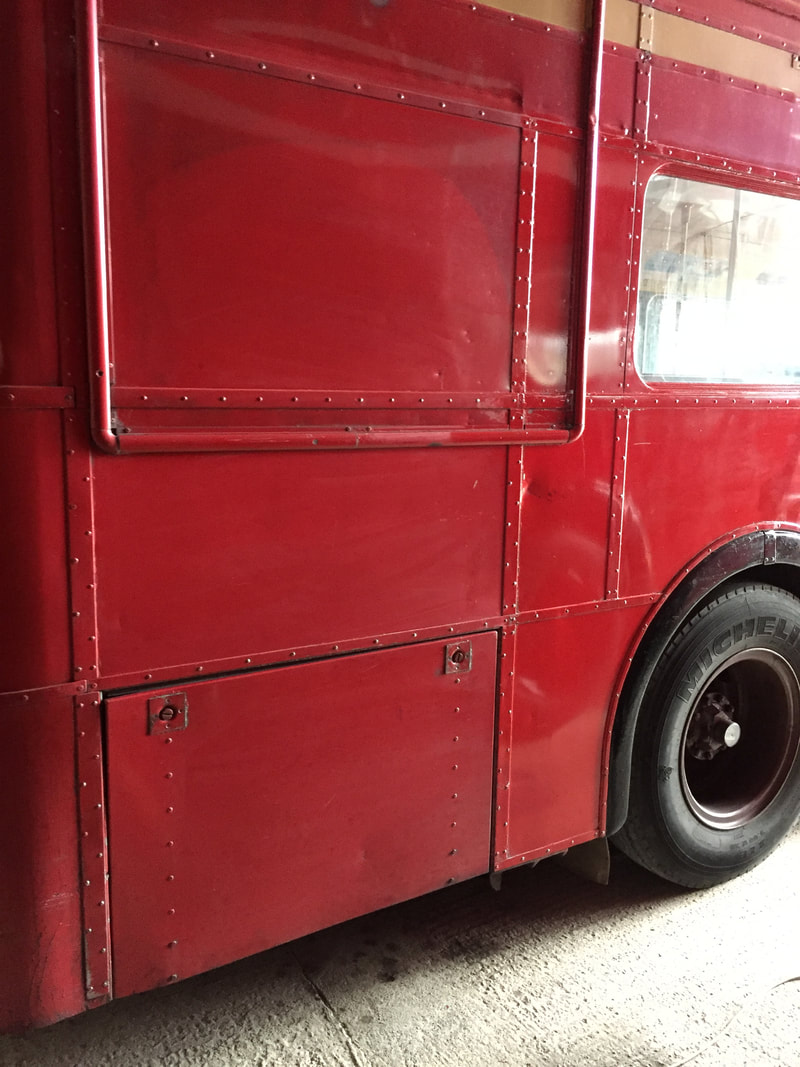
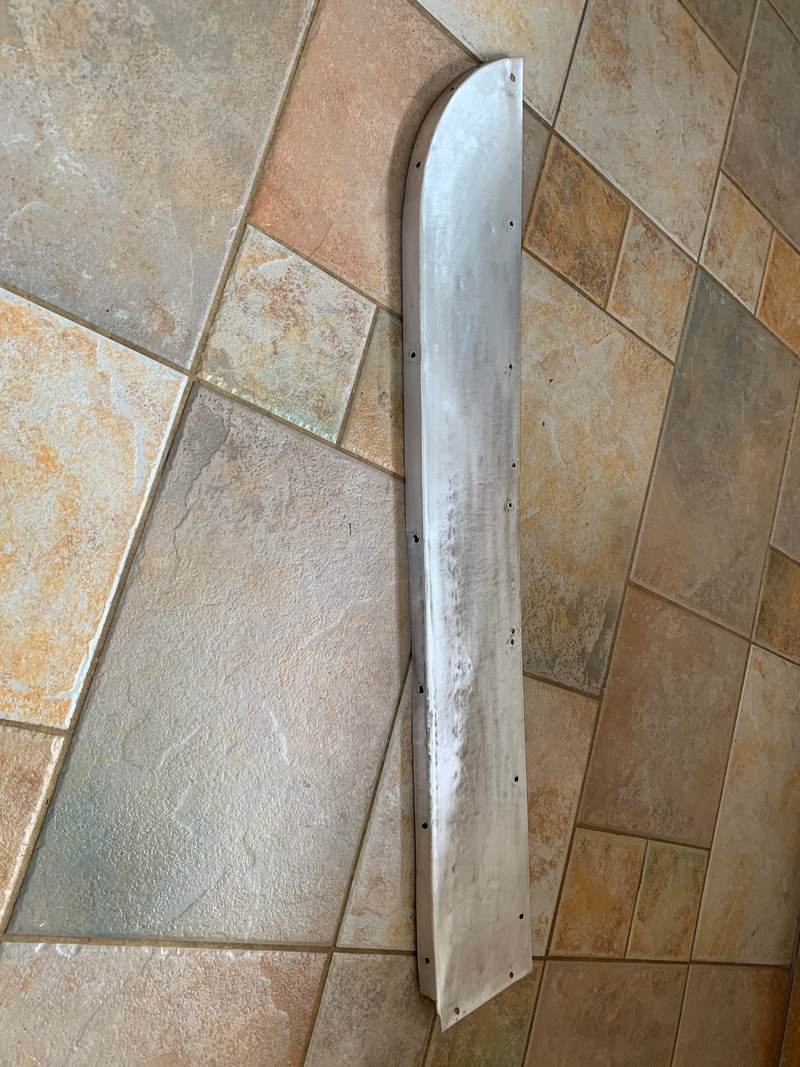
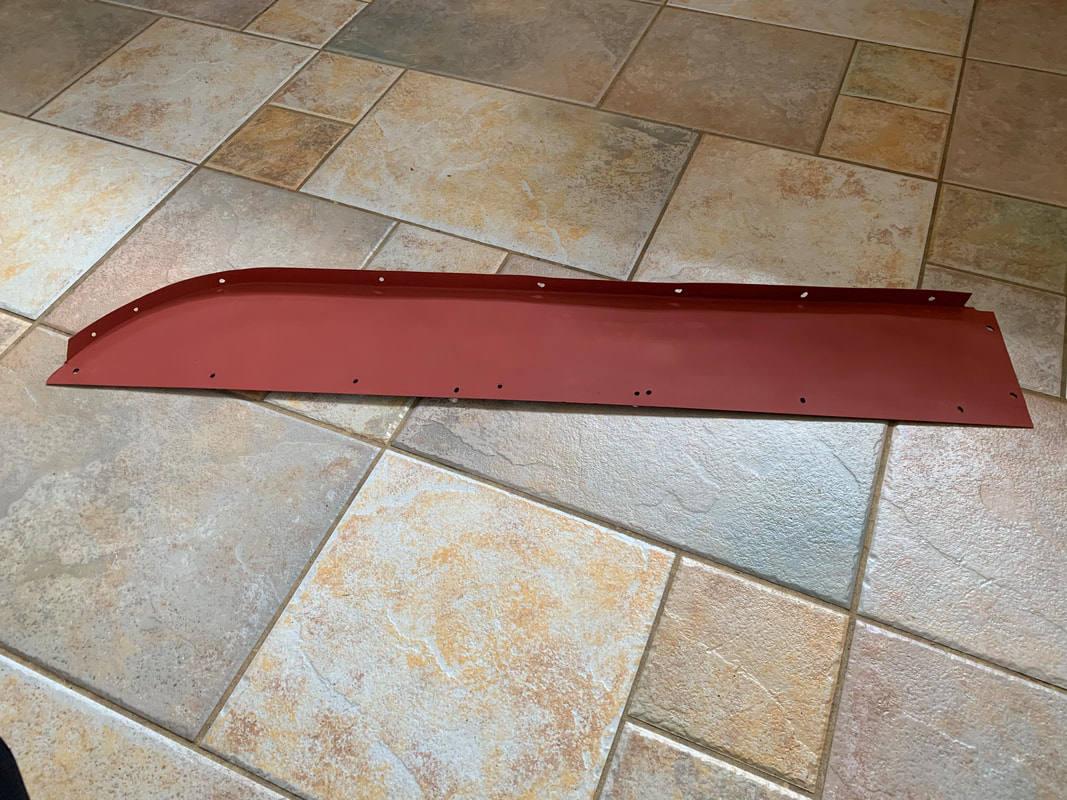
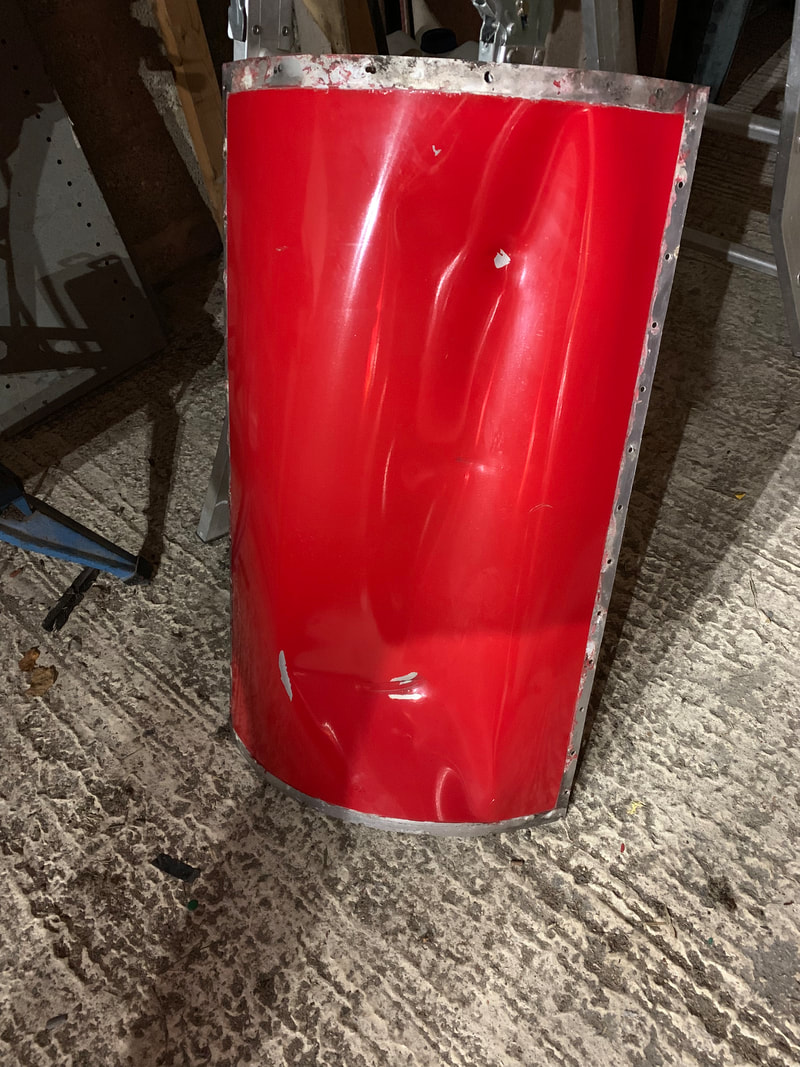
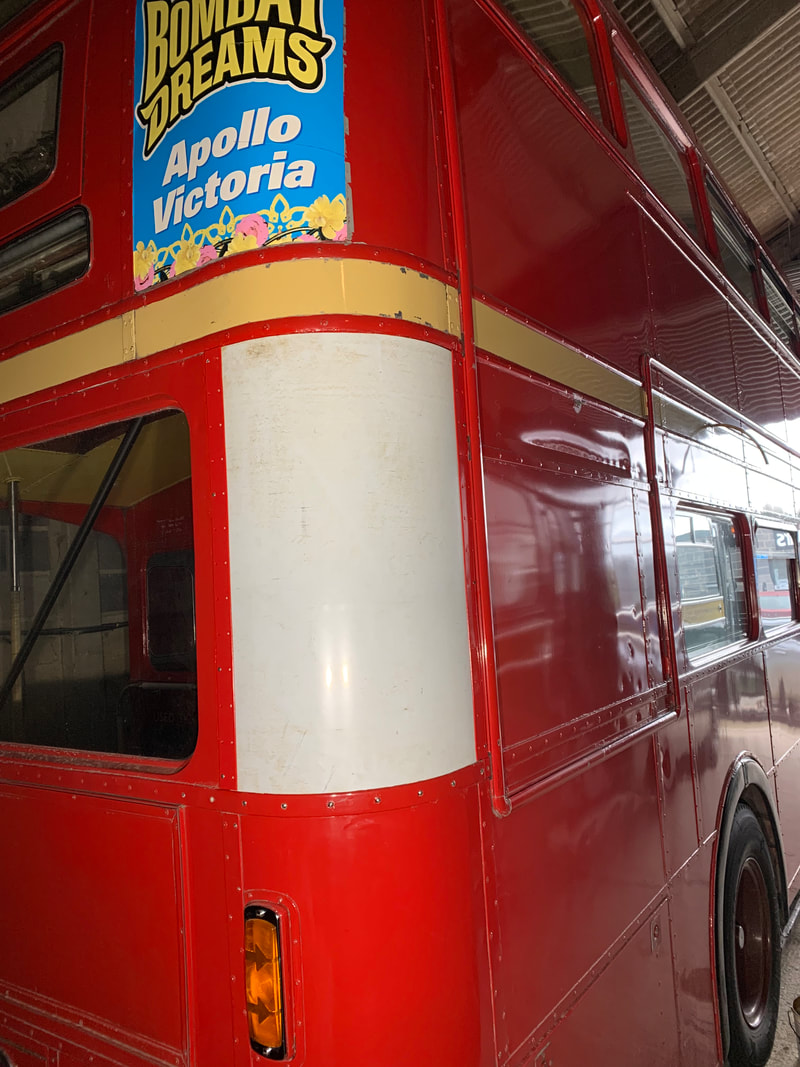
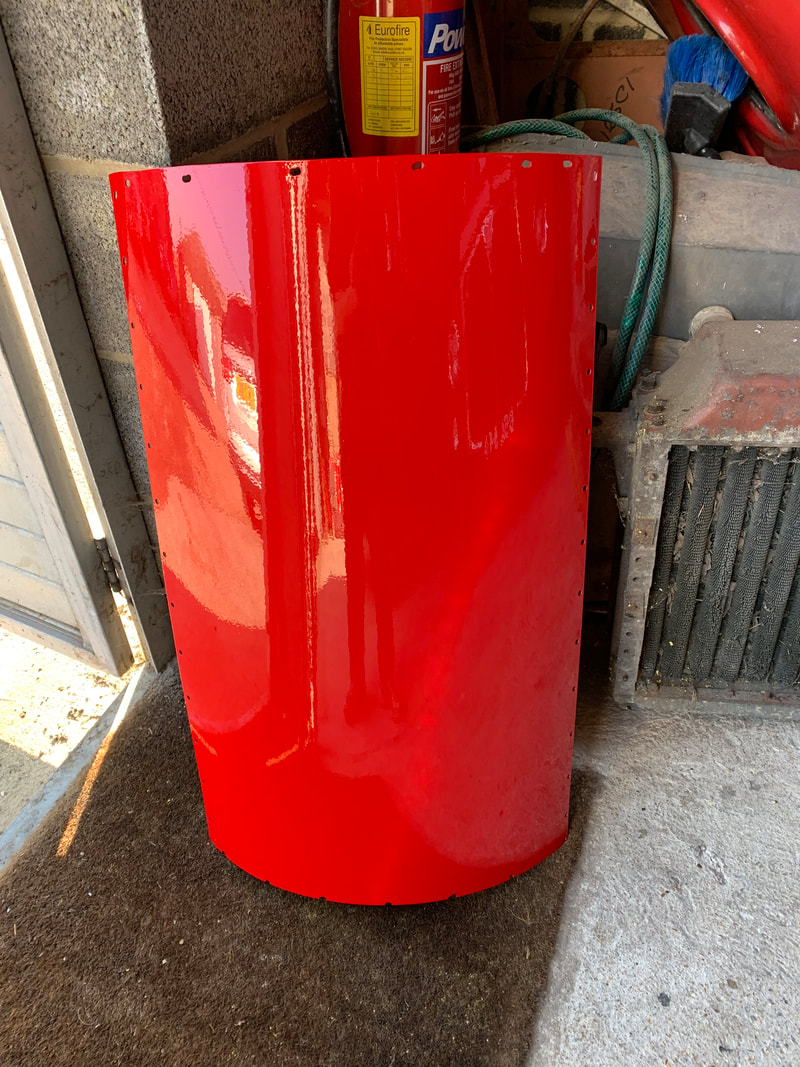
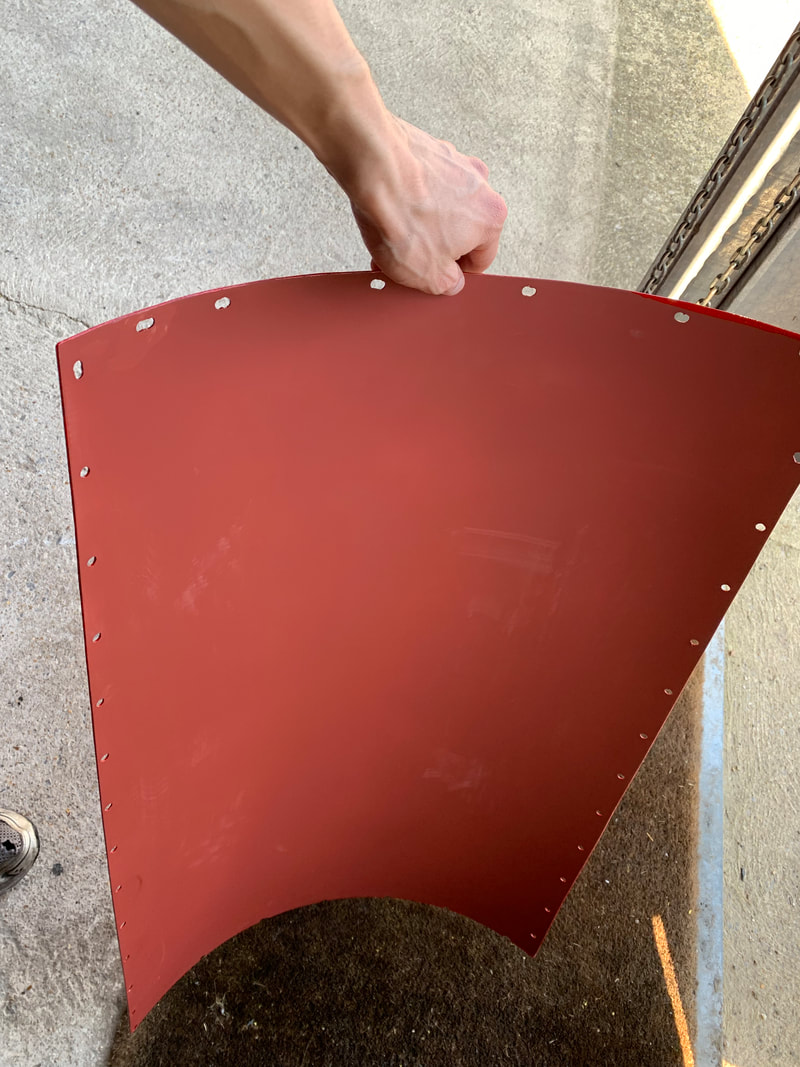
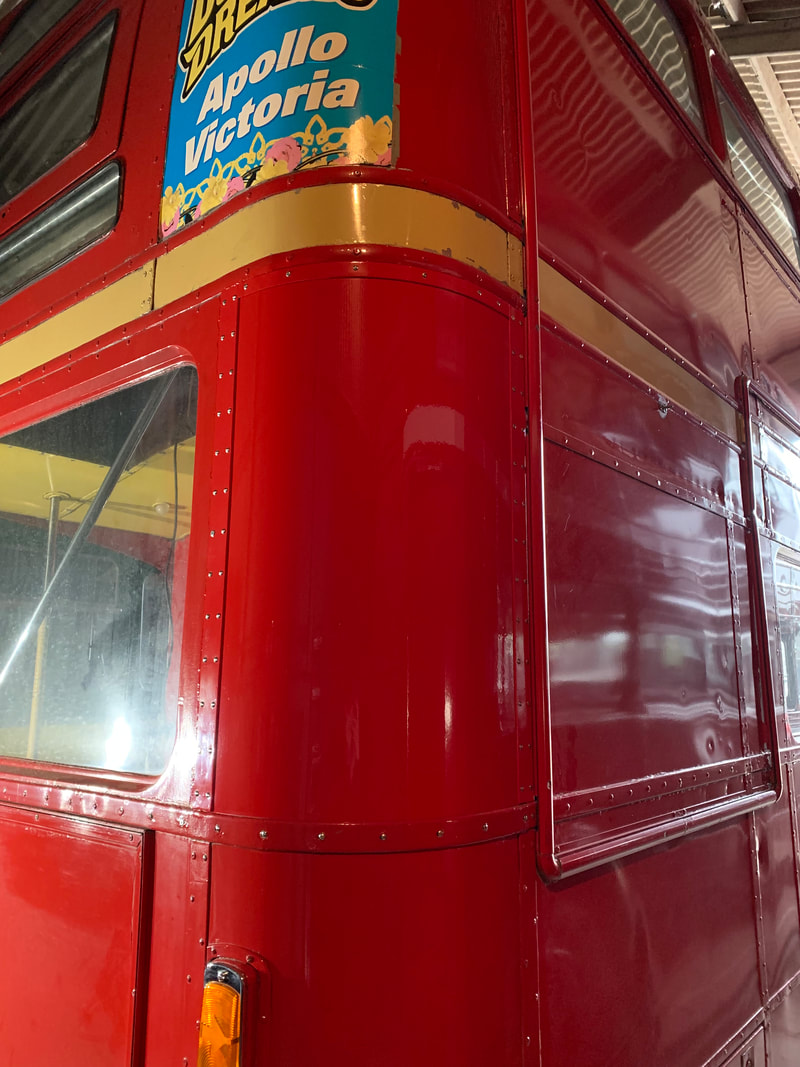
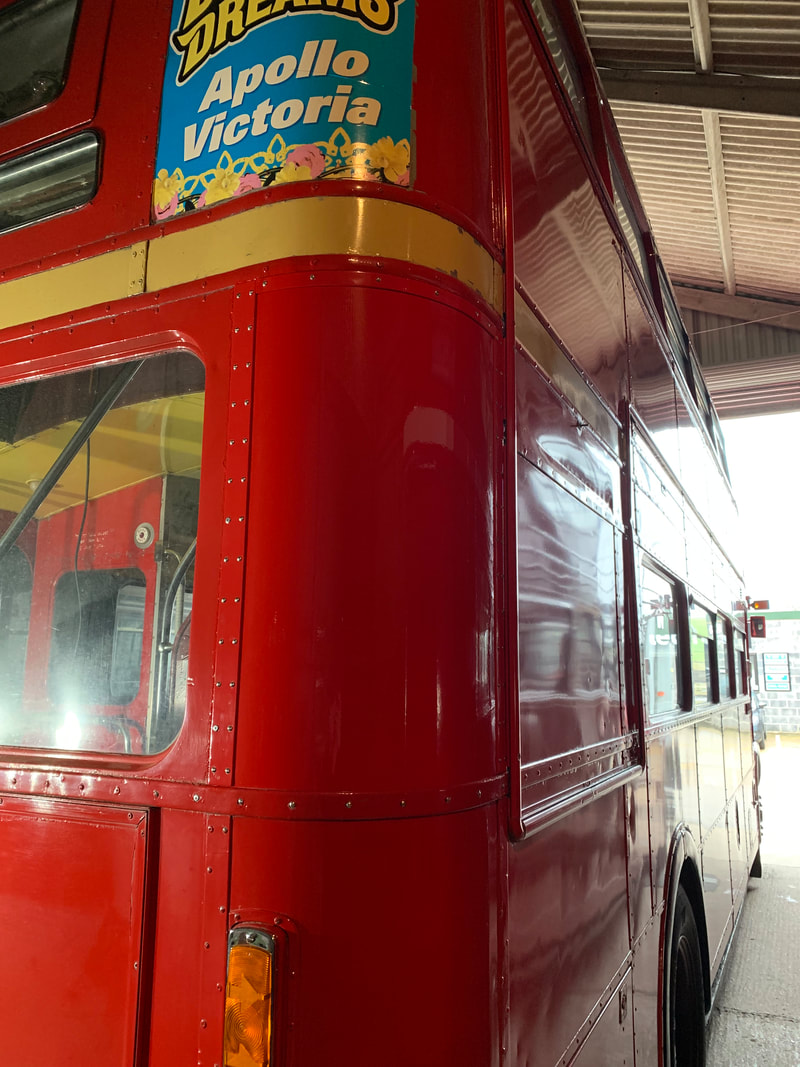
Various panels on RM1527 have suffered knocks either during her service years or during the years of storage since withdrawal. By far the worst of these was on the rear offside corner, where a substantial hit had been taken at some point. Over the winter of 2018/19 we removed this panel, made a replacement up and refitted this.

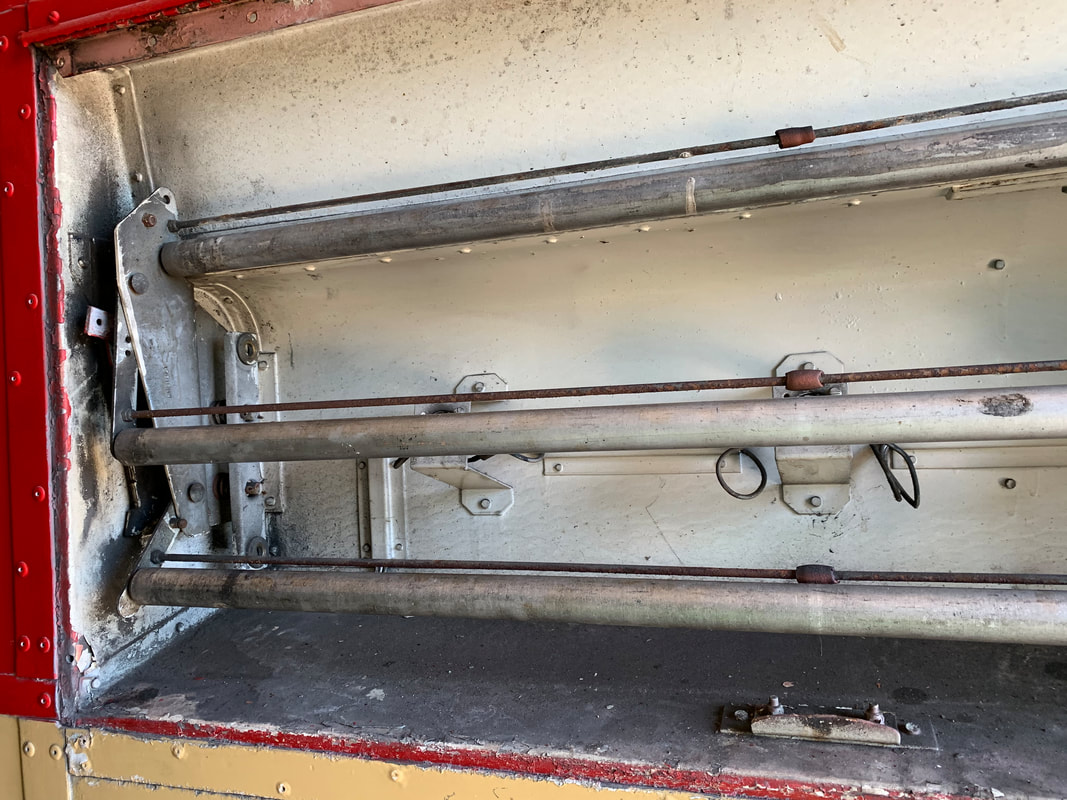
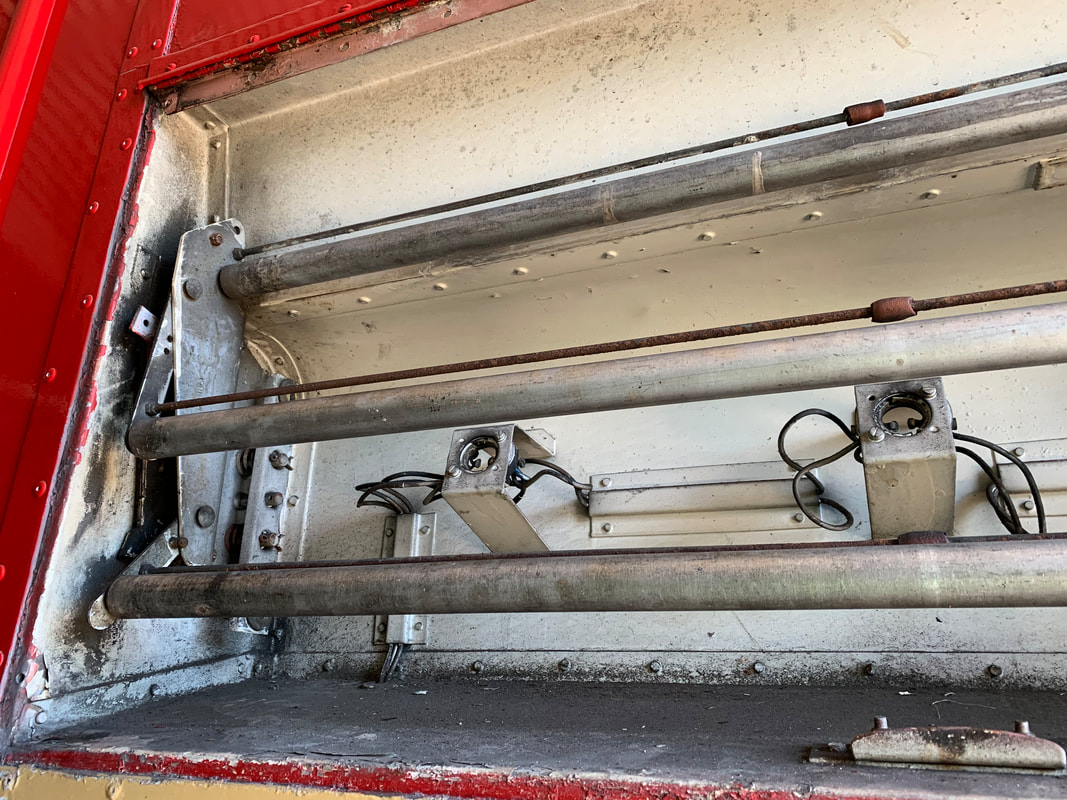
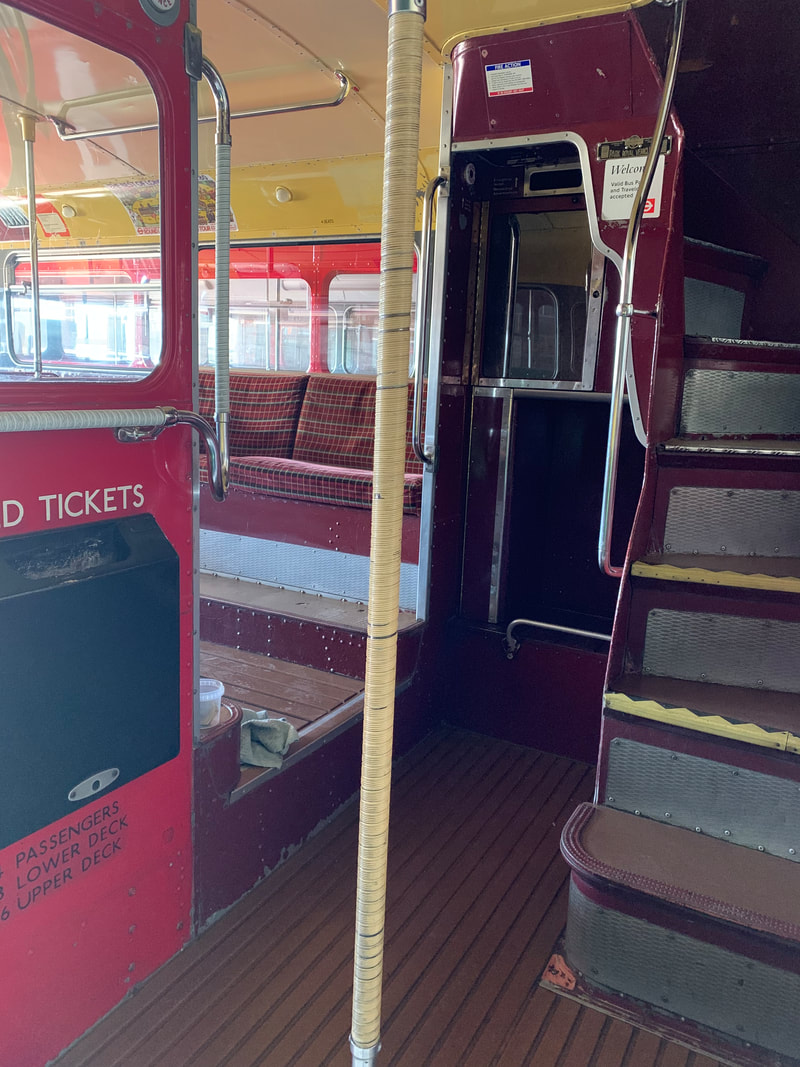
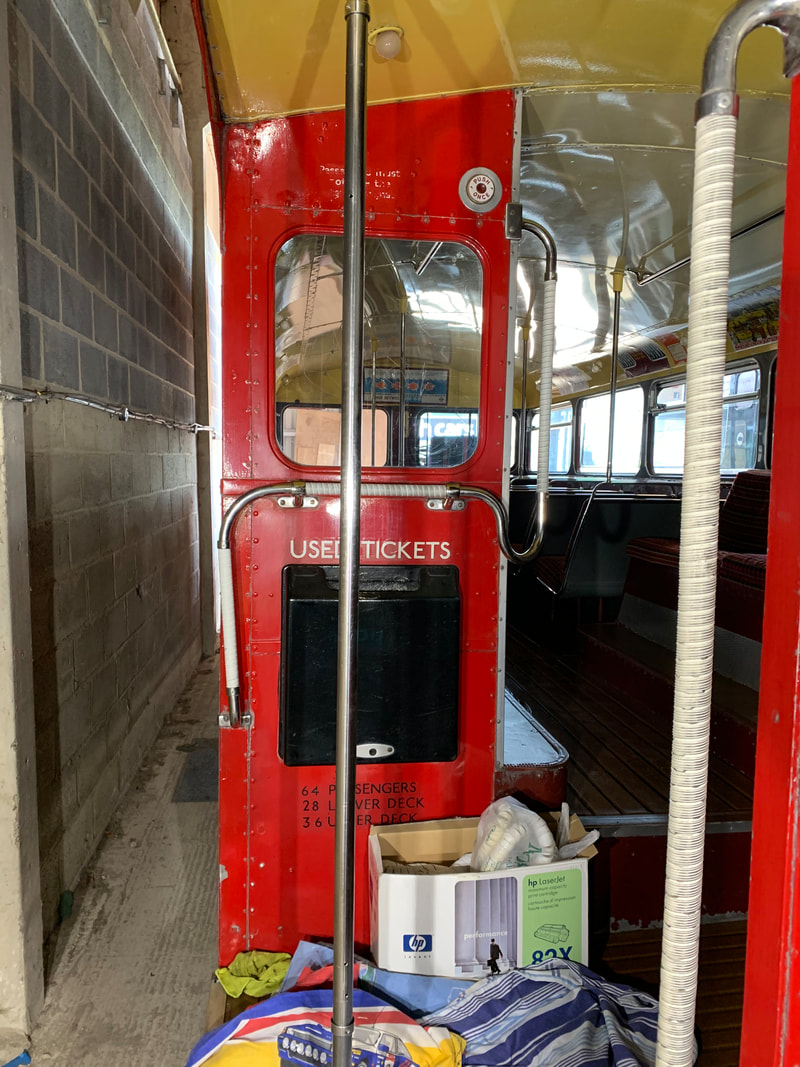
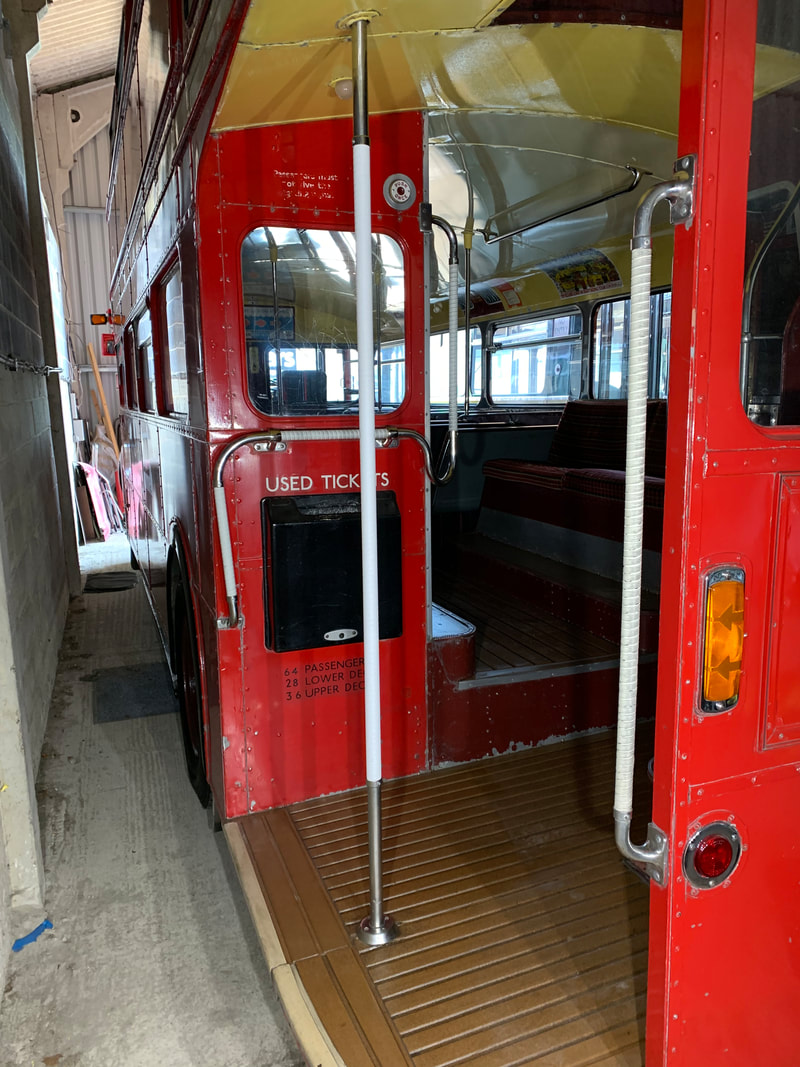
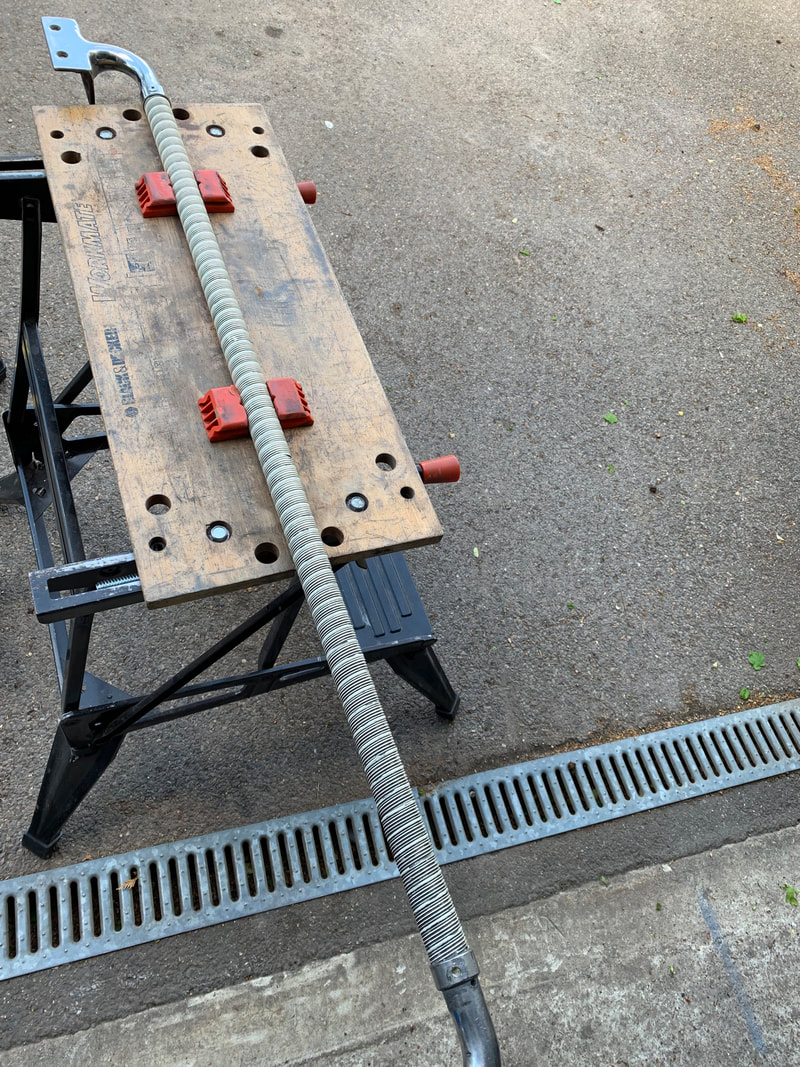
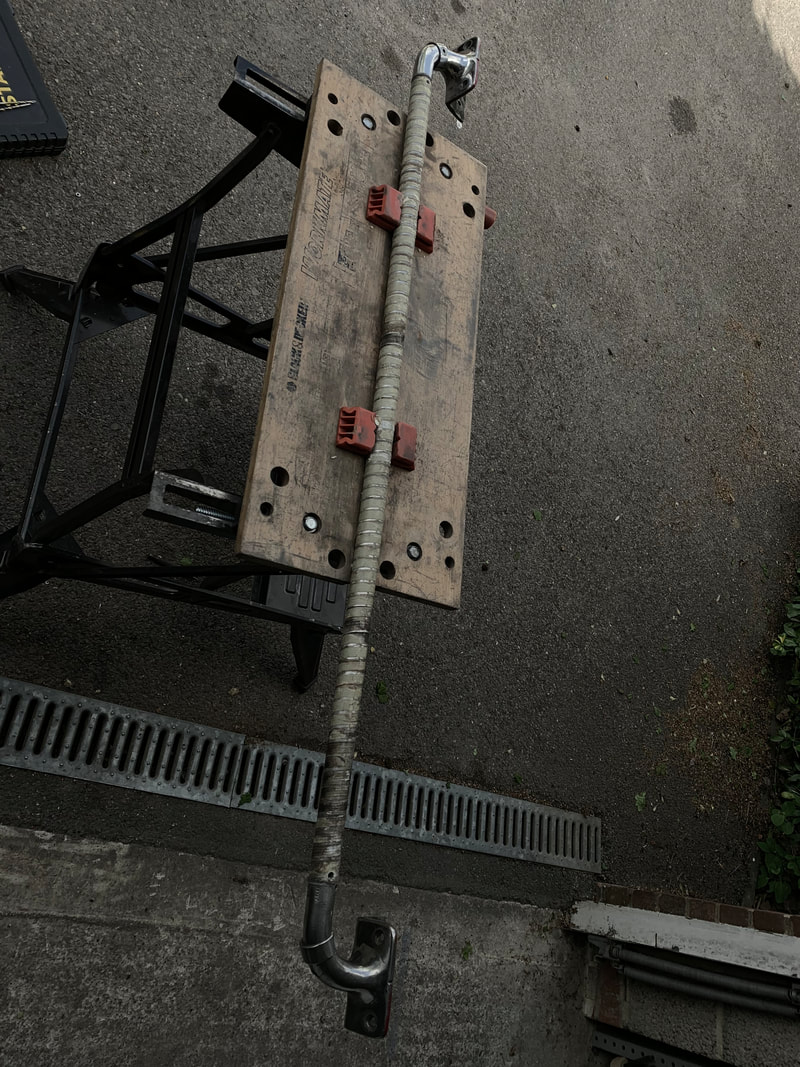
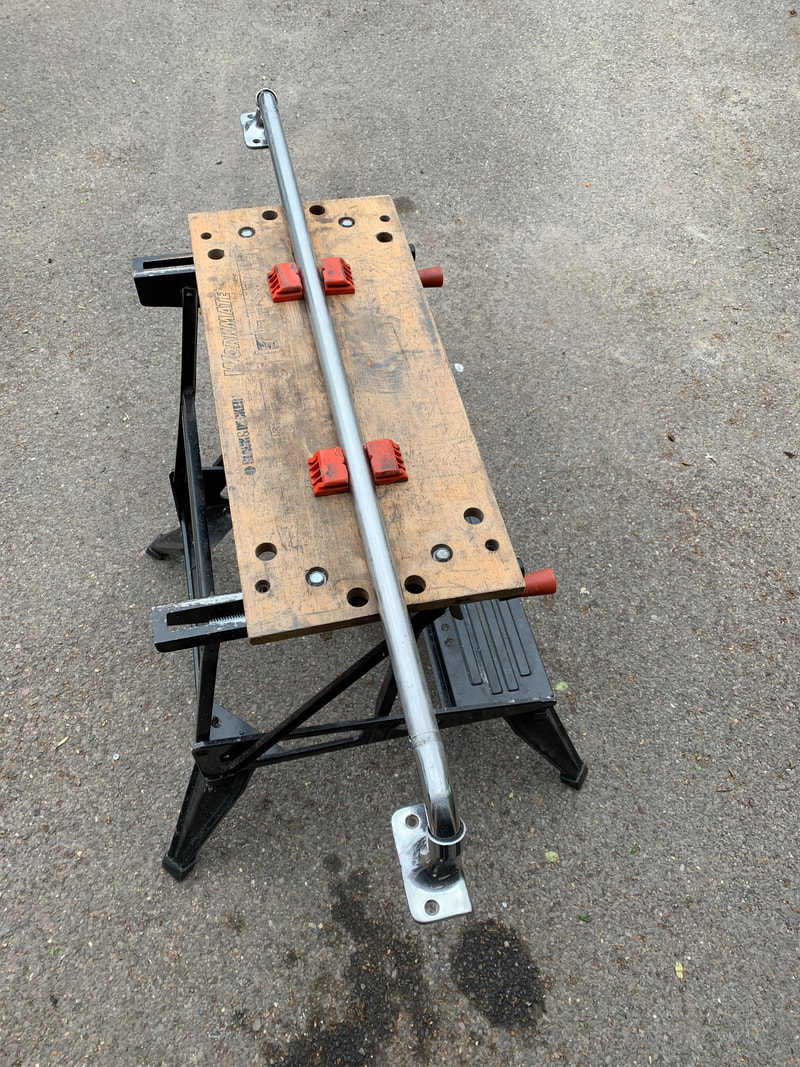
Doverite replacement
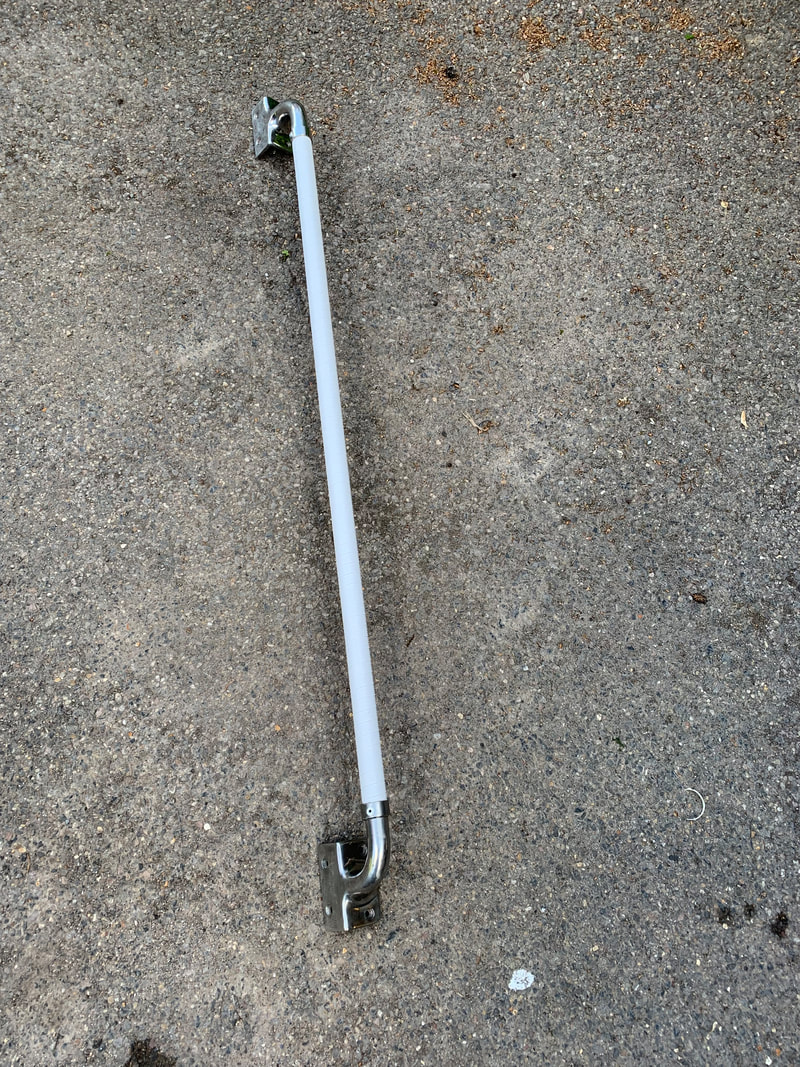
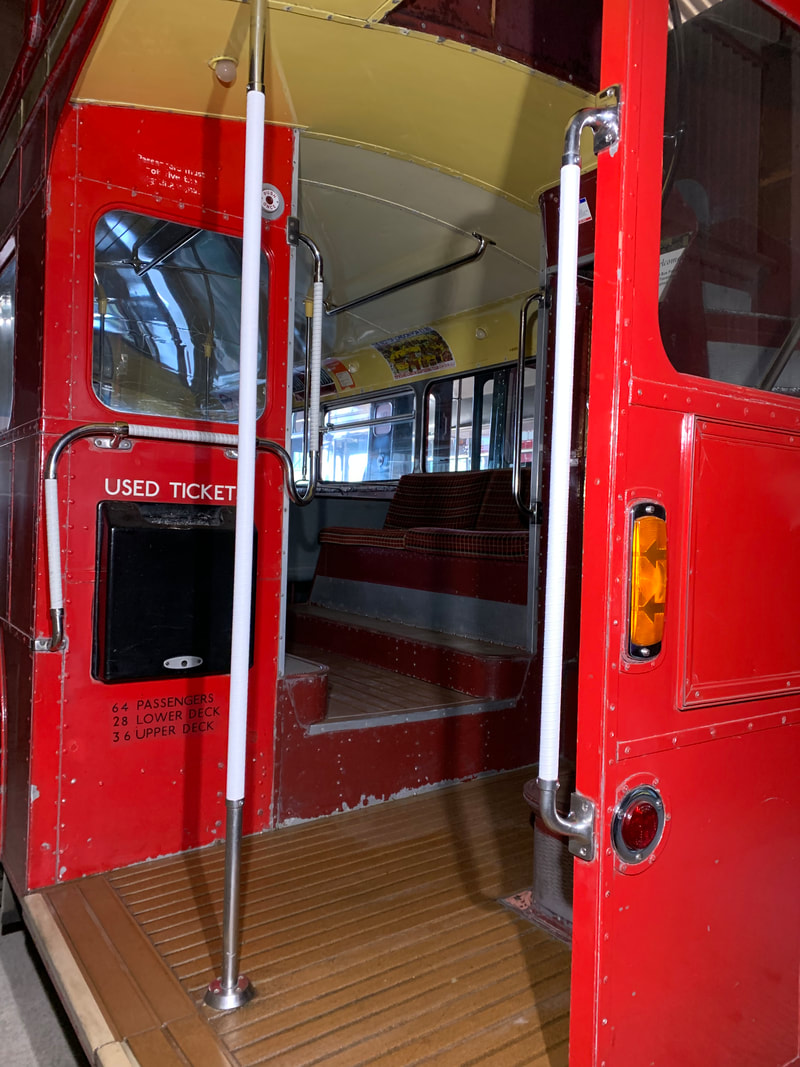
Some of the doverite tape on the poles on RM1527 was in poor condition, so we set about replacing the worst of it during April 2019. First was the centre pole, and following this the the rear pole was also done. The centre pole was done in situe, but we removed the real pole to make it easier to access it.
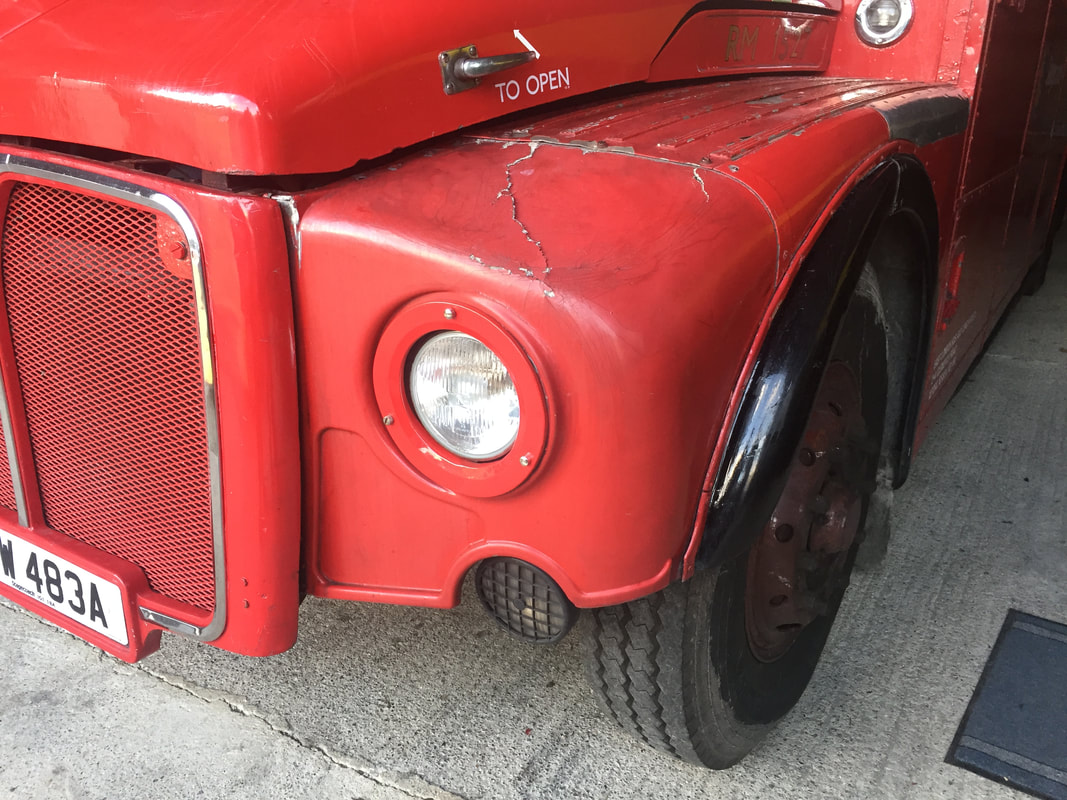
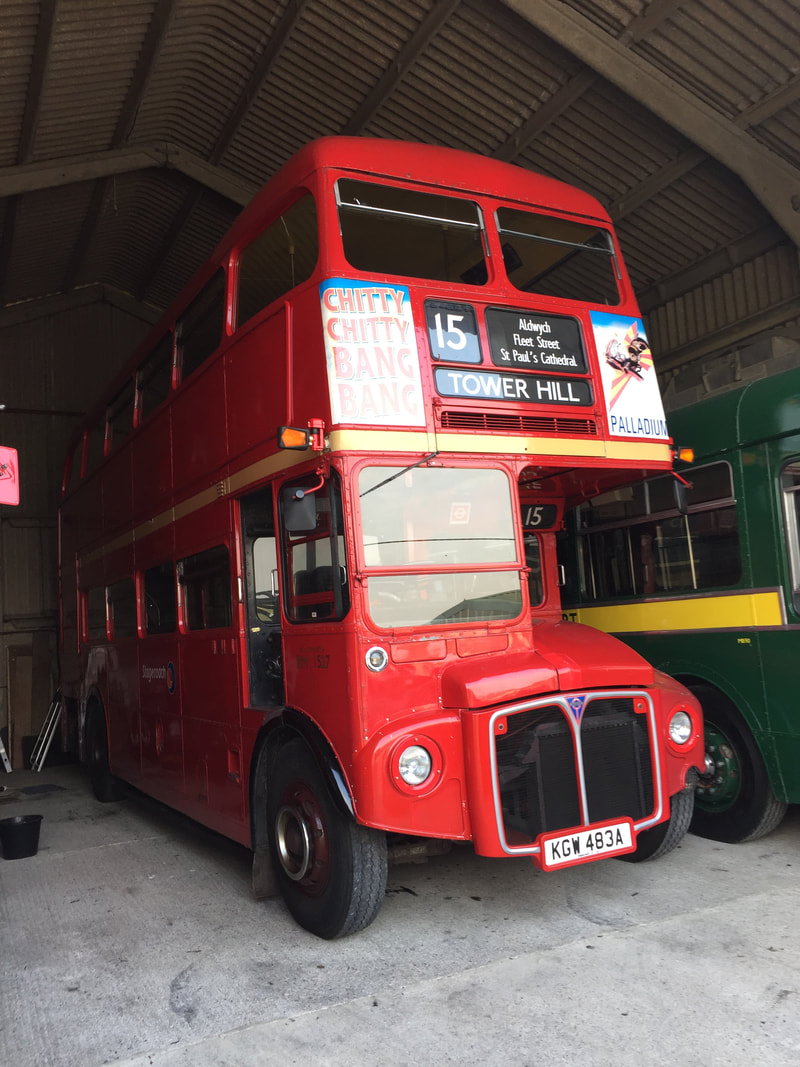
Headlight panel replacement
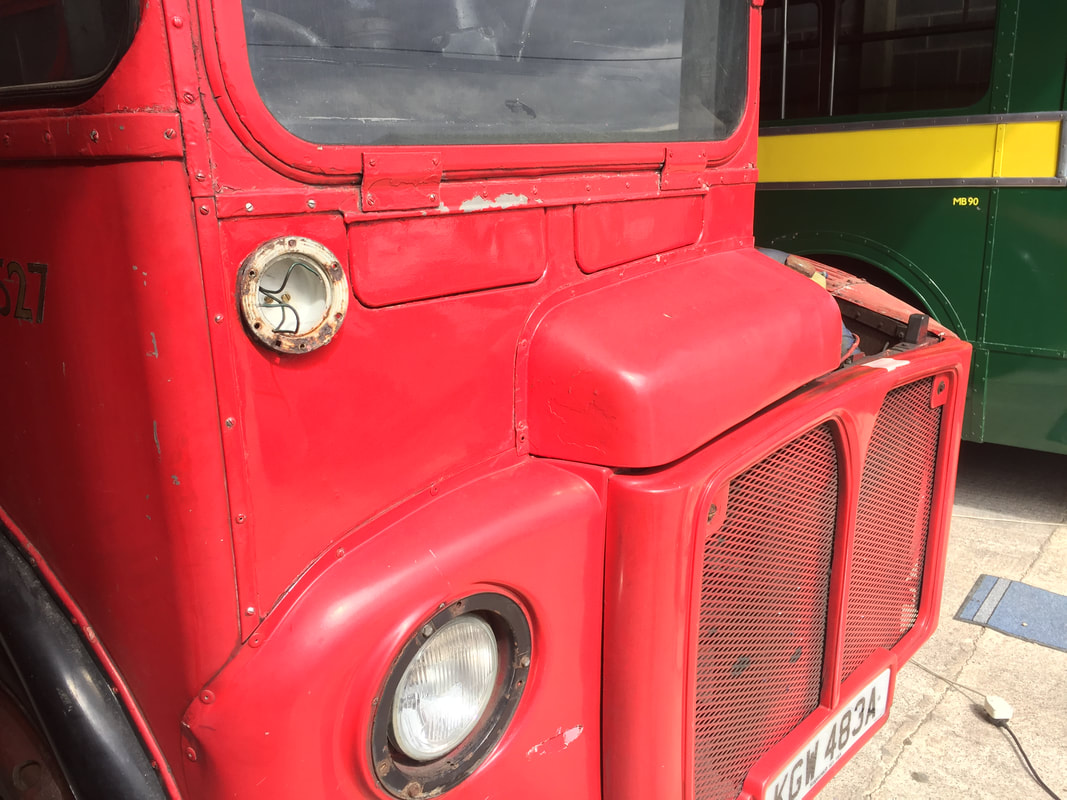
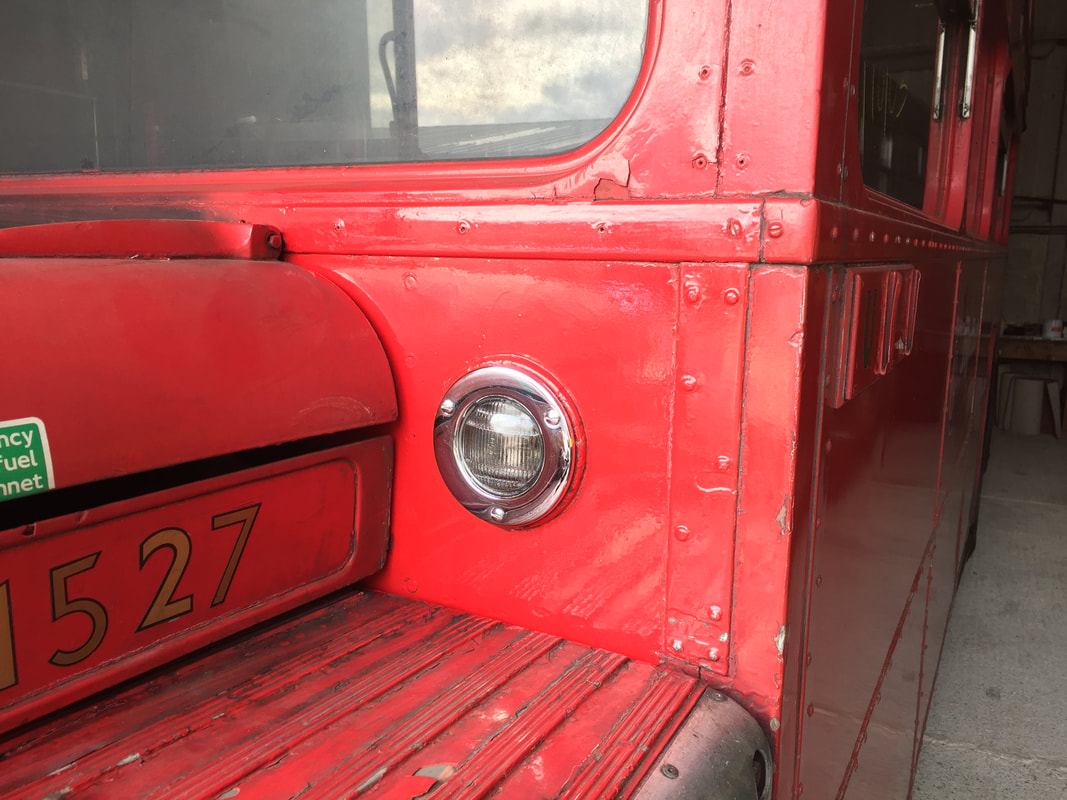
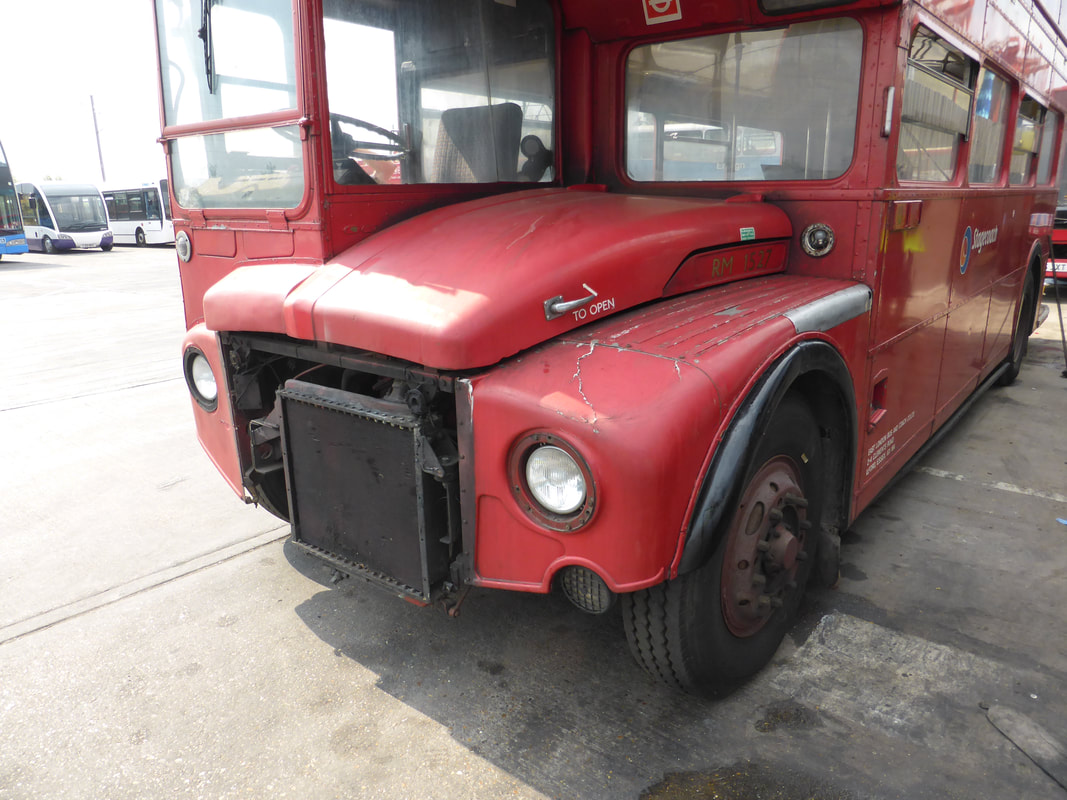
The headlight panels on RM1527 were in a bit of a battered state when acquired - the offside panel was an incorrect RML style panel that had been punctured by something while in storage, and the nearside panel, whilst the correct style, looked like someone had put their foot through the top of it!
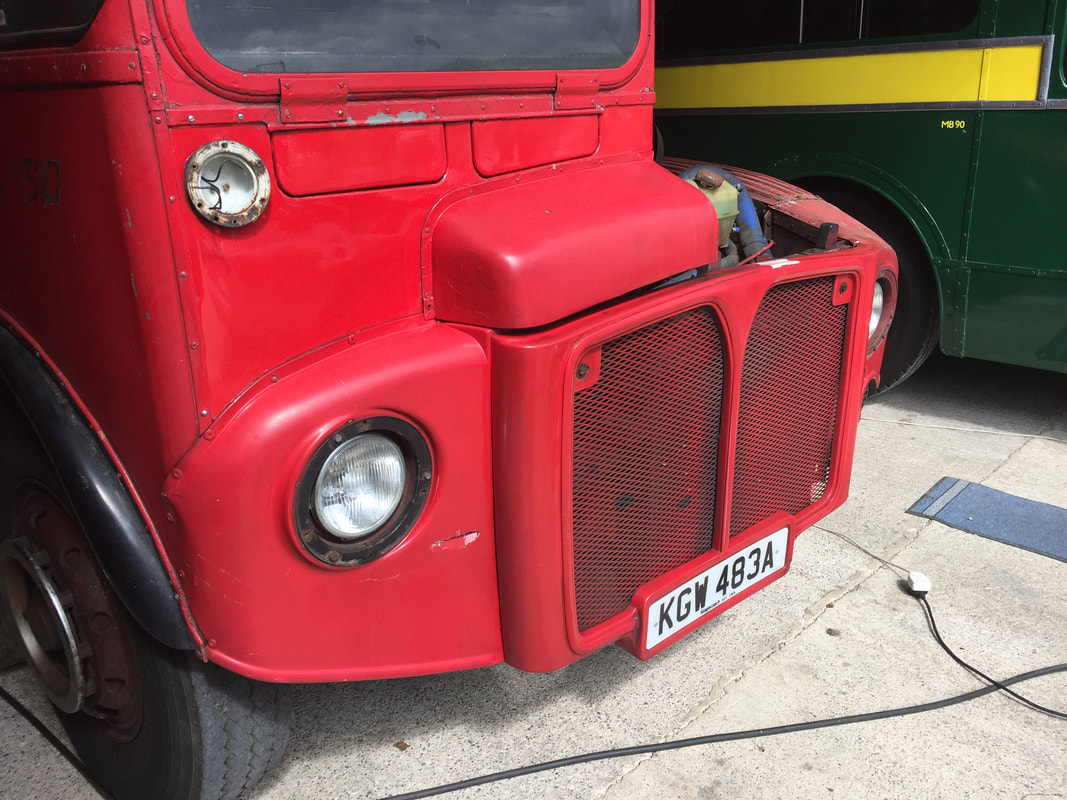
We first replaced the offside panel using a spare one we had. We also refitted a headlight trim as those it had on when withdrawn had been removed at some point during it's time in storage.
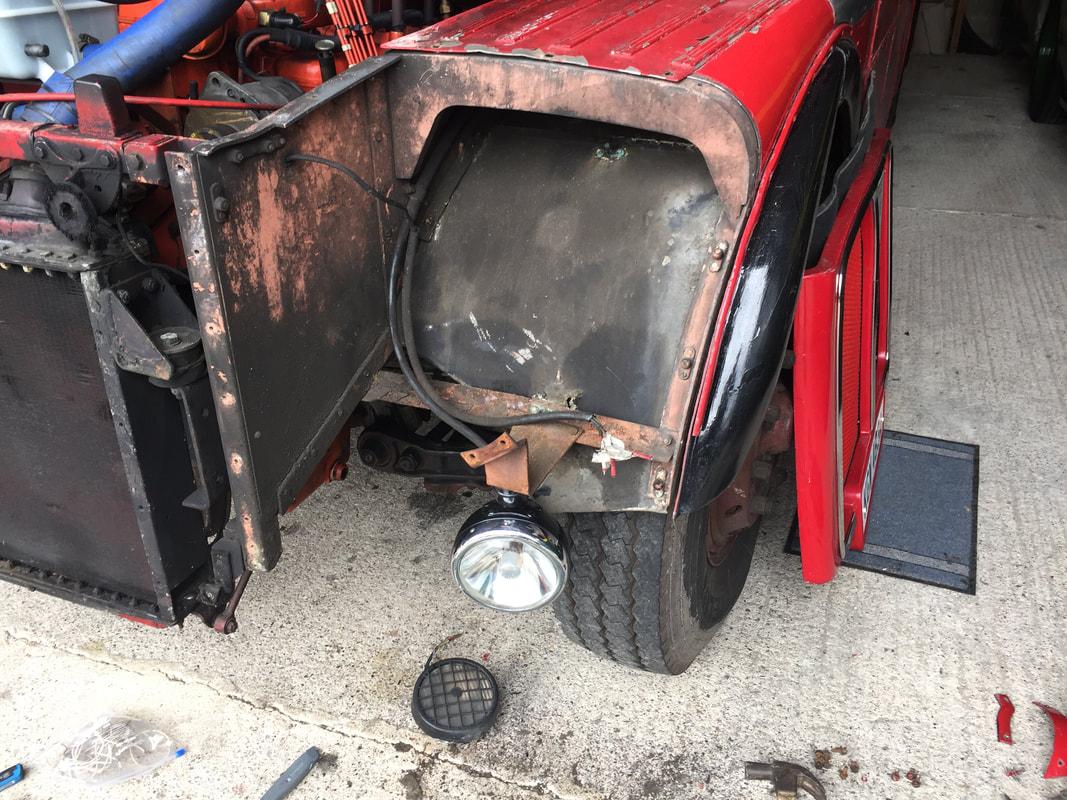
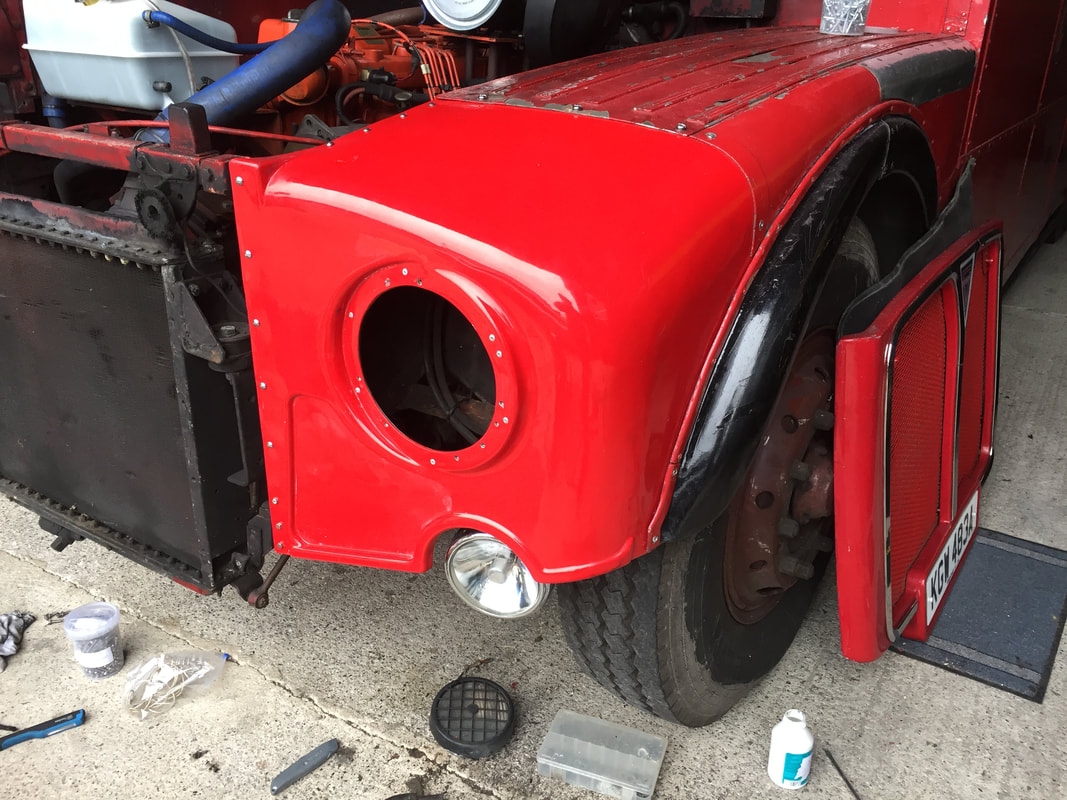
We didn't have a spare nearside panel so ordered a new one from Volant Commercials - this then needed finishing off with the hole for the headlight needing to be cut out, and also a rim with the threads that the headlight and headlight rim screw into needing to be put on. At the same time as replacing the wing, we also took the opportunity to replace the plastic foglight that RM1527 has had fitted for many years, with an original CAV unit we we'd managed to get hold of and refurbish.
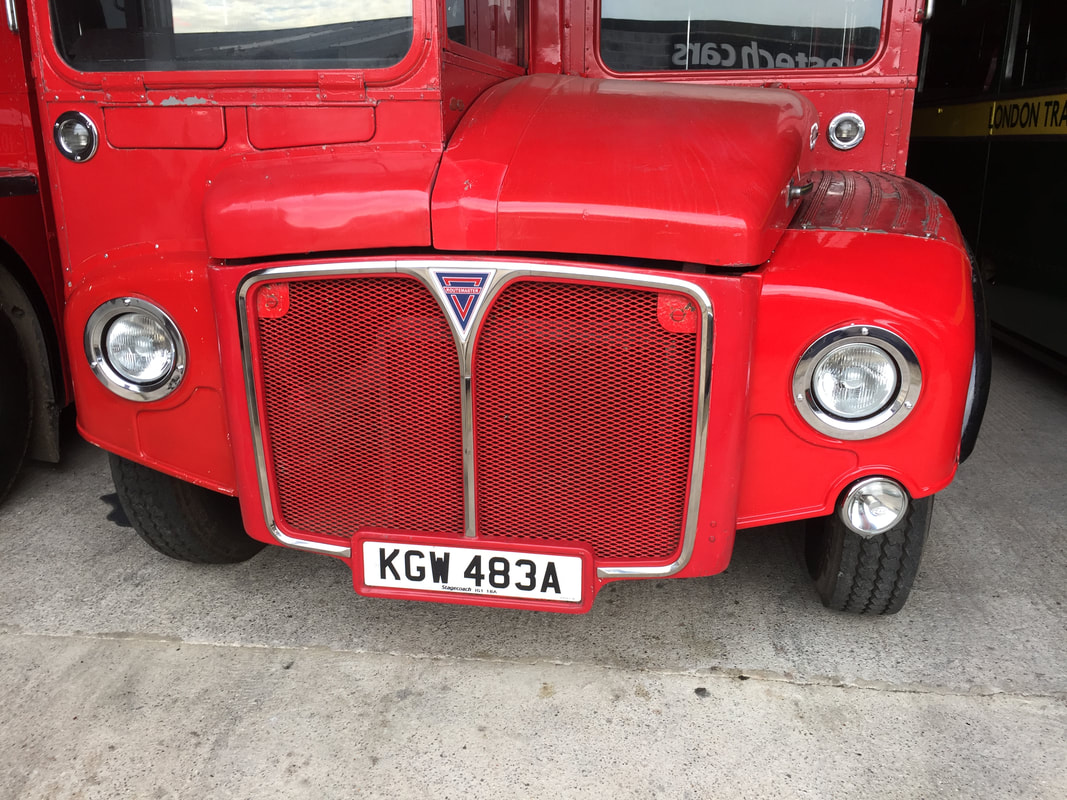
The pictures below show the finished result.
We first replaced the offside panel using a spare one we had. We also refitted a headlight trim as those it had on when withdrawn had been removed at some point during it's time in storage.
We didn't have a spare nearside panel so ordered a new one from Volant Commercials - this then needed finishing off with the hole for the headlight needing to be cut out, and also a rim with the threads that the headlight and headlight rim screw into needing to be put on. At the same time as replacing the wing, we also took the opportunity to replace the plastic foglight that RM1527 has had fitted for many years, with an original CAV unit we we'd managed to get hold of and refurbish.
The pictures below show the finished result.


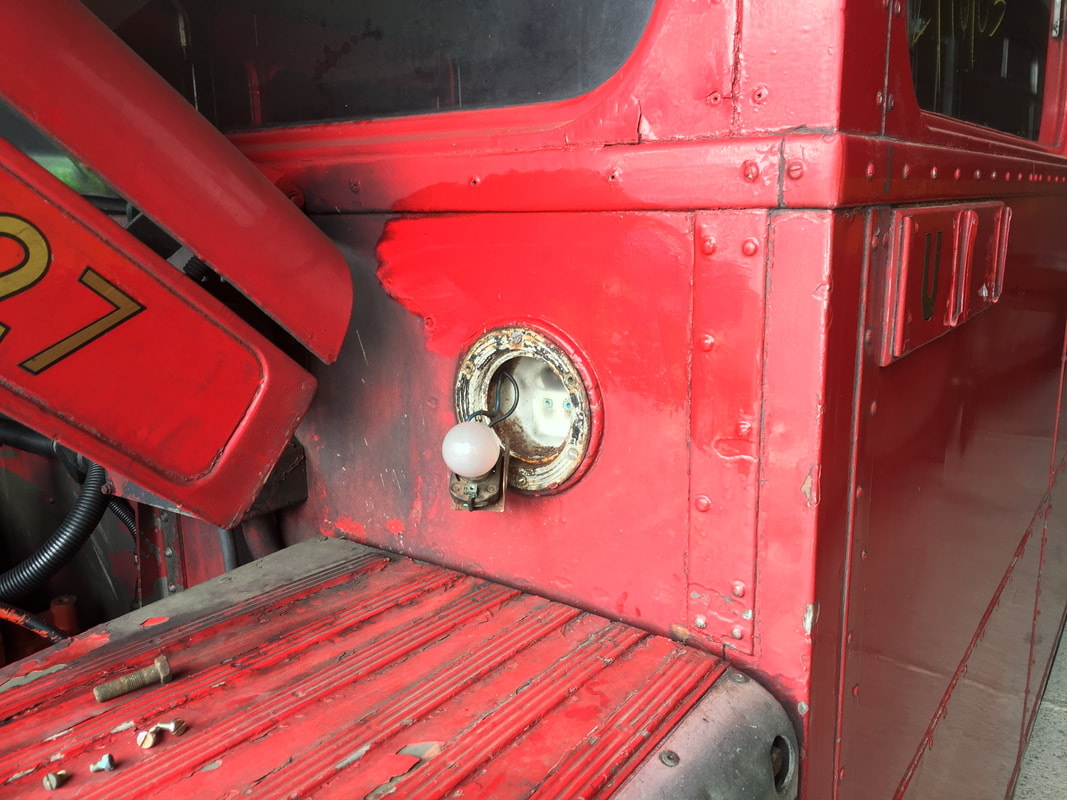
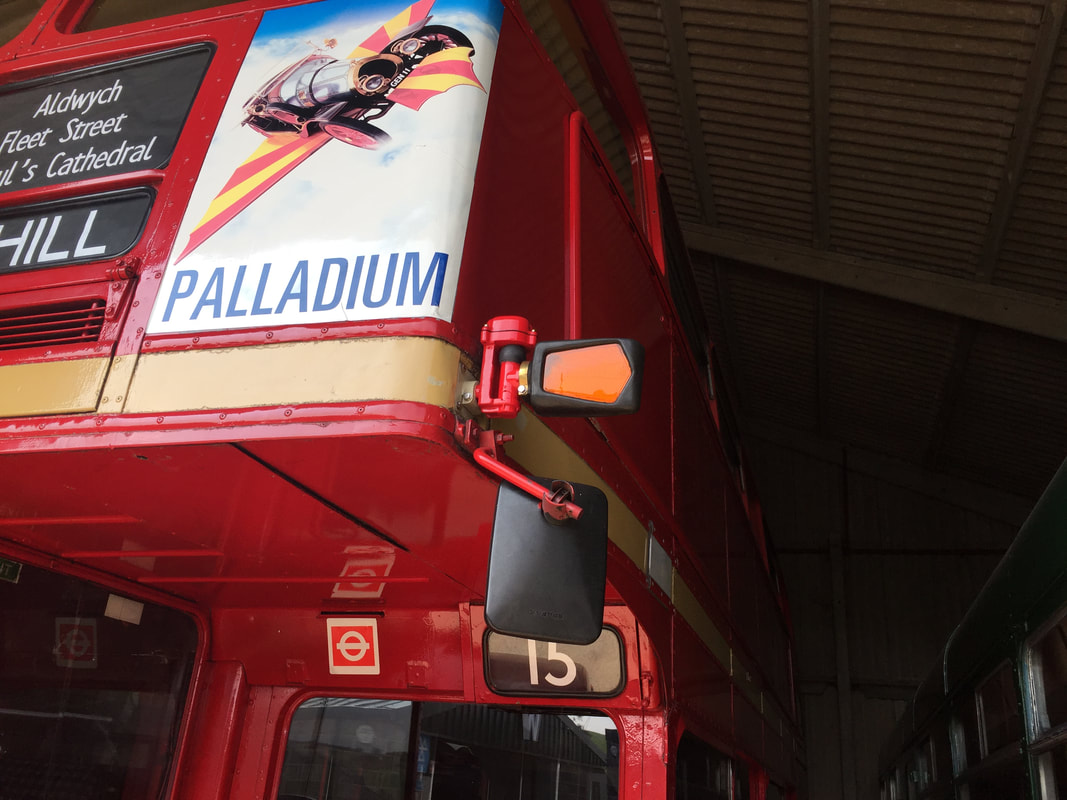
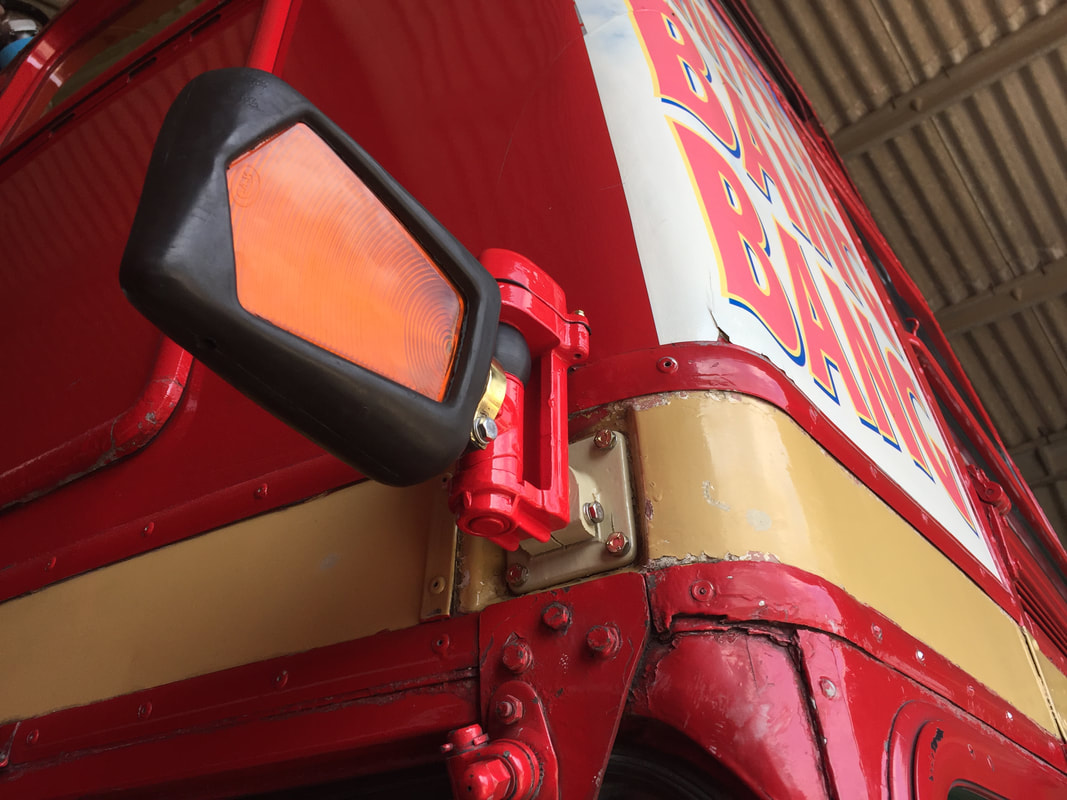
Refitting of front indicator 'ears'
RM1527 kept the original indicator ears right through her service life, although they were finally replaced with the more modern flush fitting units either shortly before or just after withdrawal - we have a picture taken in July 2003 with them still in place, but by the time she passed to Ensign in August 2003 they'd been taken off and some replacement indicators rather poorly fitted instead.
We restored a pair of indicator ears and refitted these to RM1527 in early September 2018.
We restored a pair of indicator ears and refitted these to RM1527 in early September 2018.
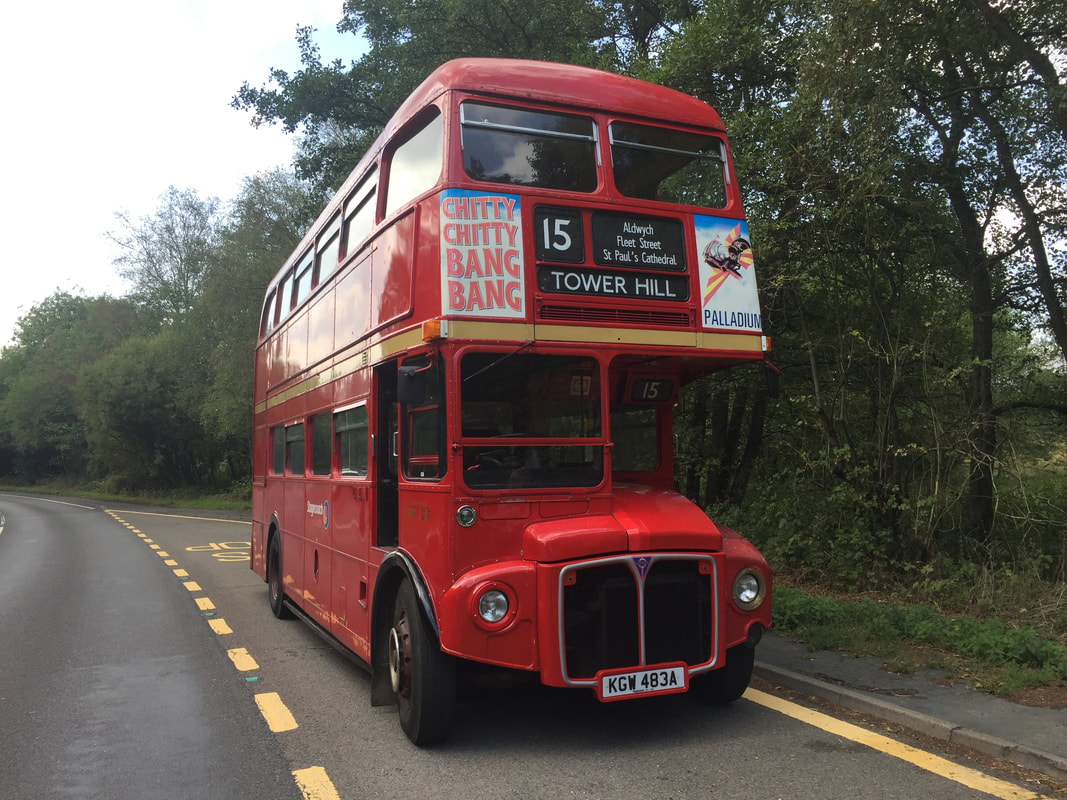
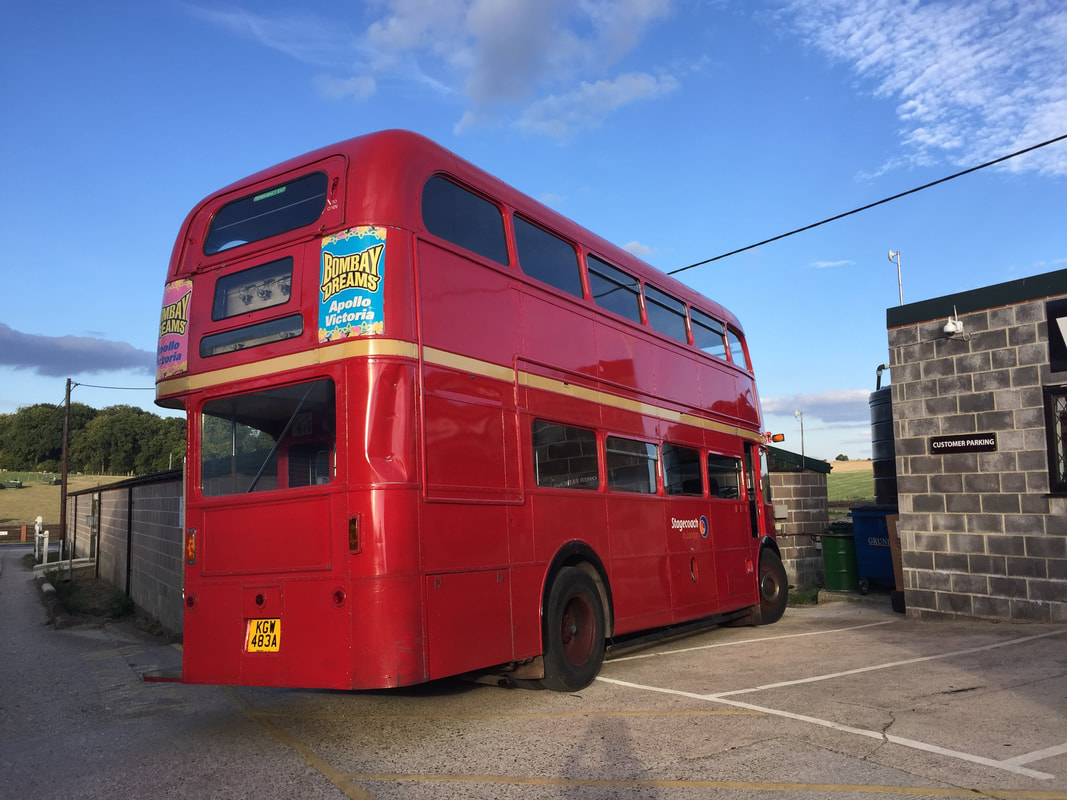
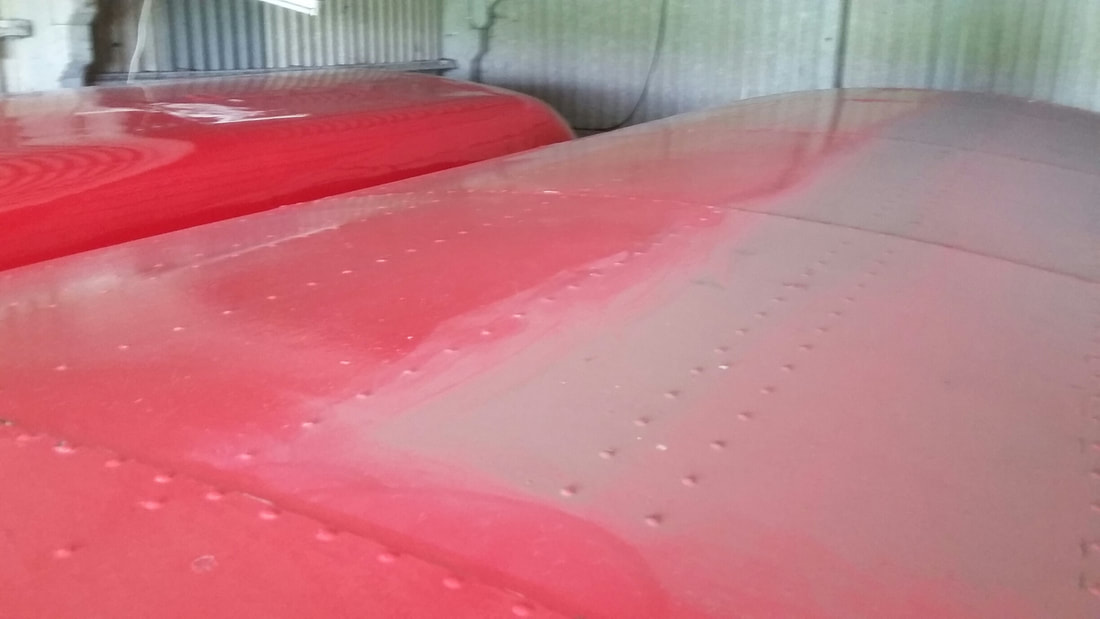
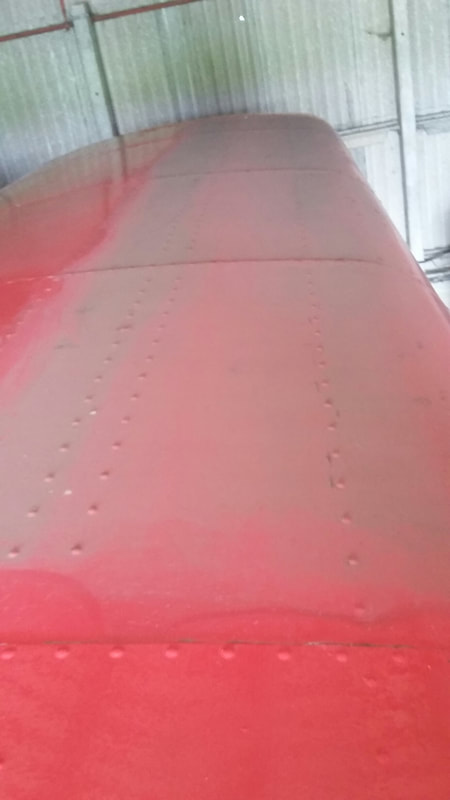
Cleaning and polishing
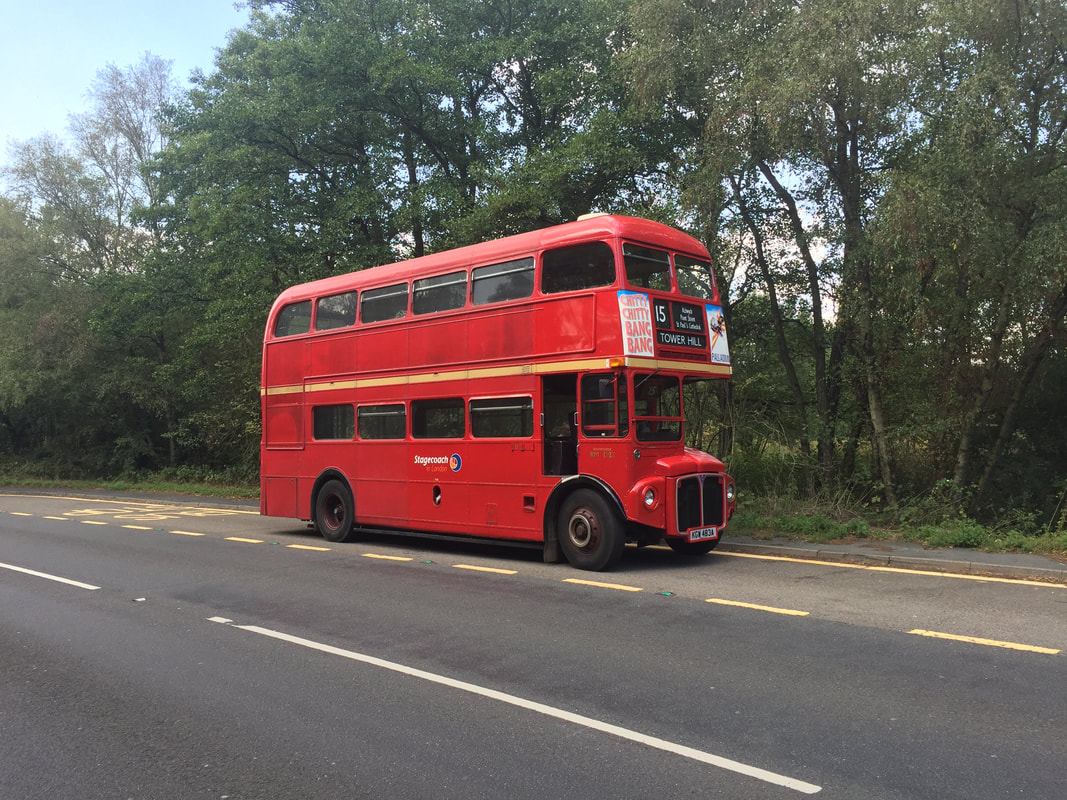
When we acquired RM1527 the paint was looking very tired - it had been applied in 2001 but had then been subject to two years service before 15 years in storage with no care and attention.
We set about cleaning off all the muck to start with and then polishing, and the results were very pleasing.
We set about cleaning off all the muck to start with and then polishing, and the results were very pleasing.